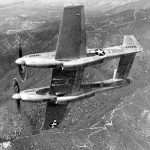
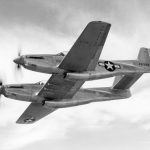
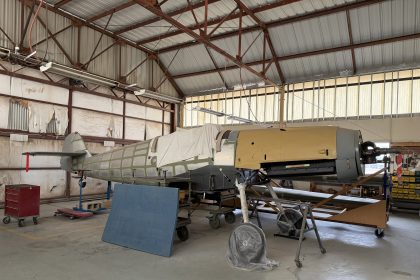
WarbirdsNews has received the latest XP-82 Twin Mustang restoration update from Tom Reilly at his workshop in Douglas, Georgia. Here’s what they’ve been up to this month! The XP-82 is now on the final leg of her restoration, and as Tom Reilly recently stated, “We finally see the light at the end of the tunnel and it’s not an oncoming train!”
Center Section
The very difficult job of repairing and remanufacturing the leading edge gun ports is now completed. Most of these gun ports were severely damaged due to crashes and years of being pushed around by heavy equipment while in an Alaska scrap yard.
After a massive amount of rebending and straightening the restoration team was able to reweld the straightened cracked areas using welding rods made of exactly the same stainless steel alloy so that the welds matched the original alloy of each gun port, and the repaired areas are not visible. Reilly stated that he could have easily manufactured all of these gun ports from scratch, but chose to attempt to keep as many of the original parts as possible.
Armament
All six replica aluminum .50 caliber machine guns are now mounted and aligned perfectly. Reilly’s team is installing original barrels and cooling jackets for authenticity so that when one looks into the barrel the rifling will be visible.
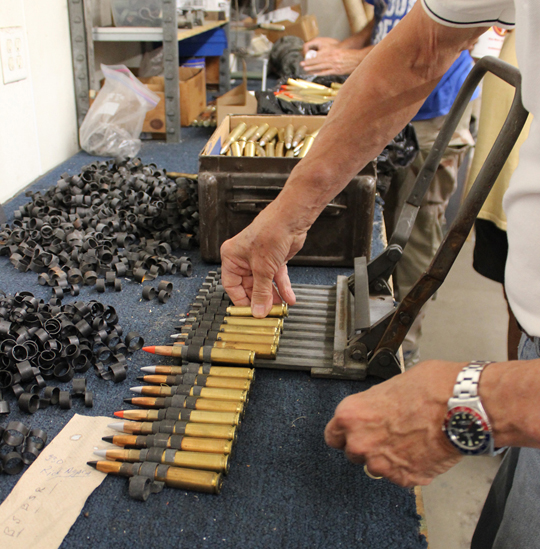
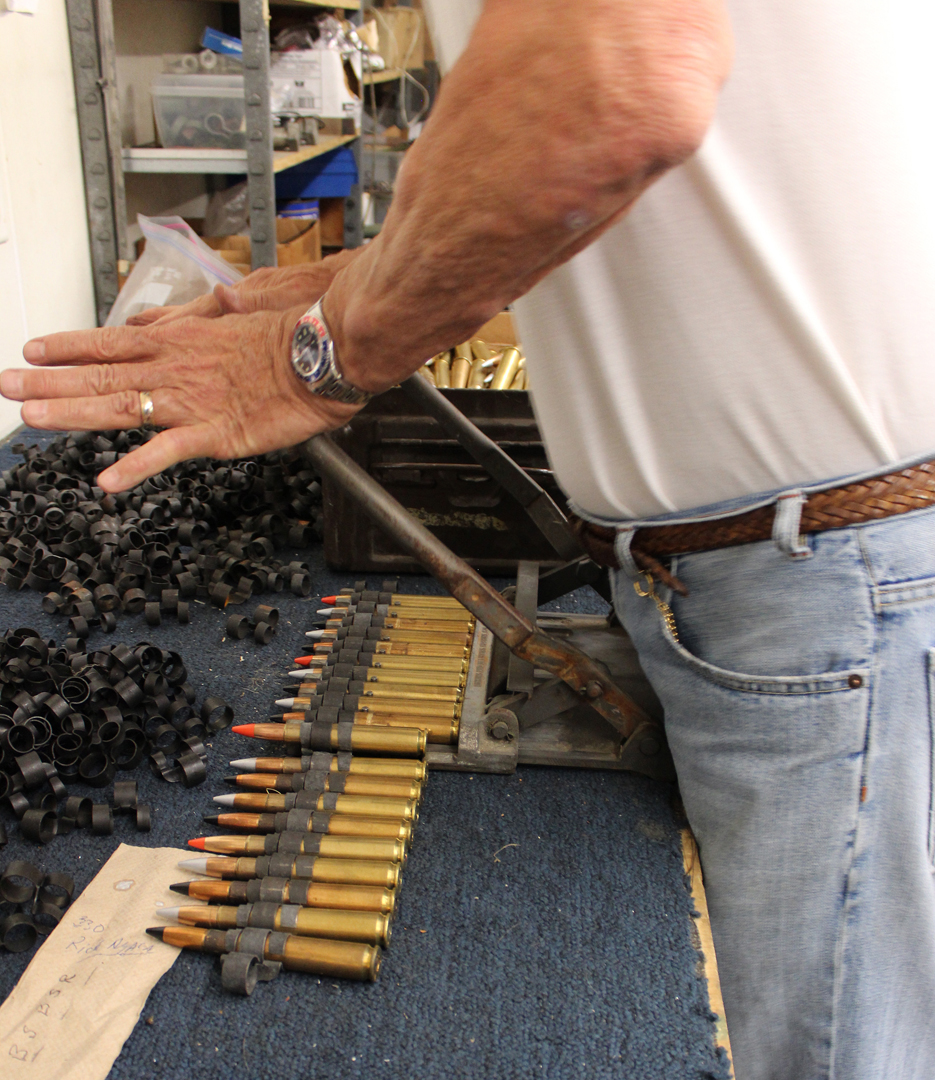
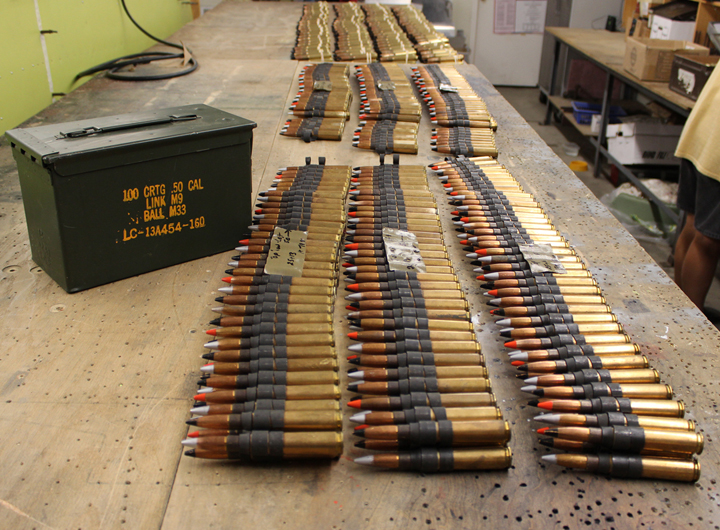
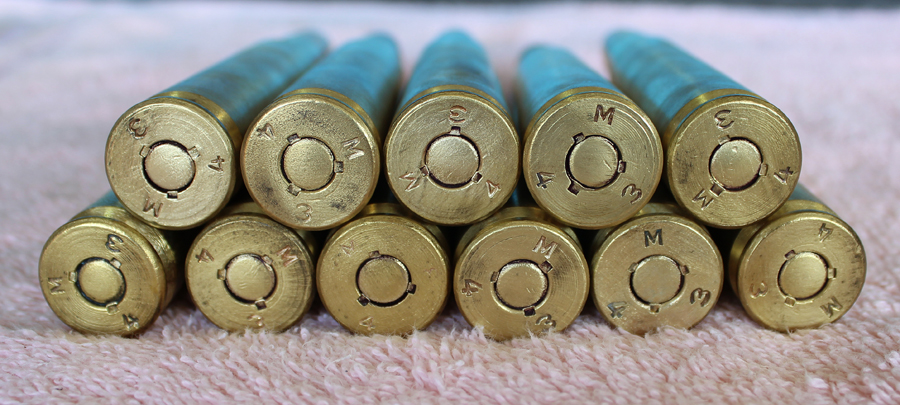
Four volunteers worked to reproduce all 2,400 rounds of inert .50 caliber ammunition for the gun bays. Each ammunition tray holds 400 rounds for each gun. Tom Reilly located hundreds of rounds of original date-coded Milwaukee M-43 (1943) ammunition, and decided to completely fill each tray (box) for authenticity. His team hand-painted the bullet tips with the correct ammunition color code. To determine the colors and round order, Reilly spoke to an original, WWII-era armorer who had loaded P/F-82s during combat service. The Air Force veteran advised Reilly on the color pattern of the linked ammunitions: #1 Red Tip – Tracer, #2 Silver Tip – Armour-piercing Incendiary, #3 – Black Tip – Armour-piercing. #4 – Silver and #5 – Black. This order repeated for all 400 rounds in each of the six gun ammo trays, which was a very time consuming task, thankfully now complete.
Lower Cowling
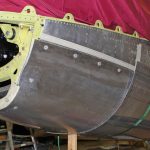
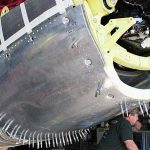
The team members are heavily into the last of the six engine cowls. These last two panels will close out the fuselage bottom up to each firewall against the main gear doors. There is also structure that the center section leading edge and to which the fuselage-to-outboard-wing fairings attach, that had to be repaired and/or made new.
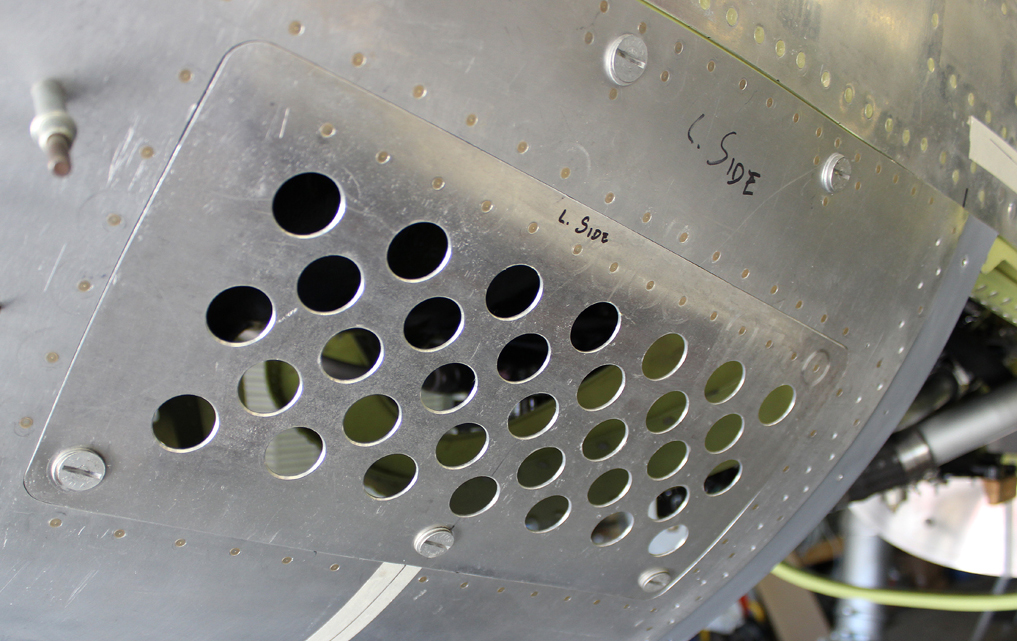
The four filtered-air-intake-formed panels have also been fitted in each side of the forward lower cowlings.
Engine/Carburetor Induction Trunks
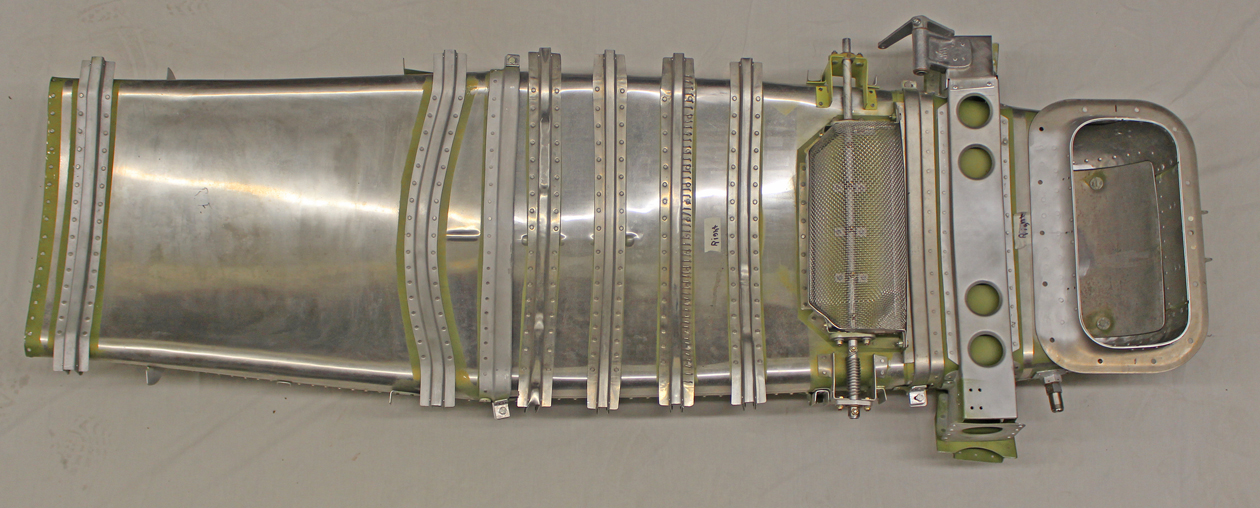
These are two parts that are virtually identical to the P-51 Mustang. Reilly was able to purchase these newly-made induction trunks from Aero Trader in Chino, California. They are magnificent pieces of workmanship! The only modification that the parts required was to change the carb-air-temperature-door-actuating-rod lever from the left-hand side, as it is on the P-51, to the right-hand side for the XP-82.
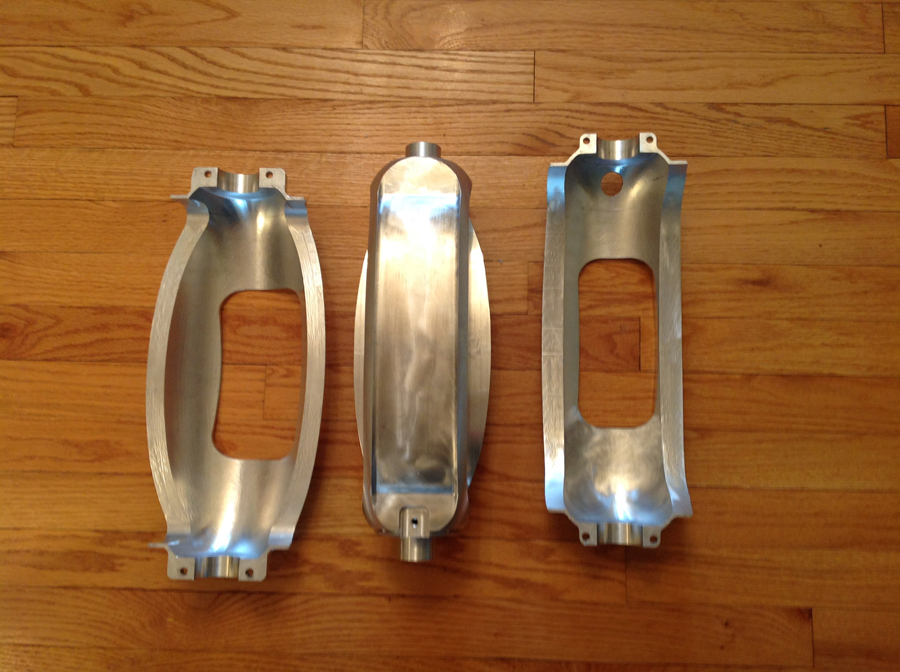
One of the subcontractor machine shops completed the air diverter that mounts just under the prop spinner. This diverter controls the air temperature that passes through the induction trunk into the carburetor. The four positions are: Cold Ram Air, Hot Air (for carburetor icing), Half Hot Air and Filtered Air. Manufacturing this air diverter was an extremely difficult job, but it came out beautifully!
Coolant Tubes
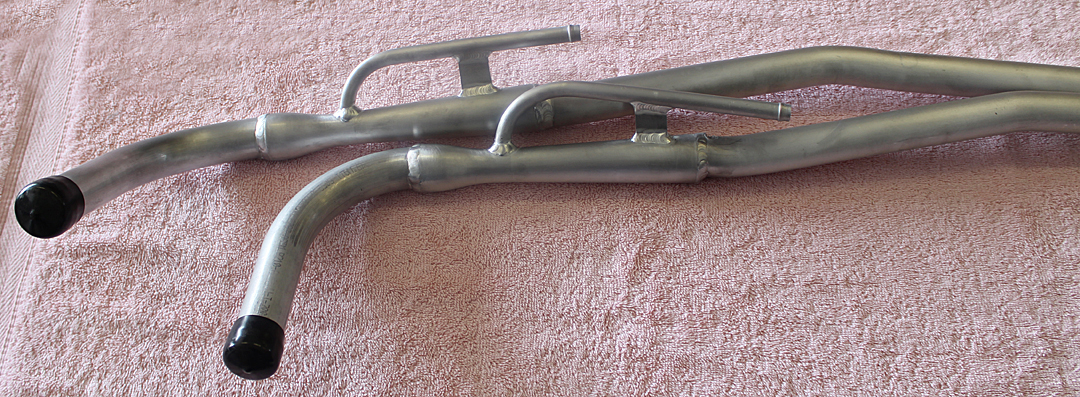
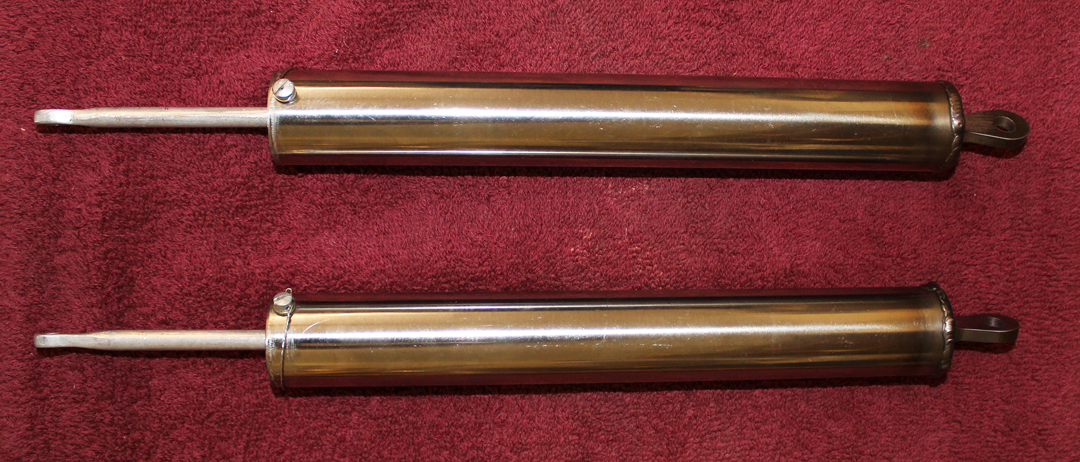
The two venturi coolant tubes that control the Glycol flow (coolant) out of the supercharger intercooler(s) back to the heat exchanger(s) are now both completed and awaiting installation.
Tail Wheel Assemblies
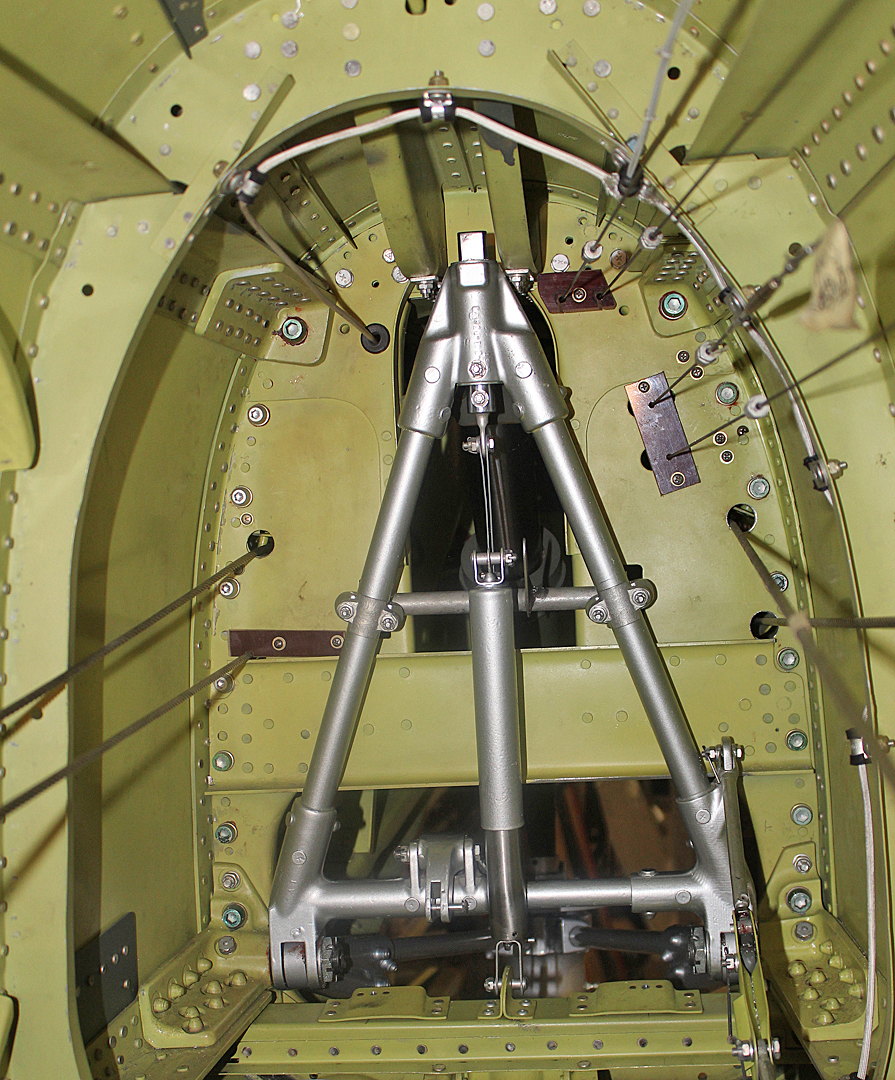
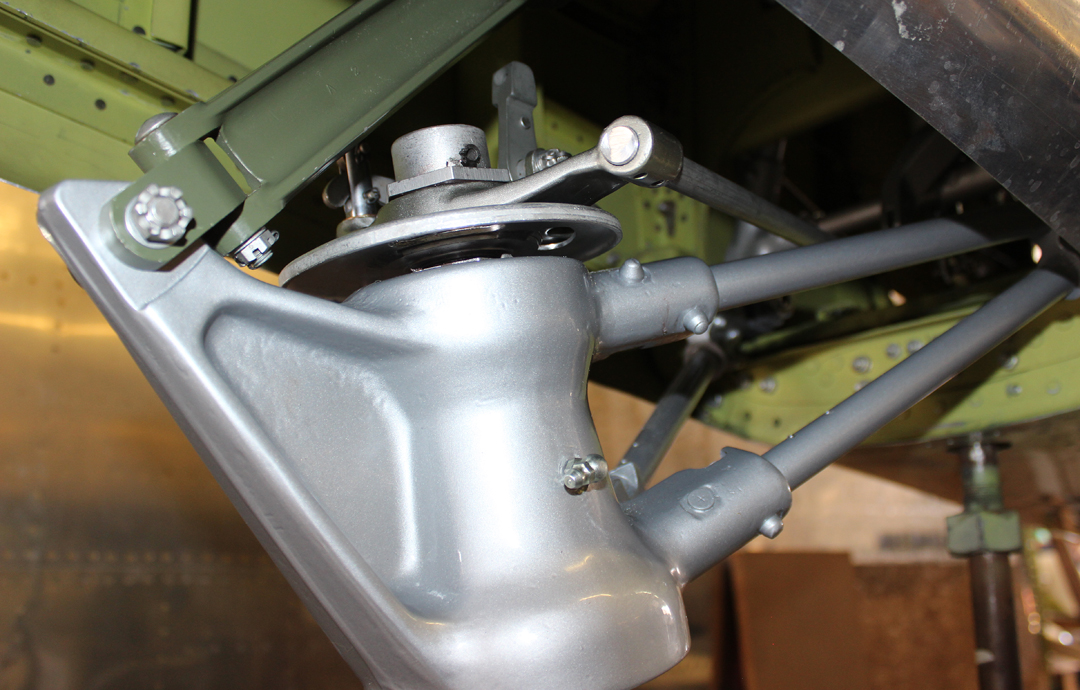
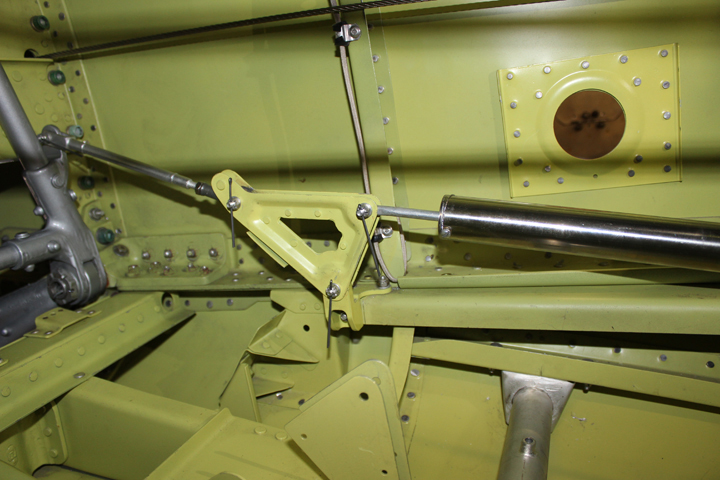
Both tail wheel assemblies and all of the retraction “A” frame mechanisms are now permanently installed. The project is waiting for the last dozen or so steering mechanism parts from the machine shop to complete the steering hookups.
Completion
The last major components to finish are the two inboard gear doors, the two brake calipers, a complete set of fuselage-to-wing and tail fairings; and countless other small jobs that are on the “to be completed” list.
And that’s all of the news for April, 2016!
Many thanks again to Tom Reilly for the update! You can learn more about the project on their blog HERE. Please be sure to check back with WarbirdsNews in June for the next installment in the story following the XP-82′s road to recovery!


