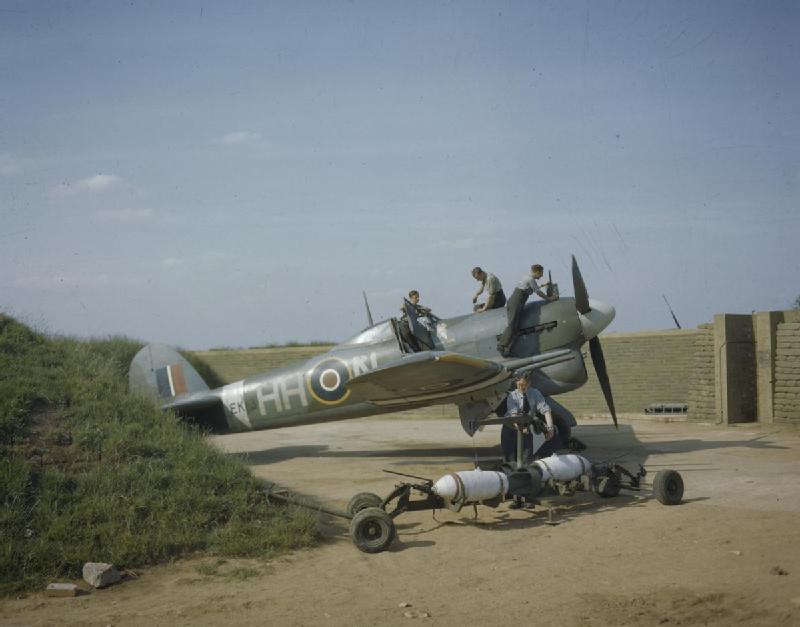
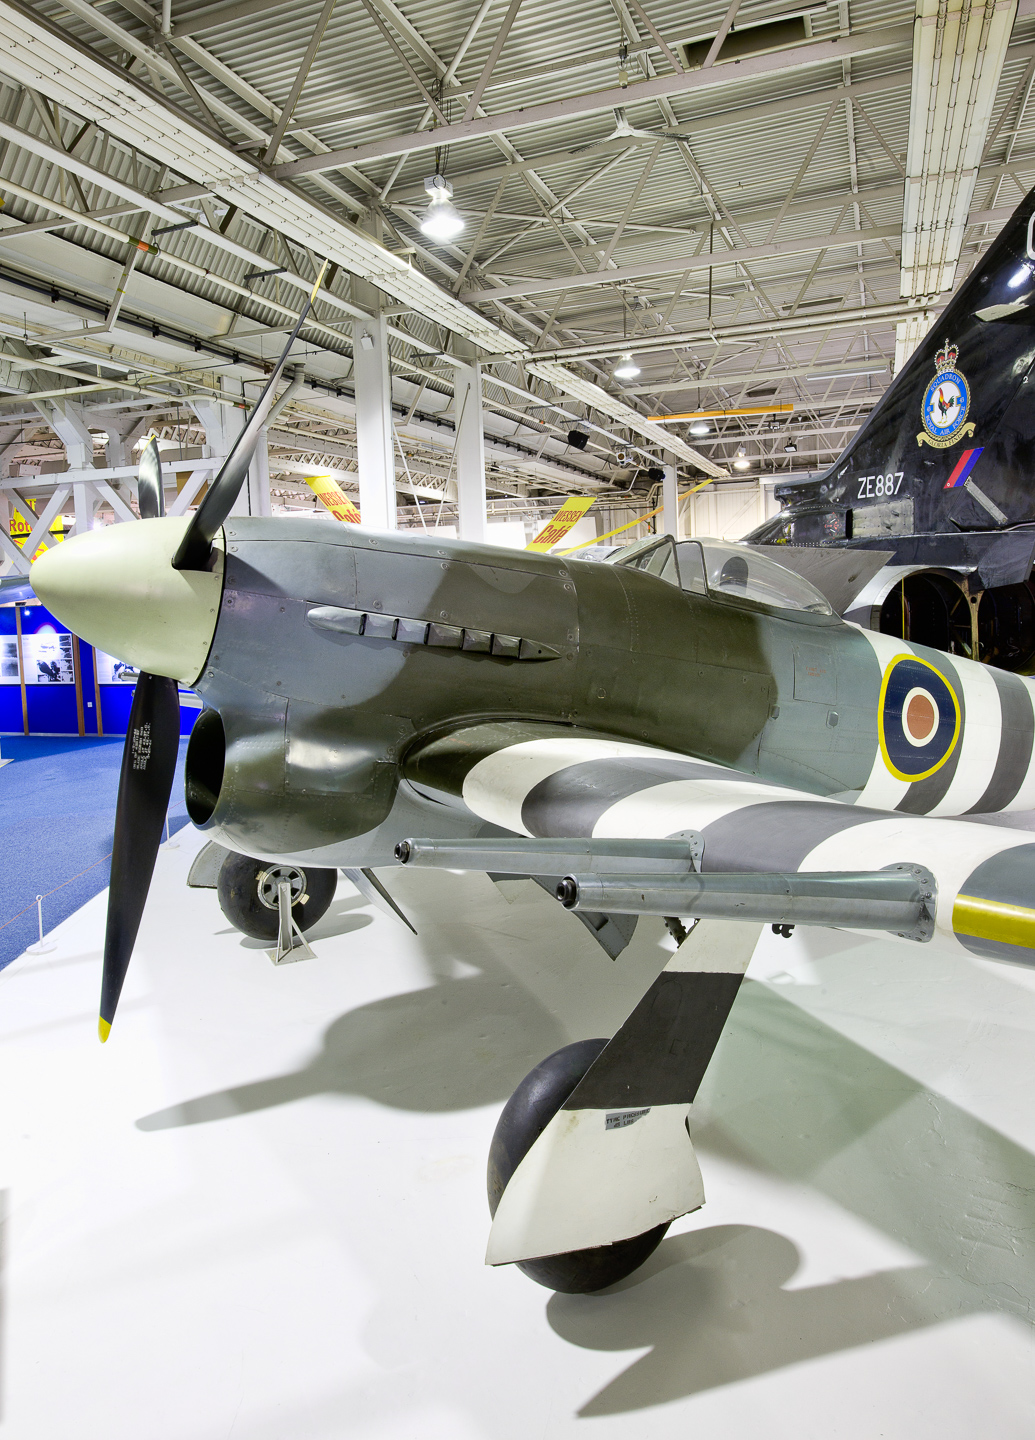
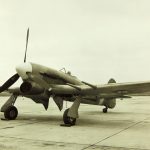
For more than half a century, there has only been a single, complete example of a Hawker Typhoon in existence, and it is purely a fluke that even this airframe still exists. It seems incredible that one of the seminal Allied ground attack aircraft from WWII should be so unrepresented in museums and flying collections today, but just the RAF Museum’s Typhoon Mk.IB MN235 remains.
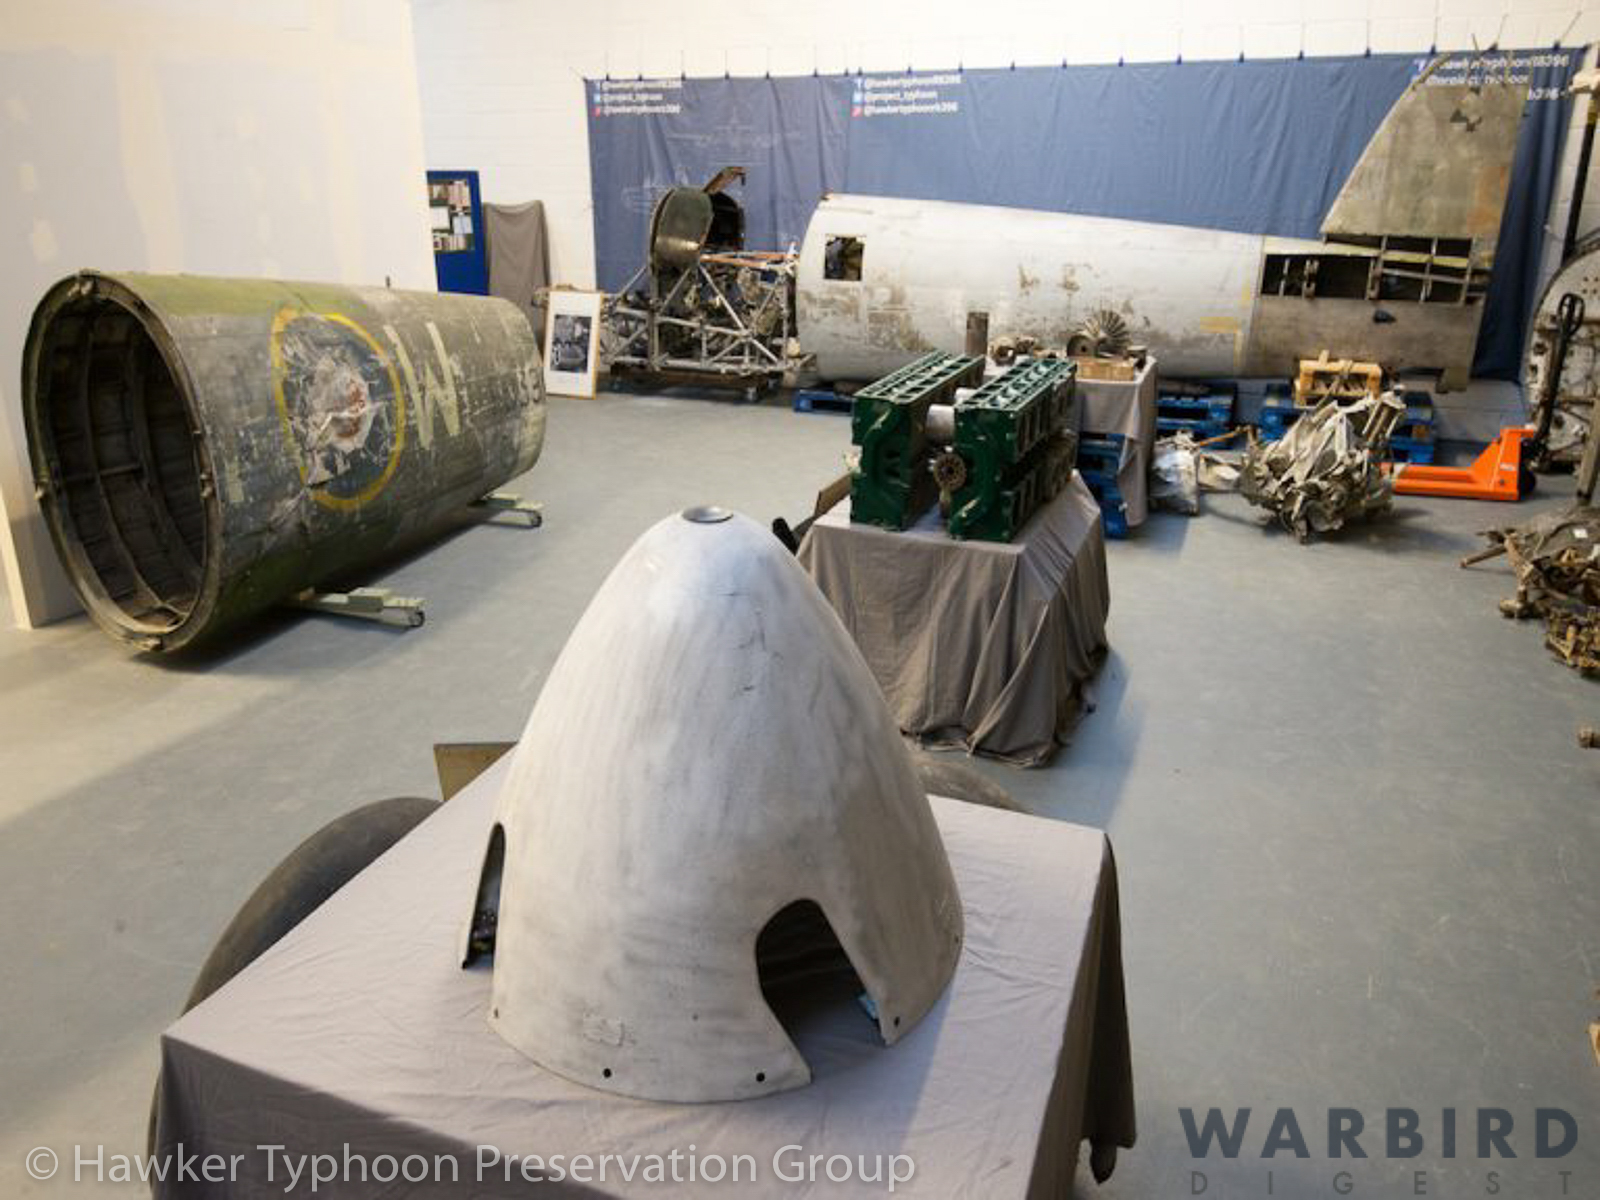
However, two groups, one in Canada and the other in the UK, have been working hard to redress this issue by resurrecting the breed with their own airworthy example. Both groups are making serious, material progress towards this end, and crucially, each has acquired an example of the all-but-extinct Napier Sabre engine to power their aircraft. While we hope to bring details about the Canadian effort to restore Hawker Typhoon JP843 in the future, this article will focus upon the work which the Hawker Typhoon Preservation Group is doing to resurrect Typhoon Mk.IB RB396, a combat-veteran ‘Tiffy’ lost on operations over the Netherlands during WWII. The project is based around the substantially complete, surviving rear fuselage from this airframe, and many other original components which one of the non-profit restoration group’s two trustees, David Robinson, has gathered over several decades of diligent endeavor. We have published a number of articles on this restoration over the past year or so, but it’s been some time since the most recent update last August, so we have a lot of ground to cover.
Perhaps one of the most important aspects of this restoration is the magnificent effort the team is making to use as much viable original material in the restoration as possible. While this is a significantly more expensive route to follow, it will result in an airworthy Typhoon that can justifiably be called a restoration, rather than a reproduction. Sadly, far too many restoration projects these days have only the vaguest hint of original structure in them, when, with a little extra effort, time – and money – they could retain far more.
As the group stated recently, “It is worth noting that it is not cheaper to re-use many parts; it is in fact more expensive than simply creating new in most cases. However, our focus has always been on ensuring this potential one-of-a-kind aircraft is rebuilt to the highest, and most authentic standards possible.”
Given that the Hawker Typhoon Preservation Group is operating on a shoe-string budget, it would have been so easy for them to pursue the cheaper route, replacing everything with new-build material, but that is not what they are about – they want as much original structure in the airframe as is viable to restore… and that is hugely commendable. To learn how you can help them please click HERE.
To present an overall review of the restoration efforts so far, the following article uses adapted text from the Hawker Typhoon Preservation Group’s recent annual report and other updates…
Hawker Typhoon Mk.IB RB396 – The Rebuild As of January, 2020
2019 was a significant year for the project and for the Hawker Typhoon and her crews. It marked seventy two years since the Type’s last recorded flight, seventy five years since D-Day and RB396’s first flight a few months later, and seventy nine years since the first flight of a Typhoon.
2019 also marked the beginning for the rebuild of a genuine, combat-veteran Typhoon – and the first time a Hawker Typhoon MKIb has appeared on the UK civil register – G-TIFY (RB396).
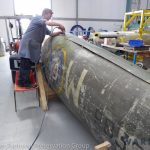
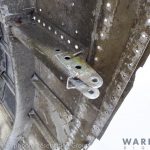
An initial £10,000 deposit with Airframe Assemblies (AA) meant that as soon as registration was completed, work could commence. However, the engineers at AA took the decision to remove one of RB396’s skins so they could assess the airframe’s condition earlier, but without affecting the registration progress. There have been (and will continue to be) many firsts for the Typhoon – the removal of a complete skin from the rear fuselage was perhaps a first time occurrence for the breed considering the type was only in service for four years.
August commenced with the removal of fuselage frame K (at the rear) and frame A (assembly number D94398) located at the forward end of the rear fuselage. This frame is made up from approximately 60 separate pieces, and these had to be labelled and assessed for viability. Initial estimates forecast that we would be able to re-use roughly 50-60% of the rear fuselage. After seventy four years some of the parts were too corroded for use in an airworthy aircraft, but both AA and the team were delighted to find that as much as 80% of RB396’s internal structure could be re-used. It is very important to the team that as much of the original structure as possible should be preserved, even though it is more costly to restore, in some cases, than it is to make parts from new.
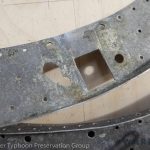
The biggest challenge for any restoration is corrosion. Back in WWII, each aircraft was designed and built to fulfil an immediate role, but with no expectation that any would be flying even five years later, let alone 70. Corrosion protection, while important, was not a number one priority. We are very fortunate, therefore, that there is only minimal corrosion in RB396. However, the aircraft’s forced-landing in WWII and subsequent decades which its surviving fuselage section spent on public display did leave structural damage in some areas. Thankfully, while difficult, it is possible to restore much of the damaged structure – other than the outer skins of course.
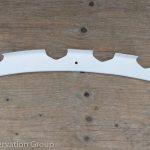
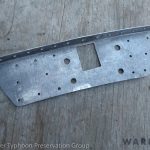
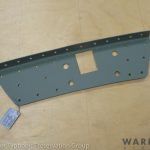
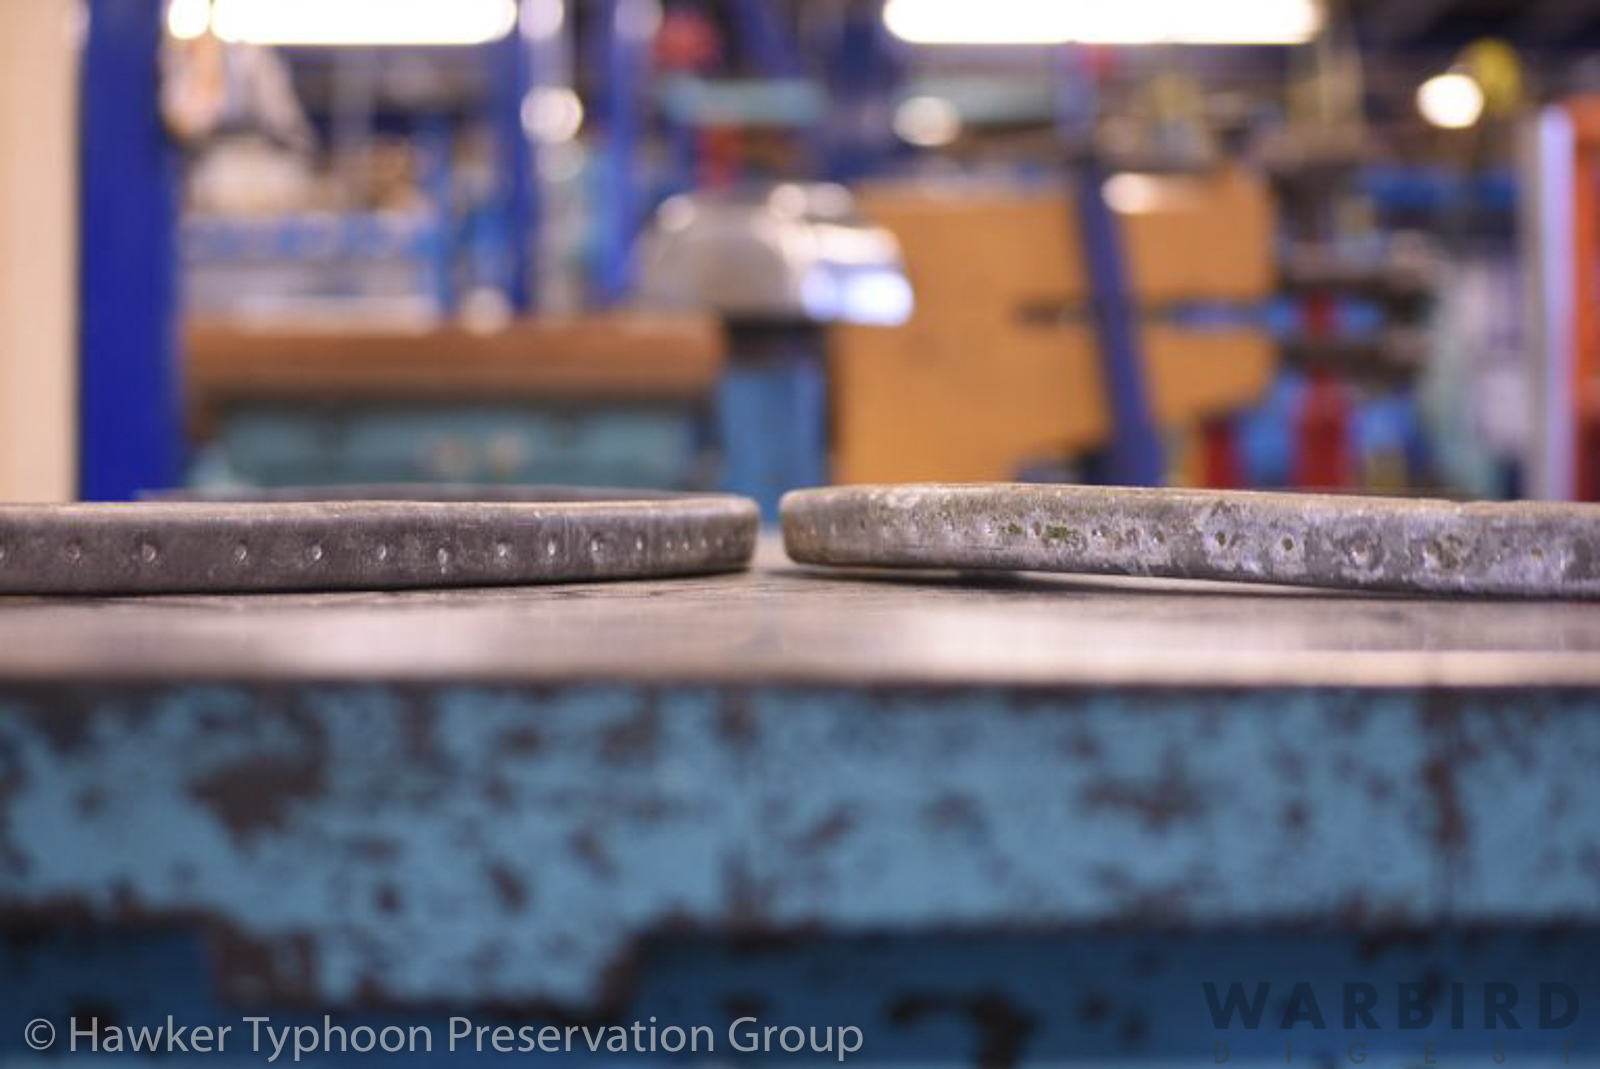
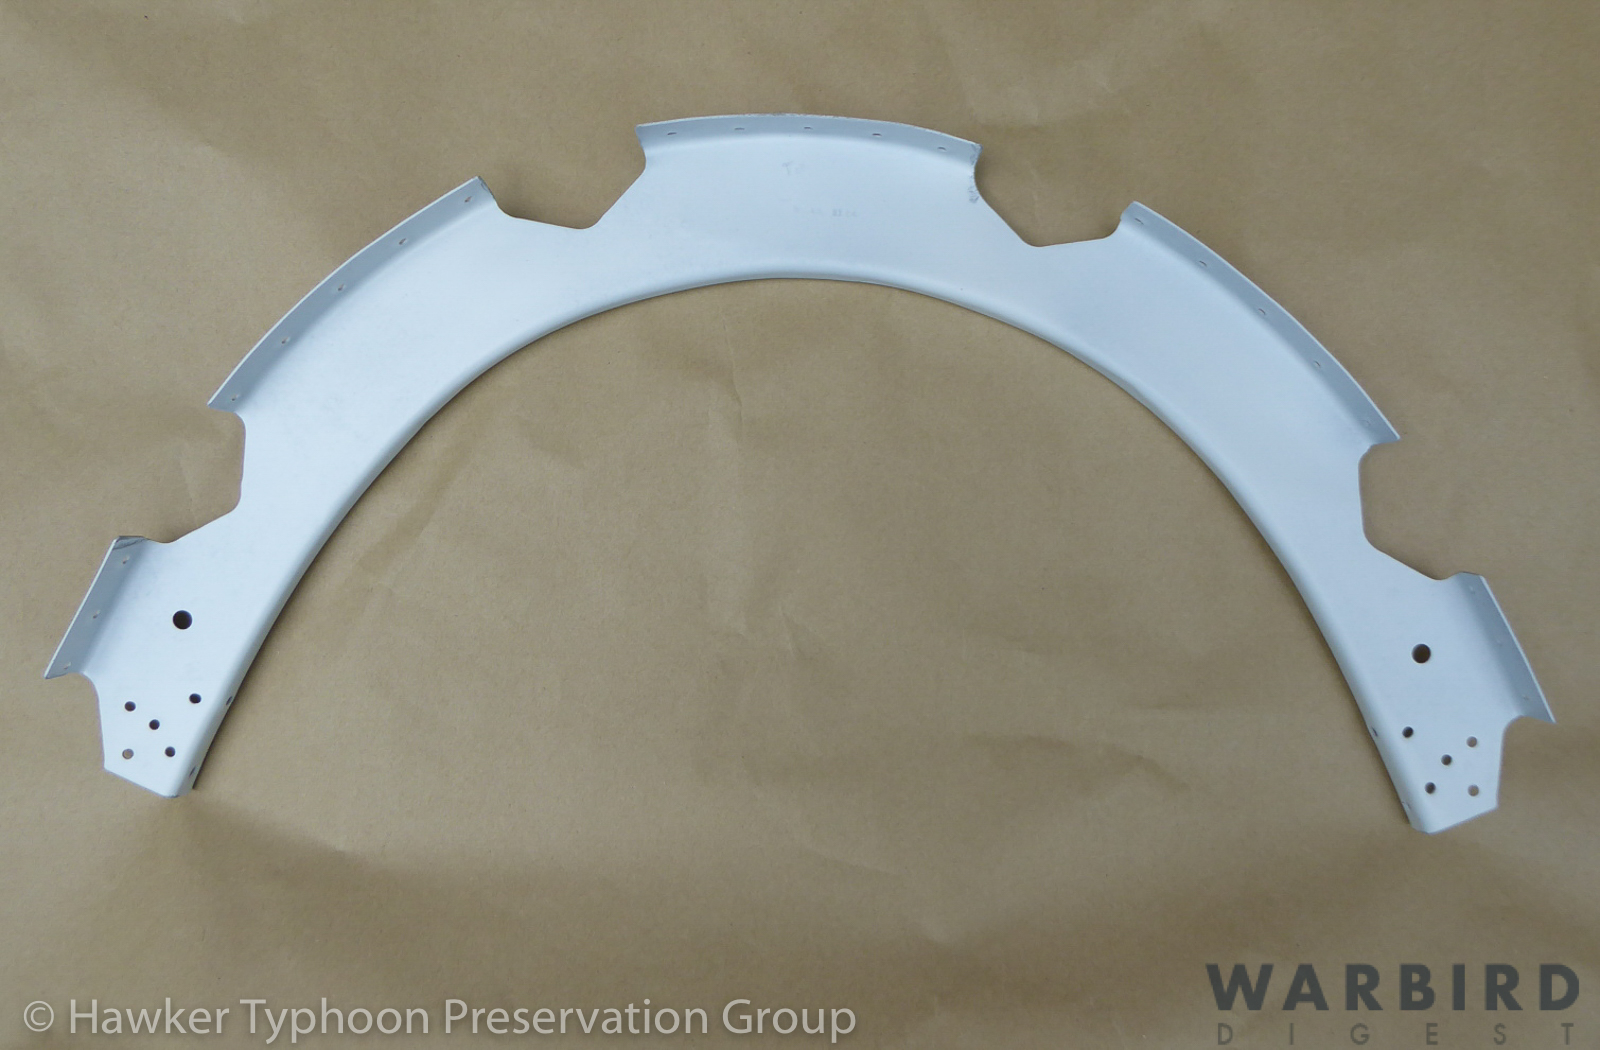
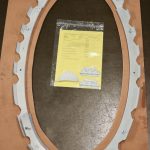
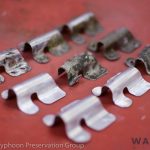
The repair process involved with just one of the damaged ribs offers a unique insight into the job at hand; one that requires specialist care. Part# D94406-21, the top segment of Frame J, exhibited significant distortion which required flattening out. Various other imperfections needed dressing as well. To begin, the part had to undergo suitable heat treatment to temporarily soften the material for reshaping, otherwise there would be a grave risk of cracking.
The heat treatment process involves heating the item to 5050C for around 20 minutes. It is then quenched in cold water. This leaves the material ‘workable’ for around 2 hours. After a couple of days, it will naturally return to its original hardness/strength. The time and temperature applied is critical though; the process is carried out in a computer-controlled, calibrated oven.
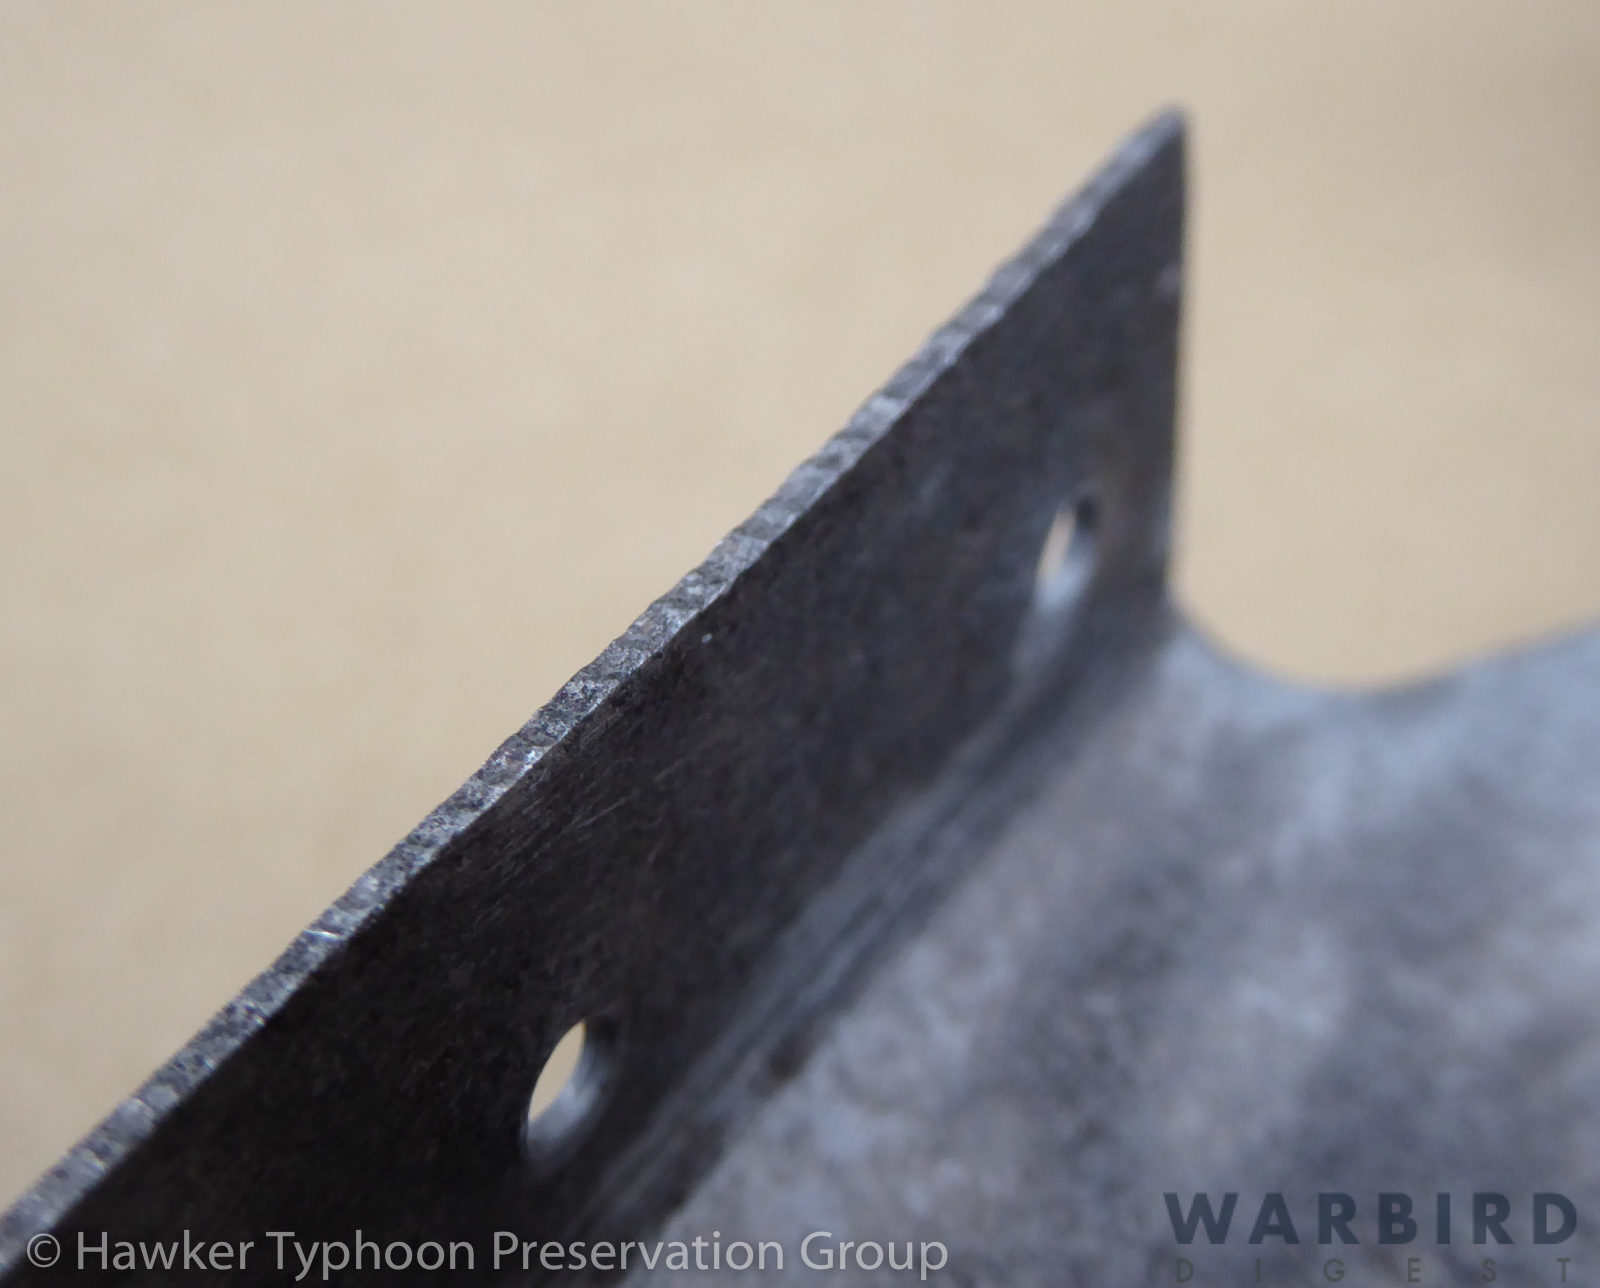
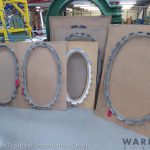
With the piece successfully dressed flat, the edges required smoothing, as the original rather ‘saw toothed’ factory-finishing left a lot to be desired – after all, there was a war on when the part was made! The next step is a chemical dip and basic cleaning to kill off any minor surface corrosion. When these steps are completed, the component is ‘alochromed’ – a chemical surface treatment that prevents corrosion and prepares the surface for the initial coat of primer paint. In this case, Airframe Assemblies used a white primer paint as the final internal color was then yet to be confirmed.
So that is what it takes to save a piece of history – around a full, working day for just this one small item!
All of the fuselage frames were removed and disassembled, and then each individual part was assessed for its viability in a similar manner to this one rib. As already intimated, most of these components were salvageable for restoration via the techniques described.
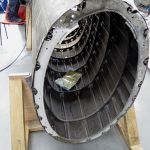
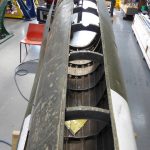
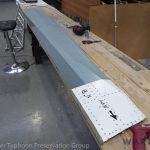
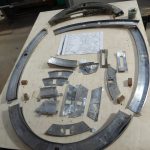
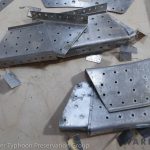
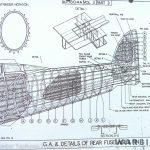
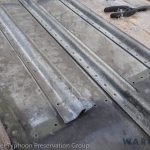
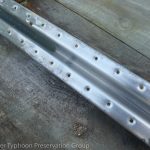
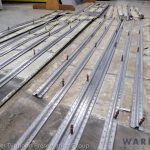
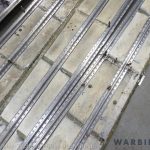
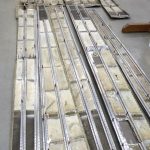
The next major effort involved removing the stringers from the fuselage skin. The rear fuselage is made up of a series of sheet metal frames which are covered by long, curved, sheetmetal panels. The skins are stiffened by ‘stringers’ that run its entire length – some are over 8 feet long. The stringers are formed from rolled 22swg aluminum alloy sheet with a ‘top hat’ cross-section (Hawker A.std 1067) and attached to the skin panels by 1/8” countersunk rivets.
There has been an update to the progress at Airframe Assemblies which highlights the implementation of repair procedures on the stringers, as specified in the Typhoon repair manual. As far as we know, this is something that has not been done since May 1945.
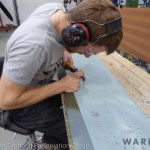
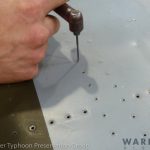
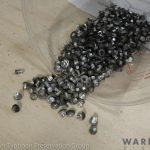
Twenty six individual stringers remained in the Typhoon’s surviving fuselage section, and these had to be separated from the skins. This entailed carefully drilling out each rivet – and a typical length of stringer contains some 200 rivets, so you can imagine how much effort this involved! Prior to drilling, it is necessary to pop a small dimple in the centre of each rivet head, using a center punch, so that the bit won’t skid off when you begin drilling. The head is then carefully drilled to a depth that will separate the head from the shank of the rivet, but without drilling right through.
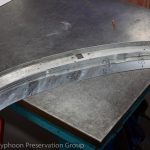
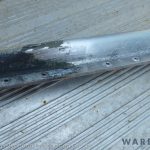
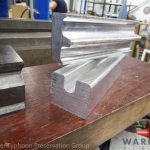
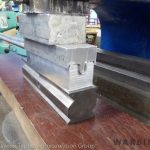
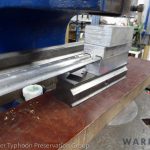
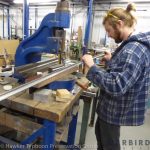
Once all of the rivet heads are removed, the stringer can then easily be separated from the skin panel, and the rivet tail removed without enlarging the original mounting holes. Once the stringers are all separated, the next step is the long process of paint stripping. Despite the outward, somewhat disheveled appearance of some stringers, they proved to be in remarkably good condition underneath the many layers of paint. While some of the stringer sections are intact along their entire length, others, alas, have sustained damage along the way. Each of the stringers underwent an individual assessment process to determine which could be saved. Some only needed minor repair and others needed more extensive rework, but all refurbishment was in line with the official manuals. There were numerous dents, as well as edge ripples in some places, and these required straightening. To avoid the need for “hand-bashing” each defect, Airframe Assemblies made a special press tool. This tool accurately matches the stringer profile and gently presses out the dents – with a little help from a small fly-press.
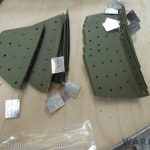
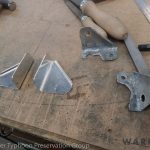
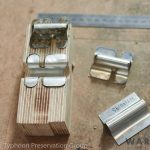
Wherever possible, the intention is to retain the original undamaged stringer portions, splicing in new sections as required. All of RB396’s stringers had been cut at the rear frame, so in another first, AA reviewed the original wartime repair manuals and determined that there was a field repair that could be applied to the stringers. This involved cutting the original material at different intervals, rotating it, and then making new stringer sections to splice in between; a field repair that is believed unused during WWII, because it was easier to replace the rear fuselage in its entirety. The final profile was perfected towards the end of 2019. Following refurbishment, each stringer section was clipped back in position on its respective skin panel to allow for safe storage and to ensure no parts got mixed in the process.
To give some idea for the amount labor involved in this restoration – just to remove the rivets from the stringers – we can calculate by simply measuring the amount of time needed to remove a single, which is roughly 2 minutes, and there are roughly 200 rivets in each of the 26 stringer sections. This amounts to 10,400 minutes (170+ hours) just for this step! This highlights where the costs are accrued in the rebuild of a unique aircraft, we need the support of everyone to get RB396 back where she belongs.
Just £4 (the average price of a drink in your local pub) from each of our followers would see the rebuild of the rear fuselage completed, please do help and visit the donation page or our webshop.
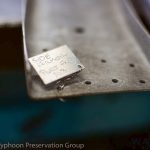
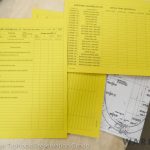
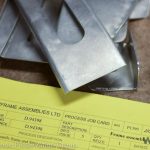
After paint stripping, assessing, Non Destructive Testing, dressing (dents, dings etc) and being chemically treated for corrosion, each piece is etch-primed and then white primer coat is applied. Alongside this process, the dreaded paperwork has to be completed. Items such as Frame A have a detailed work pack/job card. This identifies each part for originality, new build, material specifications (if new) and reference to original factory drawings or a new drawing if none exist. Every single component being used on this aircraft (and any other rebuild), from rivets upwards, has to have a paper trail. As the old saying goes, a restored aircraft is not ready to fly until the weight of all the accrued paperwork matches the weight of the aircraft!
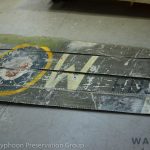
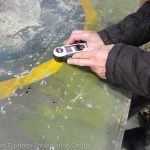
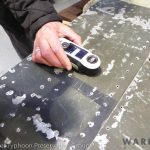
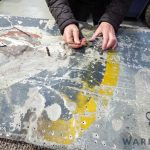
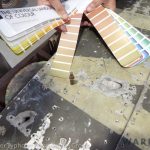
Once the skins had been completely removed from the airframe, the restoration team took some time to determine, as closely as possible, the exact paint colors required to faithfully return the aircraft to its former livery. Thankfully a well-respected specialist team was available to inspect the original WWII paint still remaining on the airframe – they even assayed the interior colors – so now we know exactly which hues to use, and how thickly we need to apply them.
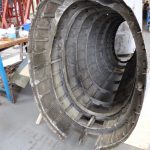
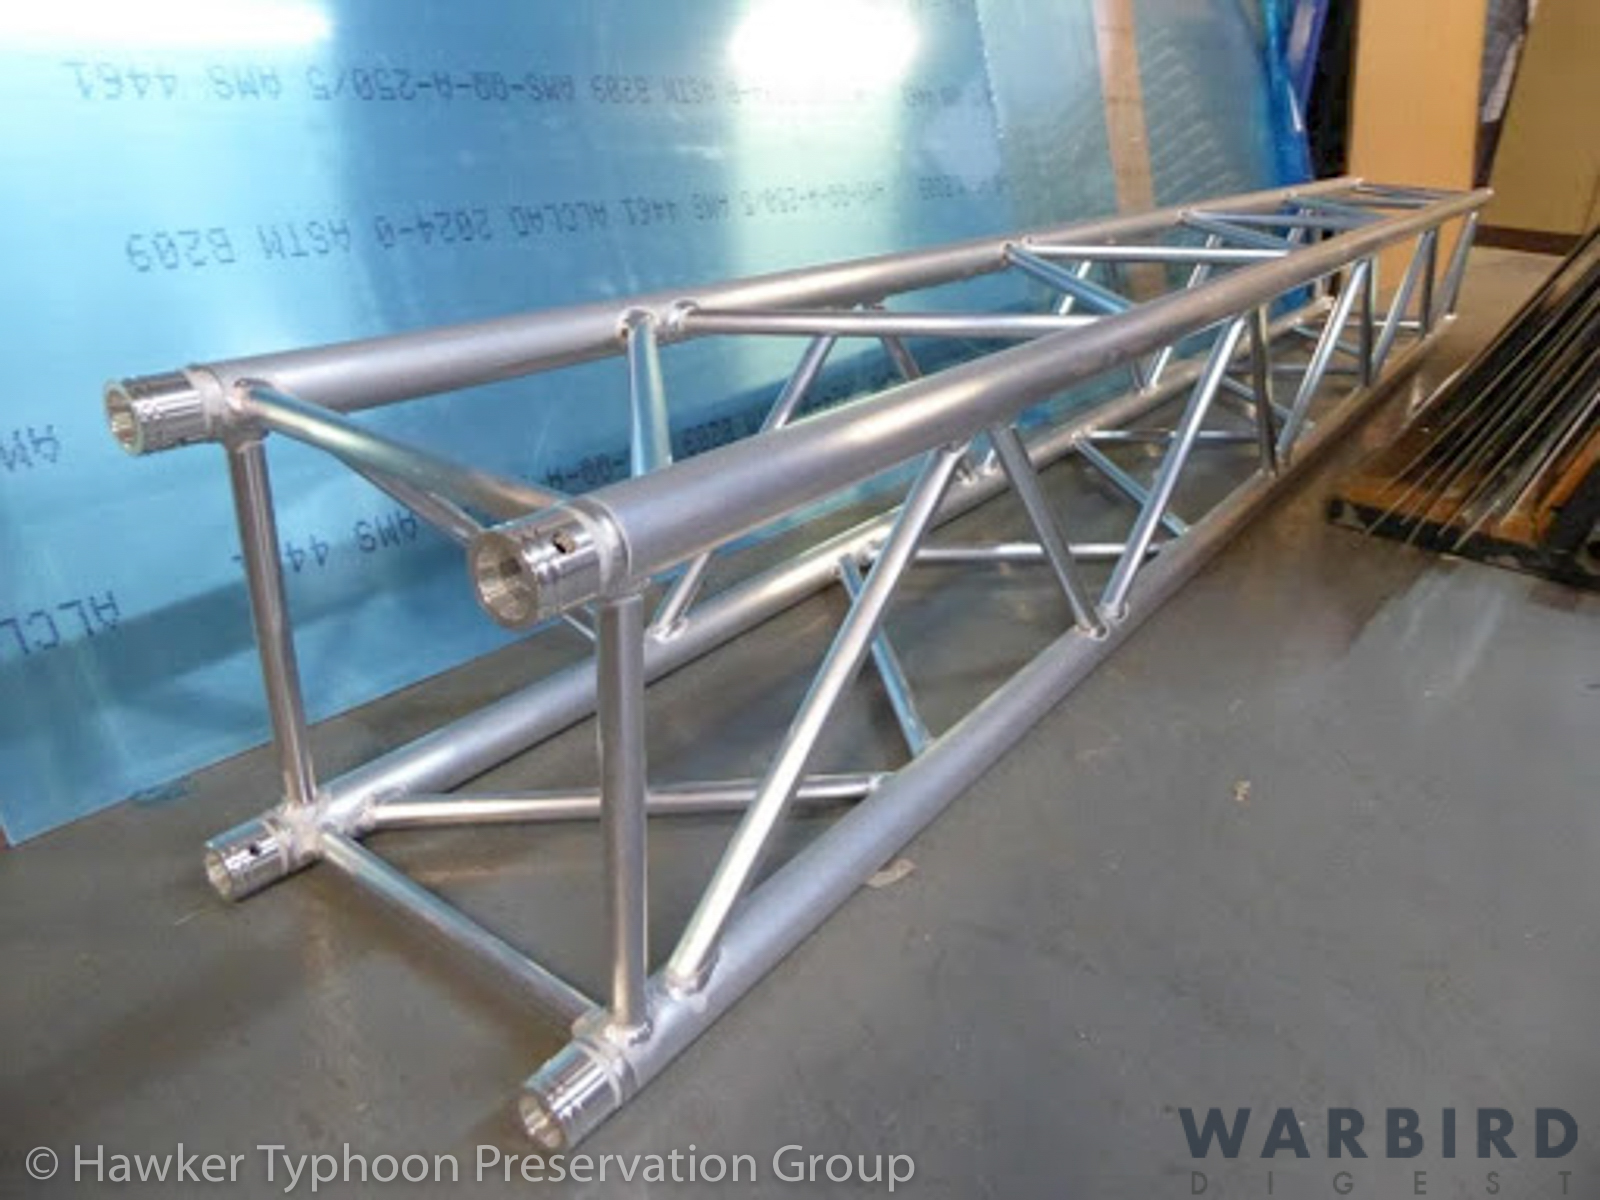
During November and December 2019, the design and production of a new jig for the rear fuselage continued. We already had a fixture for assembly and storage, but a substantial new jig was required for the actual rebuild itself. We received the water-cut stations for each fuselage frame in December as well as the 12 foot length of truss that will form the central ‘shaft’ of the fuselage build fixture.
As with any project of this nature, there are always things that do not go to plan which push the timeframe, budget or both. In RB396’s case, one such hiccup happened during November. Earlier in 2019, we acquired the complete rear fuselage of a former Indian Air Force Tempest Mk.II due to its design sharing engineering similarities, and even some components, with its older brother, the Typhoon. RB396’s fuselage section was missing its rear frame, to which the tail is attached. We had hoped the Tempest fuselage could provide these crucial parts. These components are made from a special section of extruded aluminium produced in two halves. Sadly, when the engineers removed these parts from the Tempest, their assessment revealed one half was too corroded to reuse – a result of this airframe having been stored outdoors in the UK for many years prior to HTPG acquiring it.
There are a number of options to replace this component. We could order the new manufacture of this extrusion, but this would require a minimum run of 500ft at a cost of £10,000, which seems a waste considering we only need 3 feet of the material for the restoration. Alternatively, new examples could be milled from a solid aluminum billet, but this always runs the risk of requiring a number of attempts before the proper part is produced – which would prove very expensive. Ideally, it would be better if we could simply find another original component. Thankfully, trustee Dave Robinson has managed to locate one within a cache of other related parts, and an initial review suggests that the frame is in far better condition than what we have. However, we can only acquire it if we purchase the entire cache of parts, which will cost £25,000. While this may seem excessive in comparison to the other options, there are significant additional Typhoon parts included in this cache which we had already budgeted for in the rebuild, so it will likely prove a far cheeper to follow this route. Indeed, by purchasing this cache, we should be able to lower some of the rebuild estimates by as much as £30,000 – and save a significant amount of time! As ever, this option will all be dependent upon raising sufficient funds, but following internal discussion, and in consultation with ARCo and AA, we consider this purchase to be the best way forward in the long term.
So what does all this mean? Following the Crowdfunder campaign earlier in 2019, the aim was to use the funds raised to begin the rebuild. After costs, the Crowdfunder effort raised £60,000 towards the cost of rebuilding the rear fuselage. So far, we have expended £61,000 on the significant work achieved to date. We have sufficient funds to allow AA to continue, at their cut down rate, for a further two months, adding a further £10,000 to the rebuild. This will allow us to keep a reserve in order to cover the charity running costs, the pre-season costs (air shows/events and stock) and a portion of the funds we need to raise to secure the already-mentioned cache of parts that includes the rear frame. We have approximately £140,000 – £180,000 left to raise for the rear fuselage to be complete!
There has been a lot of hard work by both the trustees and our dedicated volunteer team since our launch in October 2016, and everyone can now see their dedication rewarded. Our fundraising efforts will never stop, and that is what we are all working so hard on. We are the fundraisers, not the engineers, enabling and facilitating the rebuild of this forgotten legend. A huge thank you must go to all our supporters and contributors for helping us to get to this significant stage of the project.
As is evident, the Hawker Typhoon Preservation Group has made huge strides forwards with their goal of restoring RB396 back to flying condition. We commend all of our readers to contribute towards this important project. Please click HERE to visit their donation page, or HERE to visit their online store!










I’m wondering if you could track down any more components via “DHAS” – the Derbyshire Historic Aircraft Society. Great to see that an effort is being made to bring back a Tiffy into airworthy condition. I hadn’t realised until very recently that there were none. Very strange and puzzling that almost all of them were got rid of (in indecent haste) so quickly, and with no thought about preserving even one of them, especially considering what a very major/vital role they had in achieving the allied victory.