Lancaster NX611 ‘Just Jane’ – Restoration Update 202

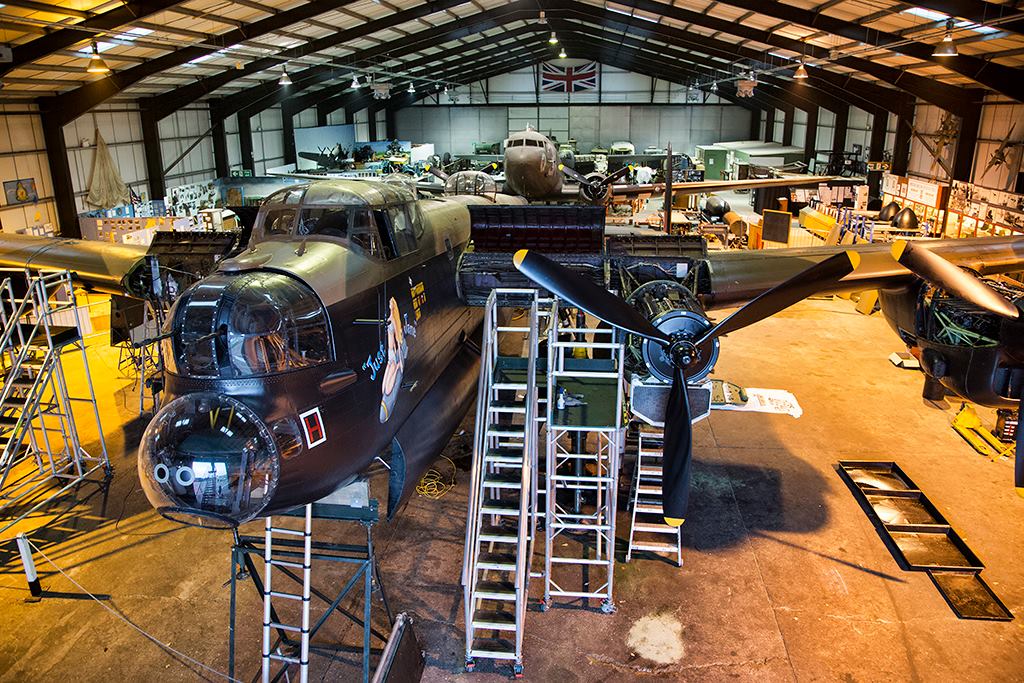
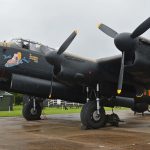
Avro Lancaster B.VII NX611, known the world over as "Just Jane" seen here a few years ago during an engine run, has been undergoing a long restoration back to airworthy condition at the Lincolnshire Aviation Heritage Center at the former RAF East Kirkby in England. Here is the latest update on restoration progress. (image via wikipedia)
United Fuel Cells


As regular readers will know, Avro Lancaster B.VII NX611 Just Jane is under restoration to airworthy condition with the Lincolnshire Aviation Heritage Centre at the former RAF East Kirkby airfield in Lincolnshire, England. The group continues to make magnificent progress, and we thought that everyone might like to see a recent (edited) report, reproduced here with permission.

You too can help support this important project; further details are HERE.


The Rivet Club – Newsletter 202

by Andrew Panton

Another busy month has passed, with some great visual progress!

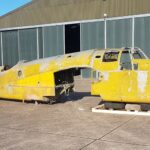
There have been no real problems with the restoration of NX664’s nose this month, barring some questions that arose when the original skins did not match the manufacturer’s drawings, having been fitted contrary to normal practice. We suspect that this may have occurred during incorrect rework during the aircraft’s service life. Interestingly, the nose section is missing the mount for one of the ‘Rebecca’ system aerials, so we will not refit them for taxying.

Chris has received significant assistance from Cees, who came over from the Netherlands for a week to help with the project. They have been able to cut, shape, and drill skins for the starboard side of NX664’s nose. These pieces are now painted and ready to rivet in place. Furthermore, Chris and Jodie have worked through riveting in the skins on the port side of NX664’s nose. The aspects remaining before this critical subassembly is structurally complete are for the team to rivet in the floor and remaining skins – which should occur sometime in the next month. It will then be ready for painting!

Starboard skins for NX664’s nose being pilot-drilled and pinned by Cees and Chris.

Starboard side skins pinned in place and ready to be riveted on NX664’s nose.

Port side nose skins being riveted in place.

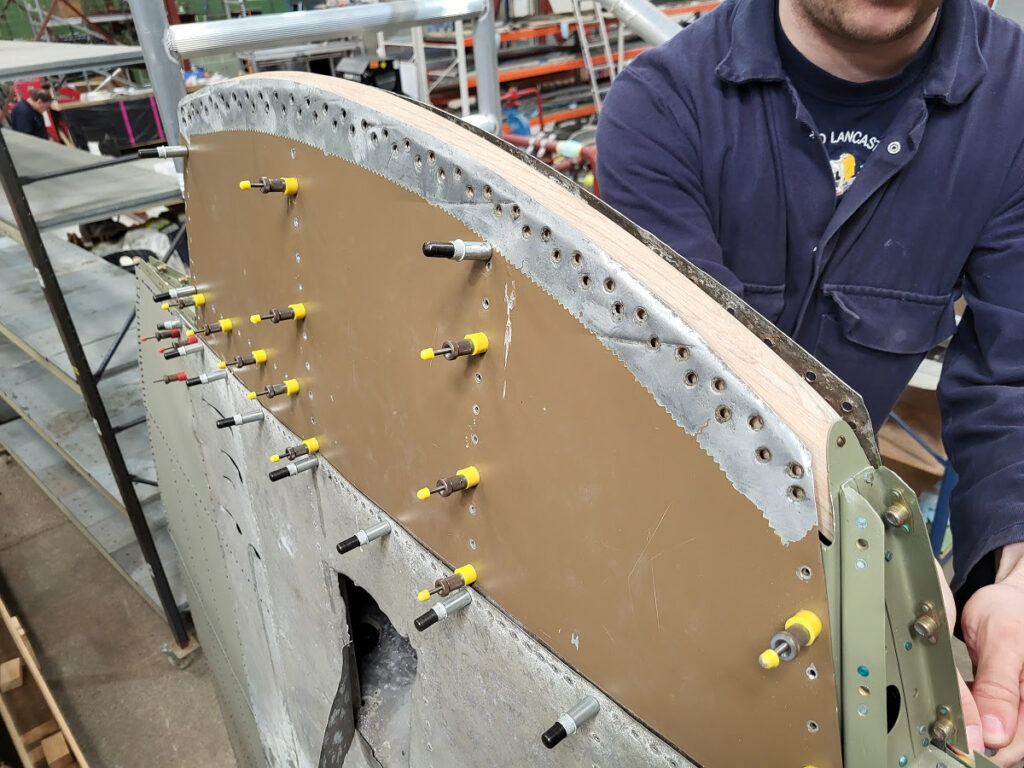
Jacob’s work on NX664’s port wingtip has been progressing well, with the last intercostal now riveted in place, along with the final repair patch. Following completion of these details, Jacob was then able to move on to pinning-up the trailing edge ribs and stringers. With the main structure now stable, the trailing edge could all be trial-fitted (along with the trailing edge casting) allowing the riveting process to begin.

NX664’s wing tip receiving its last replacement intercostal.

Jacob has pinned the trailing edge of NX664’s wingtip, ready for it to be riveted.

A repair to an intercostal in NX664’s wingtip.

Jacob was also able to move on to remanufacturing some topside skins, as the originals had all suffered from corrosion issues arising from the galvanic reaction between the aluminum skin and steel leading edge; the aluminum had been completely ‘eaten away’ in places where the dissimilar metals lay against one another. Jacob has gained a lot of experience with the English wheel, using it to shape the skins for the wingtip. It has proved an invaluable learning process for Jacob.

NX664’s wingtip receiving new top skins; t he originals were too badly damaged due to dissimilar metal corrosion from the steel leading edge.

We are very pleased to have received a pair of milling machines, donations from Steven Mooney Machine Tools of Brighton and Chris from Lawton Engineering in York. We are currently deciding where to place them and how they may be best employed to help the project.

Two milling machines donated to the project!

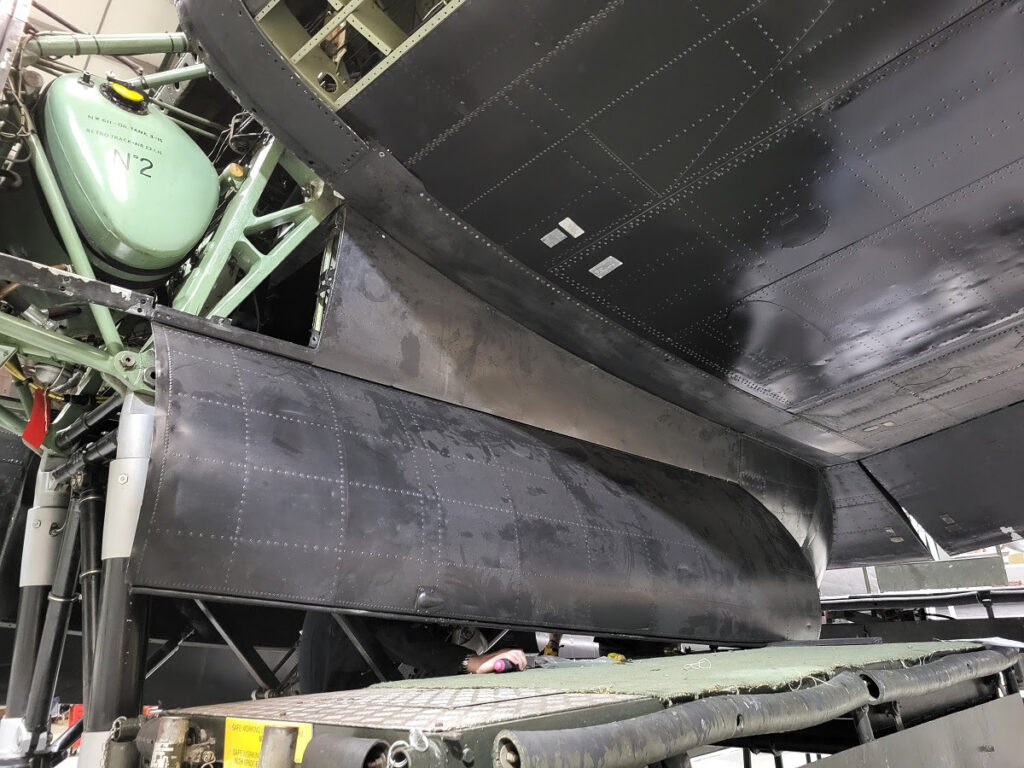
However, the big visual progress we achieved this month involves NX664’s port wing. We have taken the major leap of lifting and fitting the leading edge to the rest of the wing structure. We had a plan to raise the leading edge using a forklift with a strop slung around the outboard end and a tele-porter, with a lifting strap attached to the engine mounting points at the inboard end. We needed the ability to tilt the leading edge to match the wing’s  position, but furthermore, we had to feed the leading edge in to meet Rib 5 at the outboard end under an angle attachment point. It was a tricky process and required significant finesse from those involved.

The end rib pinned in position in the leading edge as it awaits fitting to the wing. You can see the new angle extrusions which secure the rib to the spar.

Preparing to lift NX664’s port wing leading edge.

Lifting the leading edge into position.

Almost there!

Partway through the wing’s restoration we discovered that it was actually comprised of many subassemblies, manufactured individually and then collectively assembled into a wing on a build-jig not unlike our own. The main difference is that factory built up the spars and fitted them to the jig first – and then slotted the ribs into position between the spars rather than the way we are doing it of building the wing up from the rear spar upwards. As a result, we adjust our process to match the original technique when it comes to rebuilding NX611’s wings; this will require some changes to our wing jig.

When we fitted the leading edge, it was important that all of the wing ribs were slotted in on the correct side of the attachment angle (which was already fitted to the spar web). As we lowered the leading edge down towards the wing, with the outboard end landing first, we progressively lined up each rib – moving inboard as the leading edge was lowered down. Thankfully this all went very well, and the team was able to easily pin up all of the attachment angles from the web to the wing ribs in preparation for riveting them down.

Lowering the leading edge – outboard end first – so it can sit under the angle correctly on Frame 5.

Lining up the wing ribs as we lower the leading edge into position.

Leading edge now in position and being pinned up ready to rivet ribs to the spar web.

Success!

Viewing the wing from its lower side.

The other important factor we had to consider when lowering the leading edge into position was to line up the studs in the leading edge spar booms with the holes in Frame 22 (the innermost wing rib). With this in place, we were able to fit the nut securing the inboard end of the leading edge to the main wing structure.

Interestingly, the wing ribs are both riveted to the leading edge spar web and bolted to it as well, with finger brackets which sit each side of the rib and bolt through it. This results in a sturdy attachment, adding significant strength to the wing, running fore to aft.

Bolting the wing ribs to the spar booms.

The fuel tank ribs are riveted directly to the spar web and do not fix to the spar booms.

Riveting wing ribs to the spar web.

After a few days of riveting the wing ribs to the leading edge, then bolting them in position, Keith moved on to fitting the upper leading edge skins. We had left this until last, so that the team had proper access for fitting/securing the leading edge. With the latter now fitted, we could begin attaching all of the skins to enclose it all and create that familiar Lancaster wing shape. The leading edge skins are riveted to the spar booms using plug rivets and riveted to the leading edge ribs using conventional, countersunk rivets. When all of the leading edge top skins are riveted, work can move on to closing up the lower face of the wing (with thousands of pop rivets) and fitting the lower side, leading edge stringers and skins. All of a sudden, the wing is finally looking like a wing again!

Pinning the leading edge top skins in place, ready to be plug-riveted to the spar booms.

Installing the plug rivets in the leading edge top skins.

Top skins in place and riveted as far as the final skin.

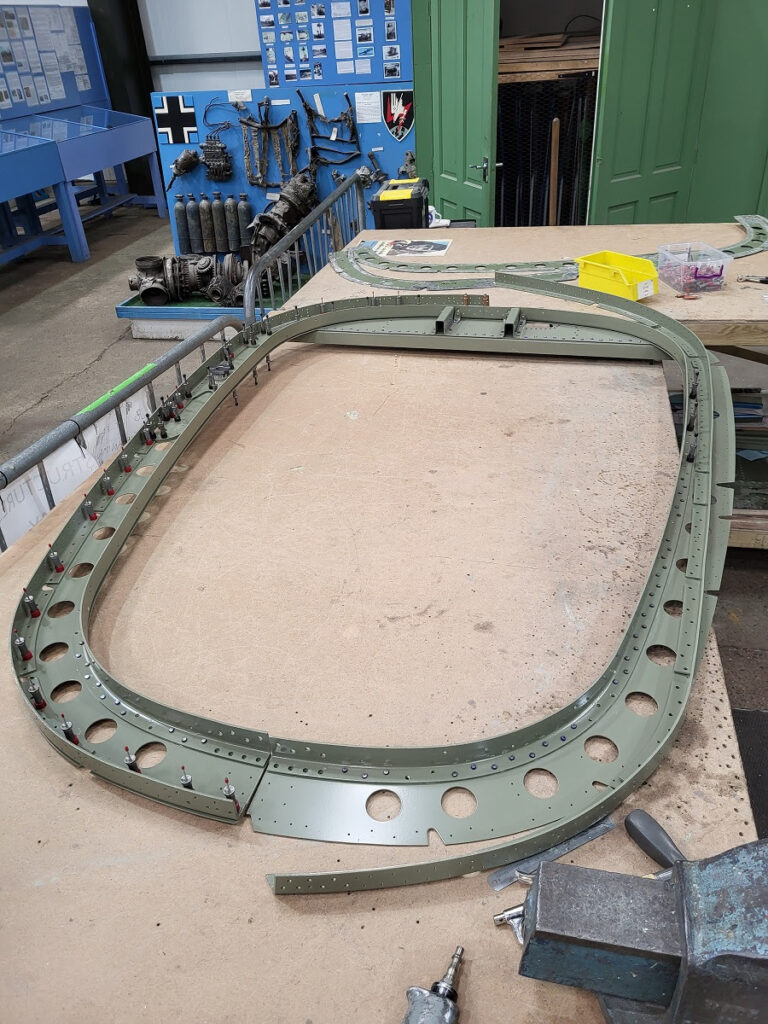
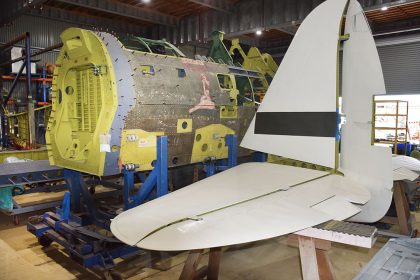
With respect to NX611’s rear fuselage, Dave has managed to finish producing the floor intercostals, along with the new formers forward of the tailplane, and is now working on the formers behind the tailplane leading towards the rear turret. Much of this is now with Mike for painting, so it will be ready to pin back into the structure ready for riveting up.

Norm has been working on the stringers; they are all trimmed and fitted, now that the forward formers are complete. We are just waiting on some new T4 tempered stringer material from Capalex so that it can be joggled (there are several stringers that need joggling to fit around other structures in the rear fuselage). Indeed, Norm is now in a position where the only stringers requiring further work are those that need joggling. Once the new material arrives, we will joggle it here and then send it back to Capalex for heat treatment to a T6 condition.

After removing a former towards the back of the rear fuselage, we found quite a lot of corrosion where the former’s two halves overlap at the bottom. This discovery has provided further justification to decision remove every rivet from the structure and strip it all for inspection and corrective action (where needed). The corrosion alone on this former has rendered it both unserviceable and in need of replacement. It is a constant battle against corrosion with these WWII aircraft, which were produced at great speed and with less consideration of their longevity such as their low life expectancy – just over half of the 7,377 Lancasters produced went down during WWII, with 3,249 of these losses being in combat.

Corroded aluminium alloy dust which fell from a fuselage former joint in the rear fuselage.

Fuselage former damage requiring replacement and showing signs of an older, low-quality repair.

Dave cutting out new material for the replacement former.

The newly-made former in place.

An image showing how the original former fits the wooden forming block produced back in 2020 from a 3D scan of NX611’s formers.

Next month’s report will hopefully see NX664’s nose complete, and another section of its fuselage arriving from France. NX664’s wing is almost complete, structurally speaking, ready for fitting to NX611 this winter!

And finally, our Gofundme wings campaign has now topped £57,739 of the £500,000 required! Thank you to everyone who has contributed, as you have helped us pay for the jigs and aluminium. If you would like to contribute to the Wings Fund and receive your special Wings Fund badge, then please click on the button below (badges are sent for donations above the £50).

WINGS FUND

Many thanks for your support!

Andrew Panton


The latest restoration video…


That’s all for this particular update. We hope that you have enjoyed reading it. As can be seen, a lot of work remains to be done, but the aircraft is well on the way back to flying condition. It is being done in a methodical and careful manner in order to keep the aircraft available for ground-running operations during the summer months. For those interested in helping support this important project, please click HERE

Be sure to check out their store HERE as well… There are many cool items to buy that will help get Just Jane back in the air!

Array

2 Comments

  1. Please keep up the great work. In Windsor Ontario Canada, they are restoring a Lancaster, FM 212. Check out there Facebook page to see the progress. Giving a big shout out to the volunteers helping to restore these two birds.

Graphic Design, Branding and Aviation Art

Leave a Reply

Your email address will not be published.


*