By John E. Mosley and edited by Greg Morehead
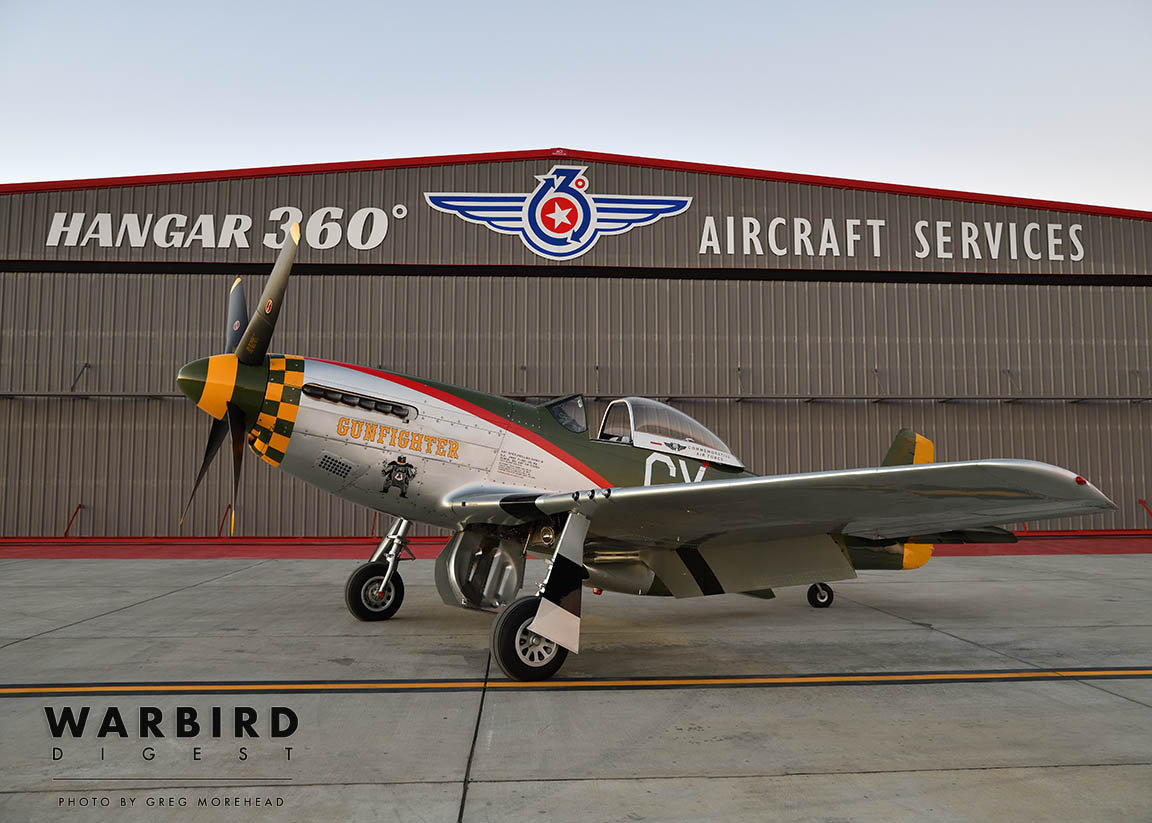
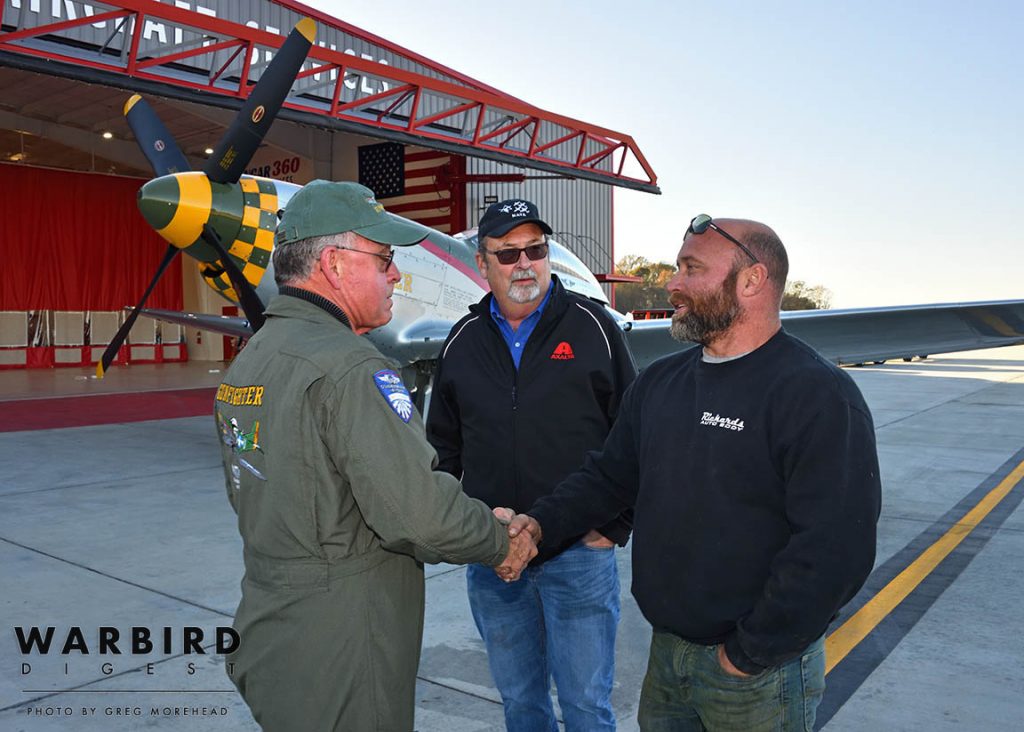
Over the past 35 years, the P-51 Mustang Gunfighter left its mark in the hearts and minds of countless people who enjoyed flight experiences in the iconic World War Two fighter. Unfortunately, years of service as a flying memorial and educational tool left their marks on Gunfighter too. In 2019, while attending a formation clinic at the Southern Heritage Air Foundation in Tallulah, Louisiana, Gunfighter pilot Larry “Lumpy” Lumpkin engaged in a conversation with John and Daniel Mosley from Hangar 360° Aircraft Services located in nearby Bolton, Mississippi.
Lumpy had heard about John’s 360° Coatings, which is a line of products John Mosley developed that is gaining widespread praise in the aviation and automotive communities for superior protection of painted and polished surfaces. Lumpy knew other warbird operators had applied Mosley’s two-part ceramic coating with great success, but he was more interested in new paint than protecting Gunfighter’s worn out surfaces. Lumpy learned that Mosley had decades of experience in automotive and aviation painting at their two Clinton Auto Body facilities and Hangar 360° Aircraft Services located at John Bell Williams Airport (JBW) and they prompted him to ask Mosley some questions.
With a friendly southern drawl, John Mosley smiled as he recalled the conversation with Lumpy: “Lumpy asked me if I had ever painted a Mustang. I told him I had done a lot of paint work on Dan Fordice’s, Charlotte’s Chariot II, but had not done an entire Mustang. I explained it wouldn’t be a problem because we have previously painted a couple dozen T-6s, the CAF’s P-63F King Cobra, TBM Avenger, plus quite a few GA aircraft, and I encouraged him to check them out. I think Lumpy thought his questioning had hit a nerve, which it had, but it was returned in good fun. We eventually set a date for the Mustang to arrive on October 19, 2020, immediately following the formation clinic at the Southern Heritage Air Foundation at the Vicksburg-Tallulah Regional Airport (TVR). Lumpy arrived with Gunfighter right on time. I was impressed that despite the need to get started on work, he allowed students from Hinds Community College’s aviation program to sit in the Mustang while he answered their questions.
“Larry is a very knowledgeable and detailed oriented person, and I appreciate working with people like him. He had contacted Eric Trueblood and Nic Johnson at AirCorps Aviation in order to research what markings should be included and where the placards should be placed. Eric and Lumpy worked together on the research and brought Hangar 360 into the conversation to address any concerns. AirCorps provided a full set of factory and Gunfighter specific markings as well as an installation manual with measurements and photos for us to map the markings properly. Additionally, they prepared a nice repair manual with all construction and hardware requirements to ensure all hardware related questions were answered. We also contacted our friend, John Muszala II, with Pacific Fighters for the control balance information and other technical data we needed.
“Our A&P/IA’s and I spent the rest of the first day letting Lumpy educate my crew on items he wanted them to be aware of. Lumpy seemed to be impressed with their attitude and knowledge. Our guys know when they work on a Warbird, they are doing more than a paint job; they are preserving history. We consider it an honor to be trusted to do so. Although we are not a full restoration shop like our friends at Pacific Fighters, AirPower or AirCorps, we are experts with light sheet metal repairs, service, and painting.
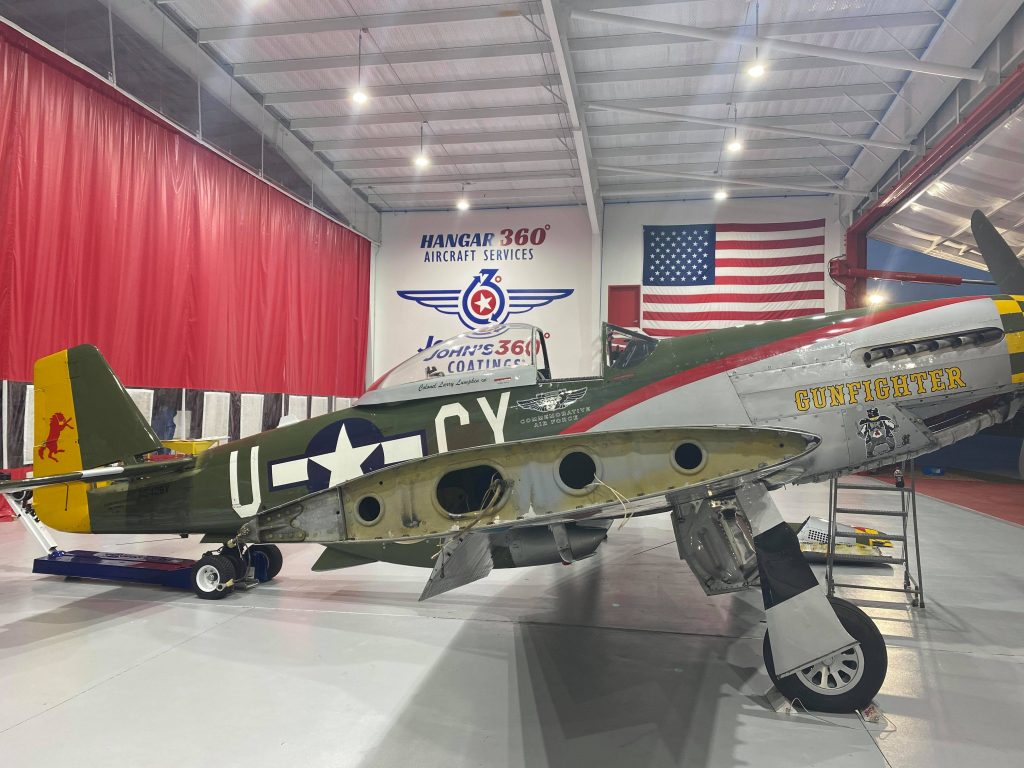
“We started disassembly that afternoon with IAs David Entrekin and Jimmy Chrestensen, referring to the manual and checking the condition and correctness of all existing hardware. There were some discrepancies, although none that compromised safety. Having the knowledge in hand of what was correct, the guys started a list for all new hardware, staying strictly with what North American required.
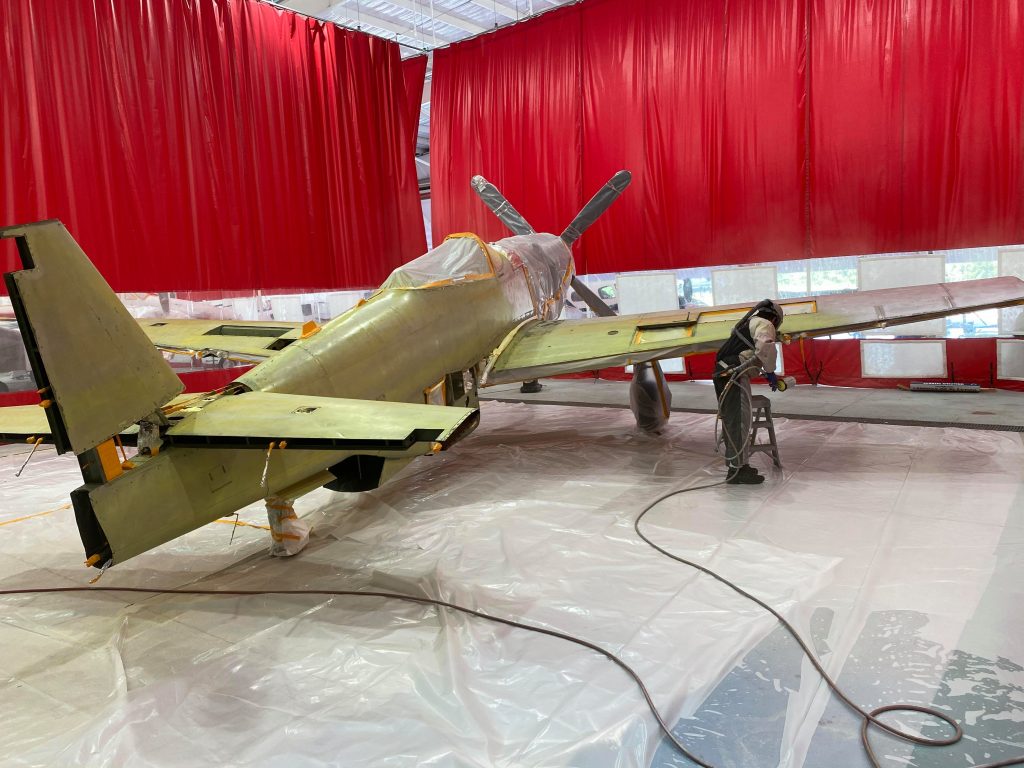
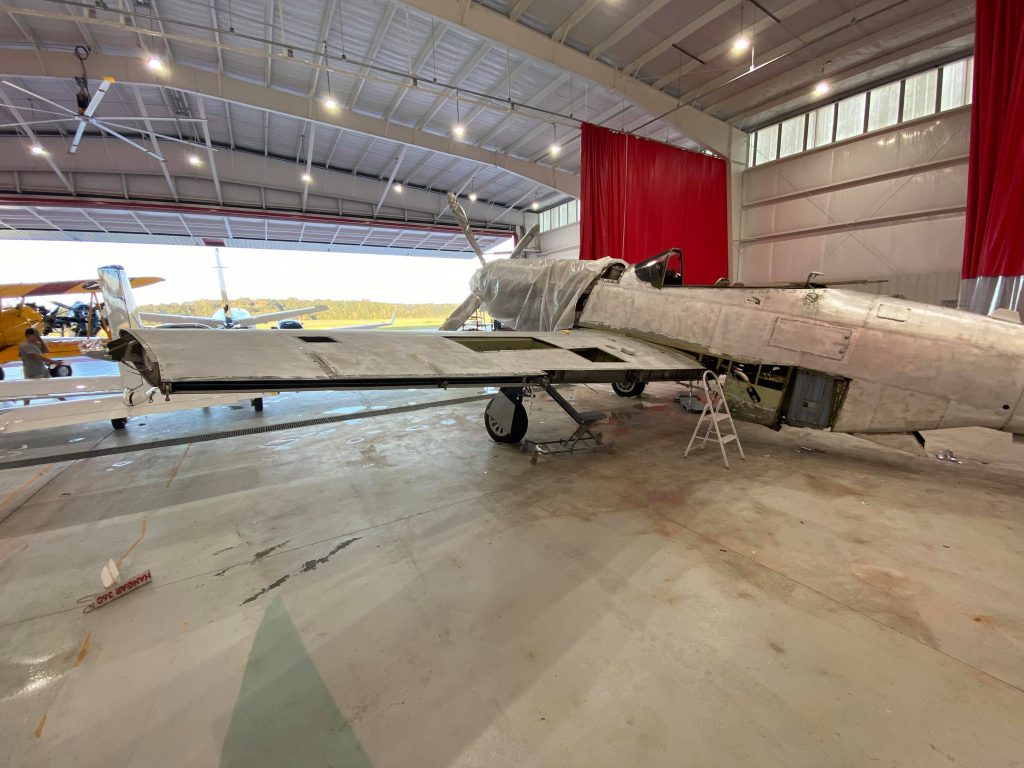
“After all the exterior panels were removed and assessed, the plane was prepared for paint removal. We used Aeroclean PS3010, a peroxide based remover because of its environmental friendly quality. It is a bit slower than the older MEK based products, but it still performs well. With all the areas that didn’t need stripper protected with aluminum tape and aluminum barrier paper, we used a siphon pump sprayer to apply the stripper. We put a solid coat of stripper on the entire surface and all the metal parts were removed for painting. Some parts are made out of materials not suitable for stripping and they were separated for safe keeping, which included the canopy and some composite parts such as trim tabs. After the stripper sat overnight, we removed it using a squeegee. After the first coat had been wiped off, we assessed the job and decided to do another light coat. The thing about the stripper is you have to be disciplined, and if you see areas that aren’t releasing, there’s no need to wash it off. In doing so, you will neutralize what’s on there and it becomes useless, wasted money. A second light coat usually takes care of everything.
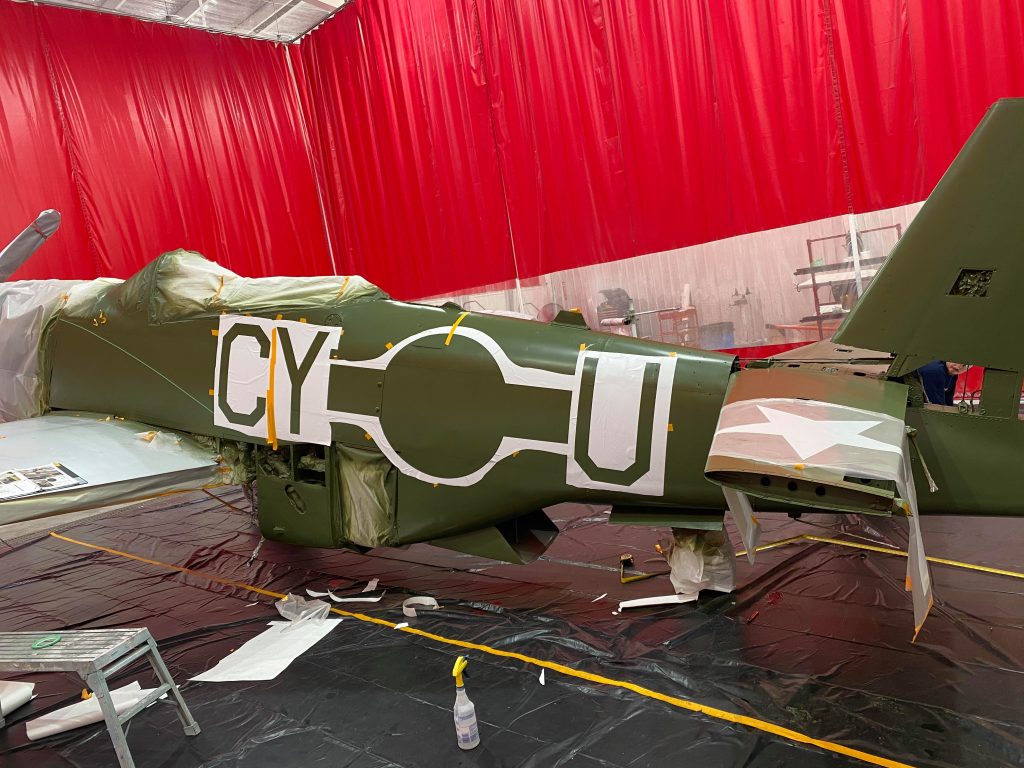
“After the second coat had been wiped off, we washed everything clean. The next step was to use the alkaline cleaner specified by Aeroclean to neutralize the stripper and prepare the surface for corrosion protection. Our preferred method is to use Scotchbrite pads on an orbital sander to agitate the surface while spraying the alkaline solution on the surface. Once that process was finished and rinsed clean, we removed all the protective covering, checked and verified there was no damage from stripping and prepared for re-covering any areas that don’t get painted. The second job of masking was accomplished using treated masking paper and high quality tapes that paint doesn’t penetrate. Next, we thoroughly cleaned the spray area. Your finished product will never be any better than the area you spray in.
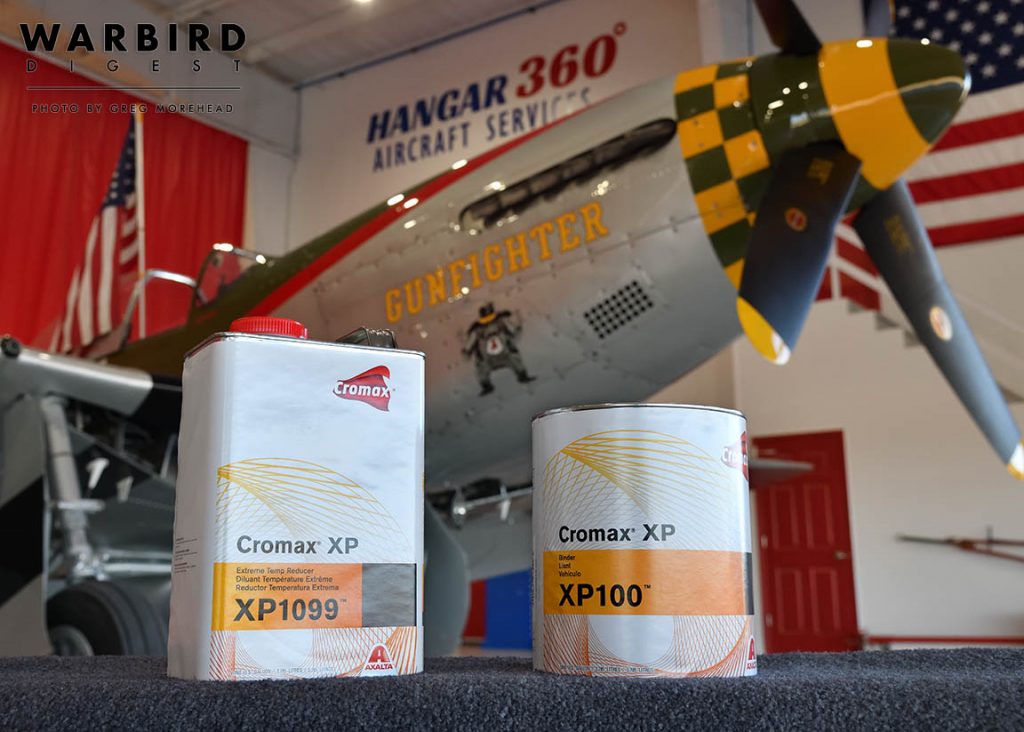
“Next, we cleaned the airframe with wax and grease removers to ready it for the Axalta pre-treatment and corrosion protection. It is critical that nothing is sprayed on the job without proper cleaning, which includes using a tack rag to remove residue. Even tiny particles will ruin the look of the final finish. After we sprayed the corrosion protection and waited the recommended time for it to cure, we cleaned again and sprayed two coats of Axalta epoxy on everything.
“When we stripped the airframe, we knew it was a good one; however, it was 75 years old and had filler applied in places – some of which had no reason to be there. We believe in keeping the airframe as original as possible so if it’s needed, we use high quality, lightweight filler, or in the worst cases we replace parts or skins. To ensure we found all damaged areas, no matter how small, we patted a layer of black guide coat powder over the entire airframe and parts, we then block sanded it off. Using this technique, any remaining powder identifies areas of damage.
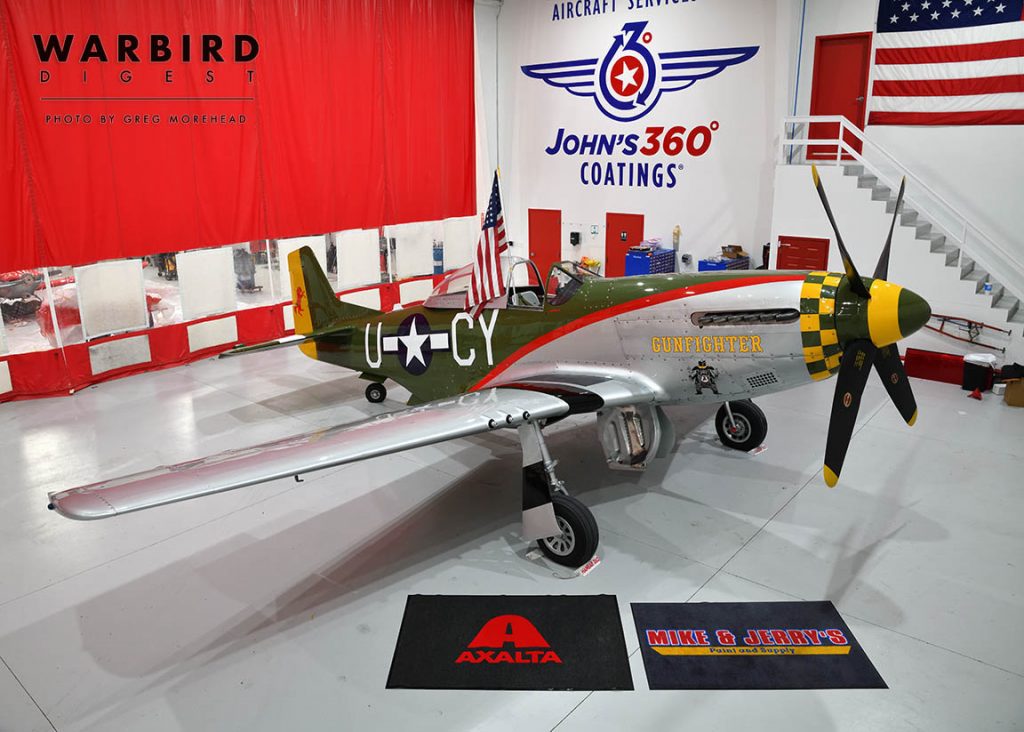
“We repaired the damage, cleaned everything again and applied another coat of epoxy. We let that coat dry overnight and proceeded with a very fine sanding to a slick finish. The surface was then ready for the Axalta basecoat. We used the same colors the plane had been painted with years ago. We started with the green, then laid out the scheme and painted numbers and stars and bars. We used a brilliant silver basecoat because opposite of the sparkling metallic you would see on a bass boat, it has a very fine pearl for sparkle. The brilliant silver more closely resembles bare metal than any other silver we have found, and we have used many. Next, we laid out the scheme for the wings and painted the stars and bars, stripes on the wings and the area forward of the firewall. The investment Lumpy made with Air Corps paid off in the quality of their stencils and the guide to apply them.
“Once we had everything sprayed, it was time for clear coat. Should I mention we did a lot of cleaning again? Next, we applied three coats of Axalta Clear coat, letting each coat dry thoroughly while cleaning between each coat. We followed up with a fine sanding with 3000 grit sandpaper and machine buffing it to a glassy finish. This reminded me of Lumpy’s requirement from one of our first conversations. I asked him if he wanted a matte finish or a glossy one. He replied, ‘We want it as shiny as a diamond in a goat’s ass!’ I jokingly told Lumpy, ‘Looking at the polished product, I can almost see a goat‘s ass, or did you walk by?’
“As we were finishing the process, one of our guys said ‘It sure is a shame to paint all these fasteners because the next time we see them the paint will be knocked out of the grooves from having to use steel Dsuz tools or screwdrivers to open them.’ This spurred me to call Lumpy and ask if he was interested in taking it to the next level by replacing all the old Dsuz fasteners with new titanium ones from Skybolt. It was risky and would take some time but it would pay off big in appearance and longevity. Lumpy said ‘Go for it.’ The fastener installation was challenging at first, but local A&P/IA Andy McCain put his engineering degree and machine shop to work, modifying a tool to use for installation. It worked great and they are beautiful.
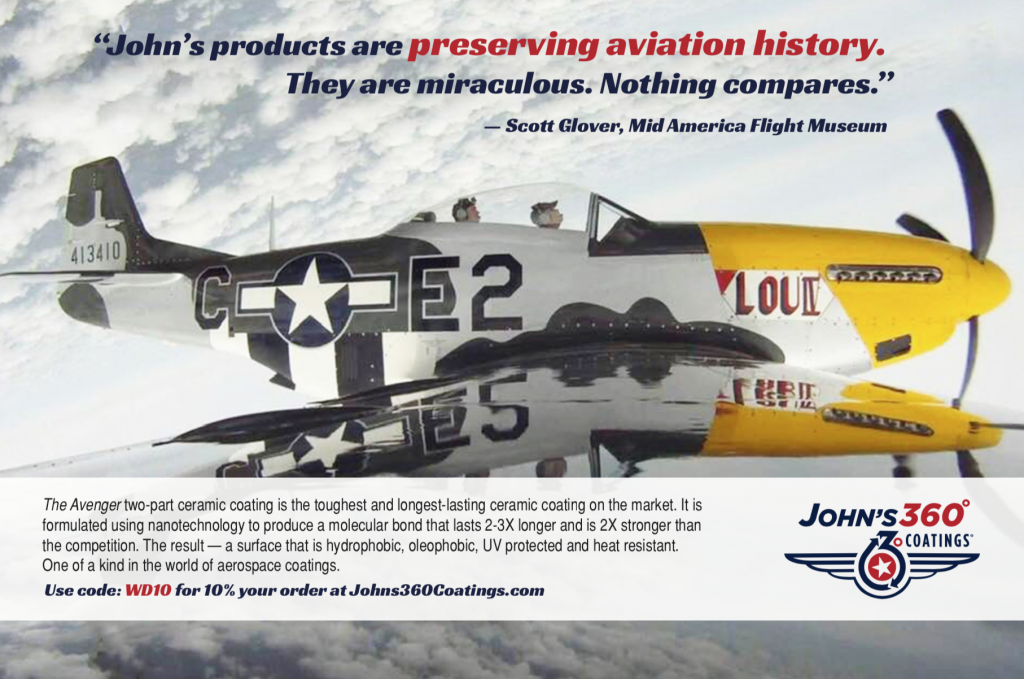
Gunfighter was completed with the application of our Avenger two-part ceramic coating from John’s 360° Coatings.
“Today, the plane looks like glass and should prove to be a beautiful photo subject for decades to come. We consider it an honor to renew and protect a cherished piece of American history. We know we are honoring all those who served and sacrificed for our freedom and we treat every warbird that way.
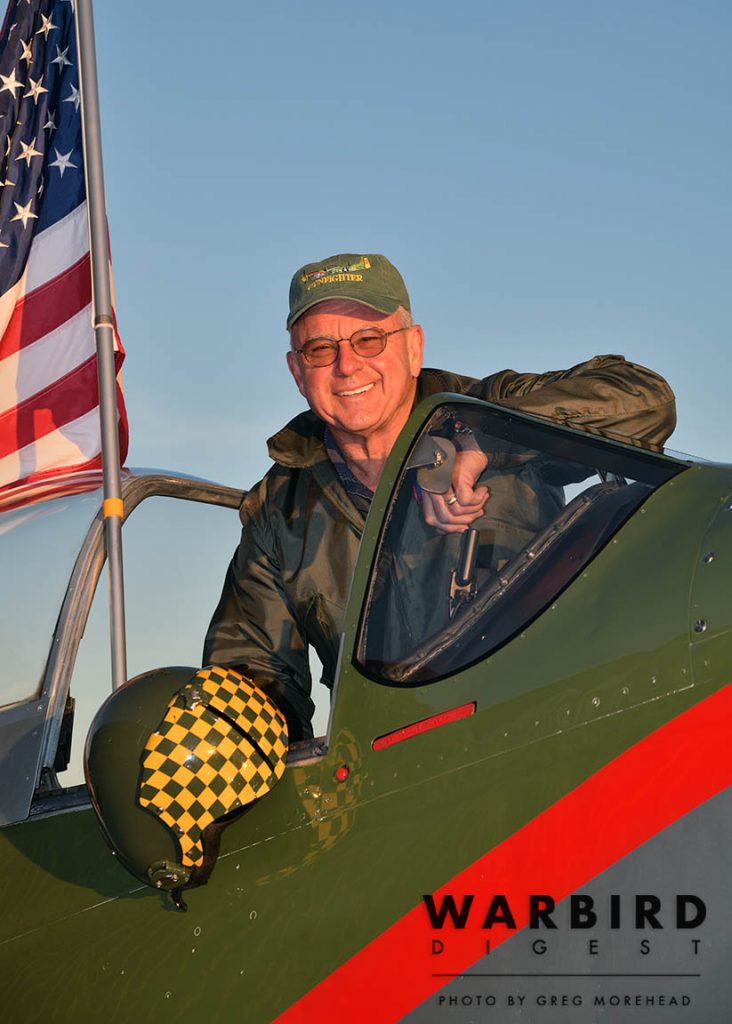
“When you see Lumpy, Jeff or the other guys taxi up in Gunfighter, you’ll see that beautiful American flag flying above, and its reflection in that beautiful airplane, if that goat ain’t in the way.”
Time to Fly!
On Monday, December 7, 2020, Lumpy arrived to prepare Gunfighter for the trip home to the CAF Great Plains Wing in Council Bluffs, Iowa. He took the Mustang up for a perfectly normal test flight before Jeffries Airworks arrived to balance the props. Gremlins known and despised by warbird operators worldwide then made their appearance, resulting in a postponement of the planned photo flights from Tuesday to Wednesday.
Mosley explained, “We called Wayne Patenaude at WP Aircraft Services for help on the ignition problem. Wayne had a T-6 wing loaded on a trailer ready to depart for an installation in Florida. Wayne called his customer and the customer graciously allowed Wayne to be a day late so he could help get Gunfighter flying. Wayne drove several hours but arrived at Hangar 360° Aircraft Services by 10 a.m. By 2 p.m. Wayne had identified the problem and corrected it. A loose spark plug lead had created the same symptoms as a dead magneto. Thanks to Wayne’s expertise and his love for warbirds and their operators, Gunfighter was back in the air, running like new. The camaraderie and friendships built in the aviation community have to be experienced firsthand to understand the strong bonds formed by aviators and their flying machines.”
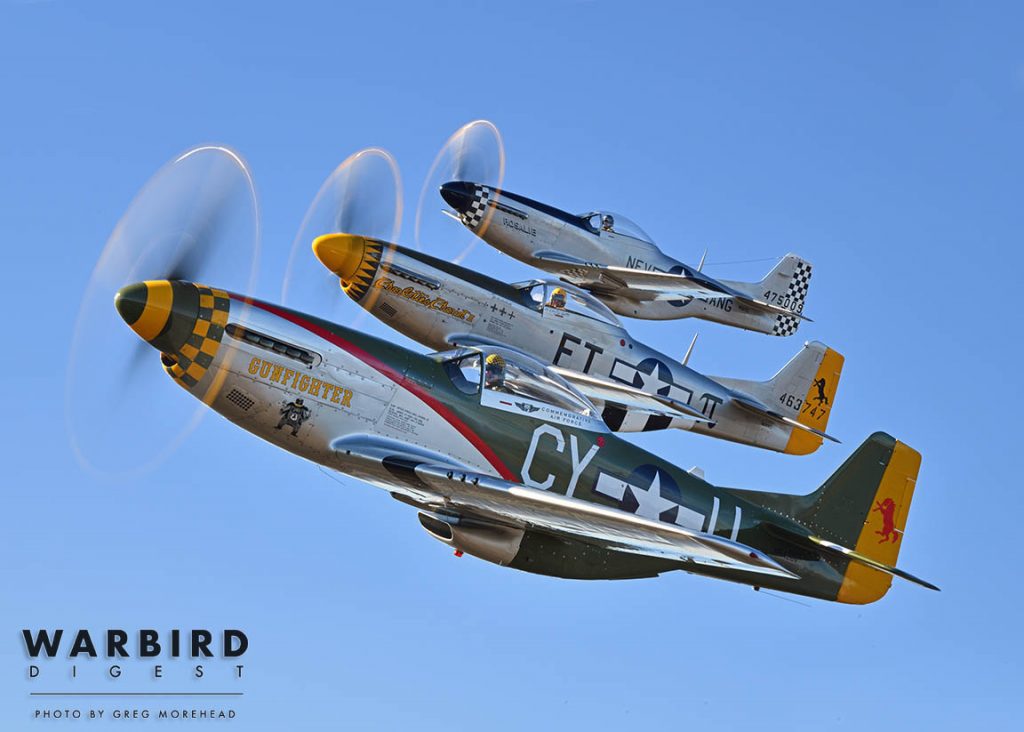
Flying along with Lumpy and Gunfighter to celebrate its unveiling were Dan Fordice in Charlotte’s Charriot II and Paul Barnett in Rosalee. Fordice graciously provided his T-6 as a photo platform, which was expertly piloted by Jimmy Fordham.
After a day of flying with great friends under blue Mississippi skies, Lumpy was quick to exclaim there is nothing like southern hospitality as the pilots and mechanics of the Deep South made the entire experience wonderfully unforgettable. Now that its Mississippi Makeover is complete, Gunfighter and its CAF caretakers are ready to continue their mission of creating unforgettable experiences for countless more people for many years to come.
John’s 360˚ Coatings protect and preserve automotive, marine and aircraft vehicles with premium detailing products and the strongest, longest-lasting ceramic coating on the market. Learn more at www.johns360coatings.com and save 10% off your order when you use code WD10*.*excluding bundles
Follow John’s 360 Coatings on Facebook and Instagram: @johns360coatings
