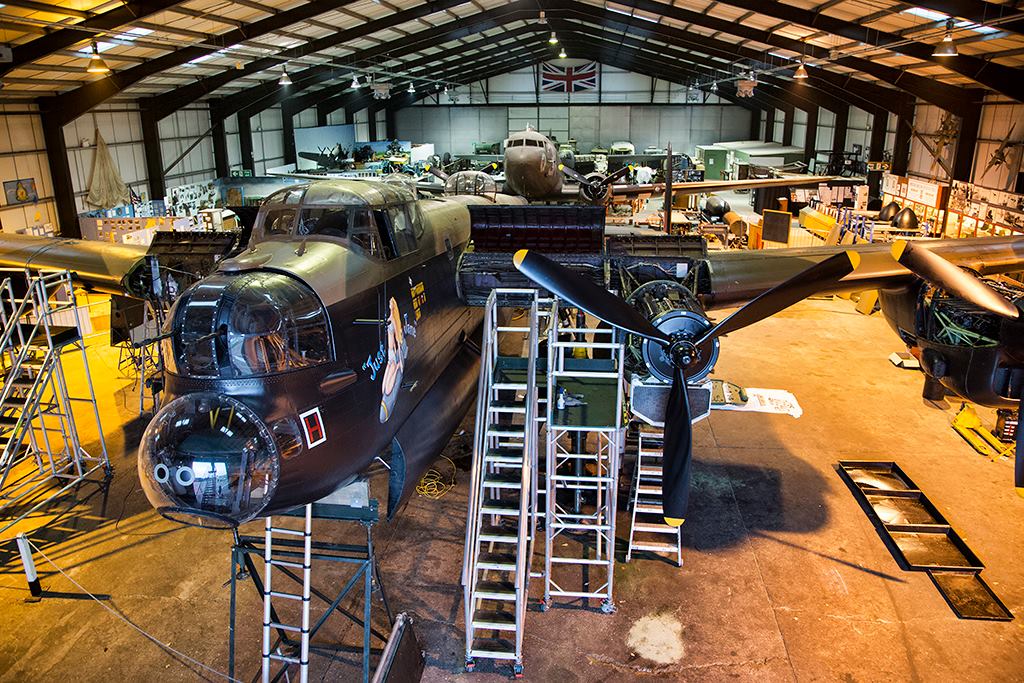
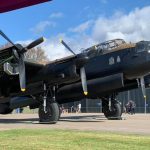
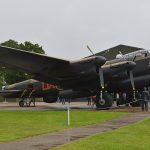
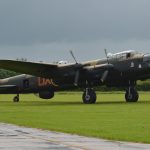
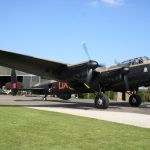
As many of our readers will be well aware, Avro Lancaster B.VII NX611 Just Jane is under restoration to airworthy condition with the Lincoln Aviation Heritage Center at former RAF East Kirkby in Lincolnshire, England. The group has made magnificent progress, even during the pandemic, and we thought that our readers might like to see a recent report, reproduced here with permission…
The Rivet Club – Newsletter 149
by Andrew Panton
Unbelievably another month has passed and it’s been another very busy one, not only with engineering but also with our summer season and air show.
Since the last newsletter, the team has been making great progress with all of the projects we have running.
We have finally received all of the sections of the trailing edge for the airworthy wingtips. The sections are cast and are the parts that were incorrectly cast previously. Upon receipt of these items, Keith began the process of fettling them for their final fit. Each wingtip trailing edge is formed from two sections, one straight and the other curved. They fit together with an overlap joint, so Keith has had to spend many hours carefully filing the mating faces to produce the correct joint. With this completed, he clamped the new parts into the wingtips and marked the attaching skins for their final trim, so that they meet with the trailing edge correctly to produce a tidy finish. The next part of the process involved pitching in all of the holes from the skins through to the trailing edge, and with this calculation and marking completed, the skins could then undergo drilling to mark the appropriate hole placement on the trailing edge. Once the hole positions were marked on the trailing edges, they could then be removed from the wingtips so that the rivet holes for joining the two sections of the trailing edge could be plotted. One of the problems we found with the original, 1940s-vintage trailing edges was that they had been riveted together before fitting to the wingtips, and this meant that when the rivet holes were drilled for fitting to the wingtip, they had actually partially drilled into the rivets which held the two sections of trailing edge together! While this was obviously a quicker way to accomplish such a task, it is utterly unacceptable for today’s standards!
With the pitching all arranged, the two sections of trailing edge were riveted together and they were fitted to the wingtips as an assembly. The holes were then drilled for the attachment of the trailing edge to the wingtip. The trailing edge material was very hard, so drilling these holes took a fair while in comparison to expectations. Once the holes were drilled and de-burred, we painted the trailing edge components which then allowed us to finally rivet the wingtips together. This was the concluding phase to what has turned out to be a long project due to manufacturing and sourcing delays… along with a global pandemic! The starboard wingtip is now complete and ready for paint.
A short video of some of the restoration work on the wingtips.
We are still awaiting the Perspex wingtip light covers to arrive from the factory. These have also suffered a long delay as the company producing them is involved in the production of PPE and medical machines. However, once these parts arrive we will be able to finish off the forward skin for the port wingtip.
The first of the Number 1 fuel tanks is progressing through overhaul; it is presently undergoing the removal of its coating layer. Gerbs found a patch of corrosion, some dents, and some strange discoloration during this work, but once all of the coatings is completely removed, he will be able to give them a thorough inspection and produce a report for the work pack so the repair phase can begin.
Keith has moved on to the finishing stages of the spare elevator while he awaits the Perspex parts for the wingtips. The elevator now has its replacement skin produced and painted ready for fitting. The torque tube has had some minor corrosion removed and addressed. We have also received the new elevator trailing edge from Cunningham Aero, which we have since adjusted, dry fitted, drilled, and painted. The elevator is now all ready for riveting up and has been placed back into its stowage frame to facilitate this process next week.
The fuselage for Lancaster KB976 is now in the jig. We received and fitted the new threaded sockets for the rear jig mounting points and hoisted the fuselage into position. With this fuselage section jigged, the real restoration work could then begin. John set about the major work of removing skins and peeling back both the ‘bodged’ and original structure to allow him access to the stringers. All of the damaged stringer material in the forward section of the rear fuselage will be replaced – starting top center and working down the sides. In order to maintain its structural integrity, all of the stringers joints must be staggered.
Upon fitting the cruciform to the transport joint, we found that the extrusion at the transport joint had been deformed slightly during the hangar collapse which damaged KB976 severely in August 1987. This damage will undergo rectification shortly, with the application of heat and force!
So far, John has progressed with the stringers all of the ways across the top of the fuselage and down the port side. The starboard side is badly deformed due to the hangar collapse, so we will need to replace some formers before we can work on the new stringers for this side.
Working on KB976’s fuselage is revealing much of its history and the modifications it underwent during its service life. For example, the main floor section which holds the downward identification lights was removed and reinserted further aft for some reason! This was a significant airframe mod, and very poorly executed too, but the work seems to have occurred to allow the installation of some form of radar or other equipment.
Ian and Les have been forging ahead with skin repairs and fabricating some replacement skins, while Phil has been repairing some stringers on the starboard side above the tailplane.
The next big step with KB976’s rear fuselage is the production of some new formers, but the problem here is that these components are either so badly damaged that they are unusable as patterns… or simply not present! Furthermore, the drawings we possess describing these formers are quite poor and illegible in some instances, so we have concluded that we must investigate the possibility of 3D-scanning the requisite formers on NX611 to produce appropriate CAD drawings, which would then allow us to cut wooden patterns to shape the replacement aluminum formers.
We are presently talking to a scanning company, but if any readers know of an entity that could give us favorable rates, then please let us know!
The wing from the French Lancaster, WU21, has also made progress in this very busy month. Our jig builders, Intelect, have visited and produced preliminary drawings for the jig to hold it. We have accepted the drawing, and so we are now in the stage of creating production drawings, test and then final production. In preparation for drafting these final drawings, we have started to strip some skins from the wing to allow the location of attachment and reference points.
The Gofundme crowd-funding campaign to raise capital for the wing restoration has started well and has risen to over £15,000 as of August 22nd. This has covered the cost of the first transport, and we need just £5,000 more to cover the next stage, which is the production of the jig. If you would like to help support the wing campaign, then please follow the link WINGS FUND
Stay safe and thank you for your support!
Andrew Panton
That’s all for this particular update. We hope that you have enjoyed reading it. As can be seen, a lot of work remains to be done, but the aircraft is well on the way back to flying condition. It is being done in a methodical and careful manner in order to keep the aircraft available for ground-running operations during the summer months. For those interested in helping support this important project, please click HERE
Be sure to check out their store HERE as well… There are many cool items to buy which will help get Just Jane back in the air!


