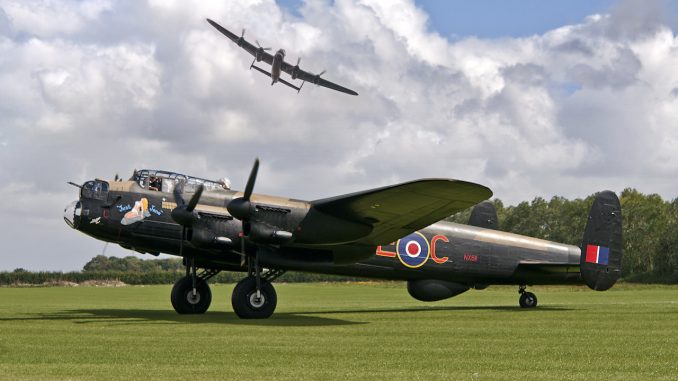
As most of our readers will know, Avro Lancaster B.VII NX611 Just Jane is under restoration to airworthy condition with the Lincoln Aviation Heritage Center at former RAF East Kirkby in Lincolnshire, England. The group has made magnificent progress, even during the pandemic, and we thought that our readers might like to see a recent (edited) report, reproduced here with permission…
The Rivet Club – Newsletter 173
by Andrew Panton
Welcome to Newsletter 173,
This is a bumper edition for June!
KB976’s rear fuselage has been coming on in leaps and bounds. The formers are now all trimmed, drilled, deburred and permanently fitted into the fuselage. Dave has worked around 60% of the new stringers, de-burring and riveting them together for final-riveting to the skins. Phil has completed his work around the doorway, with all of the reinforcing plates and doubler skins now finished. He has moved on to final-trimming and fitting the stringers located between the transport joint and doorway.
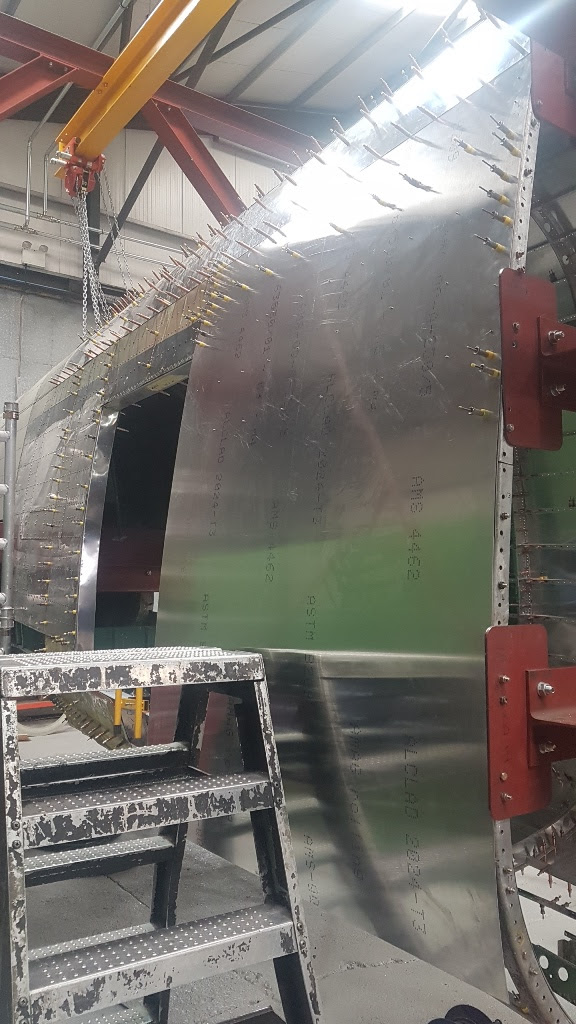
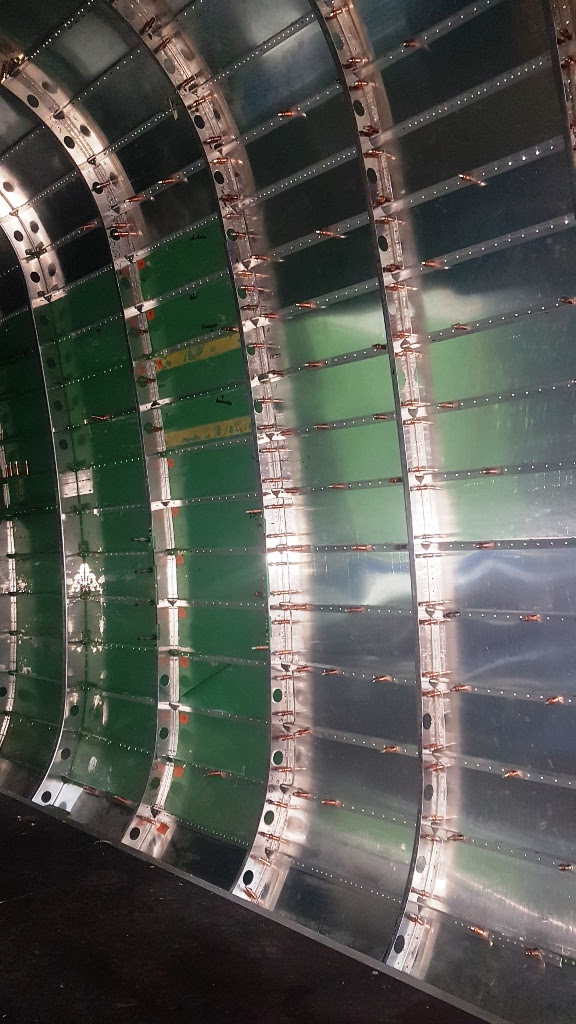


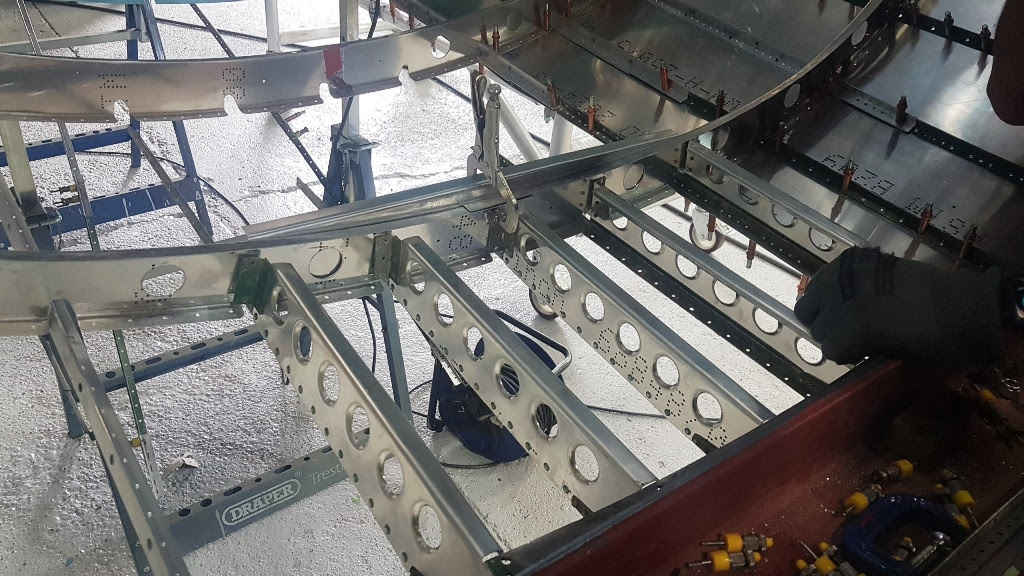
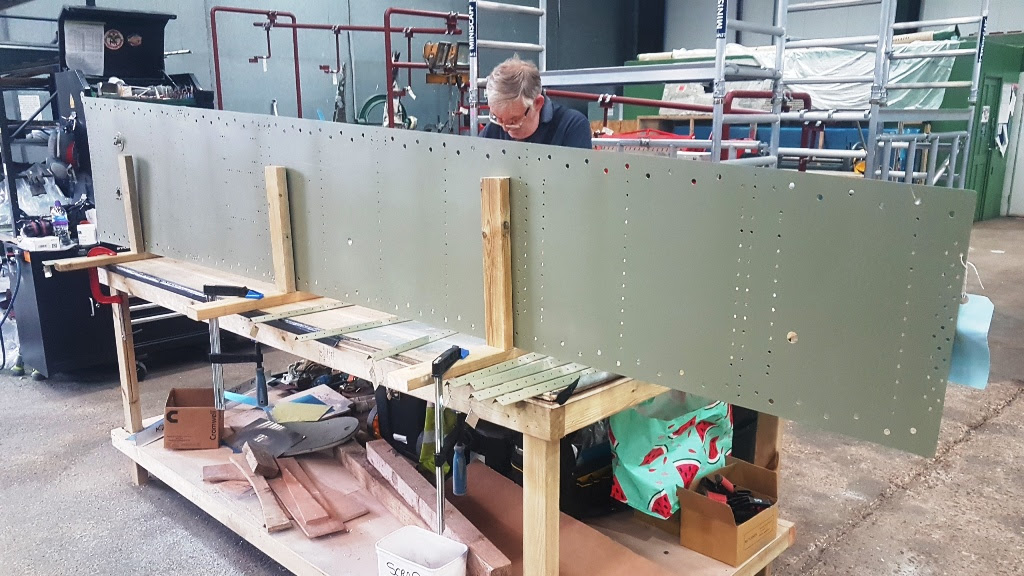
Les has been very busy with the new soda blaster and we have already worked through 1 ton of soda media in cleaning up all of the spar webs, wing ribs and some skins from NX664’s port wing. The blasting is delivering very good results with only the deeper corrosion requiring a final detail finishing with the Roloc discs. This has saved countless labor hours and it is environmentally friendly as well!
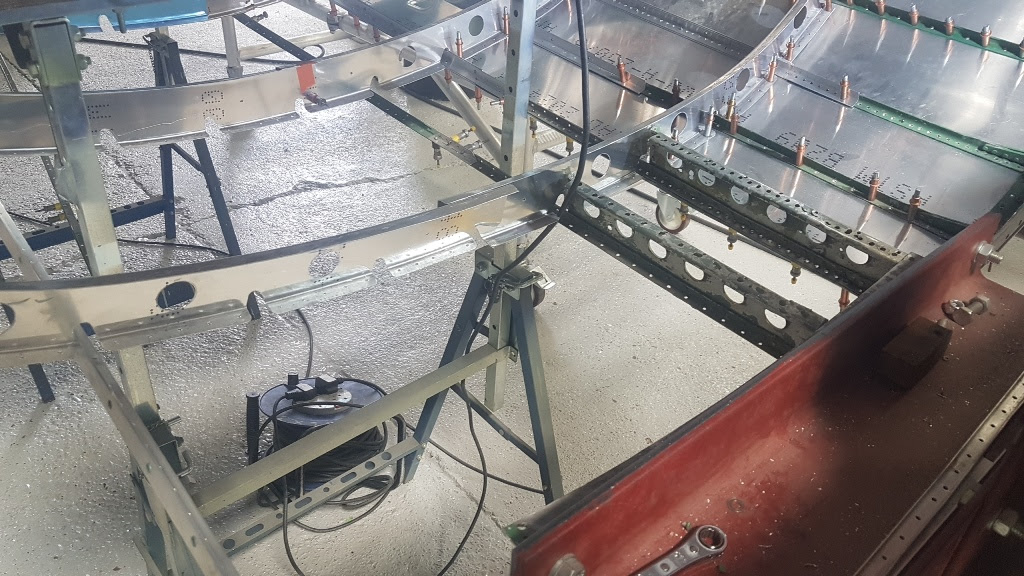
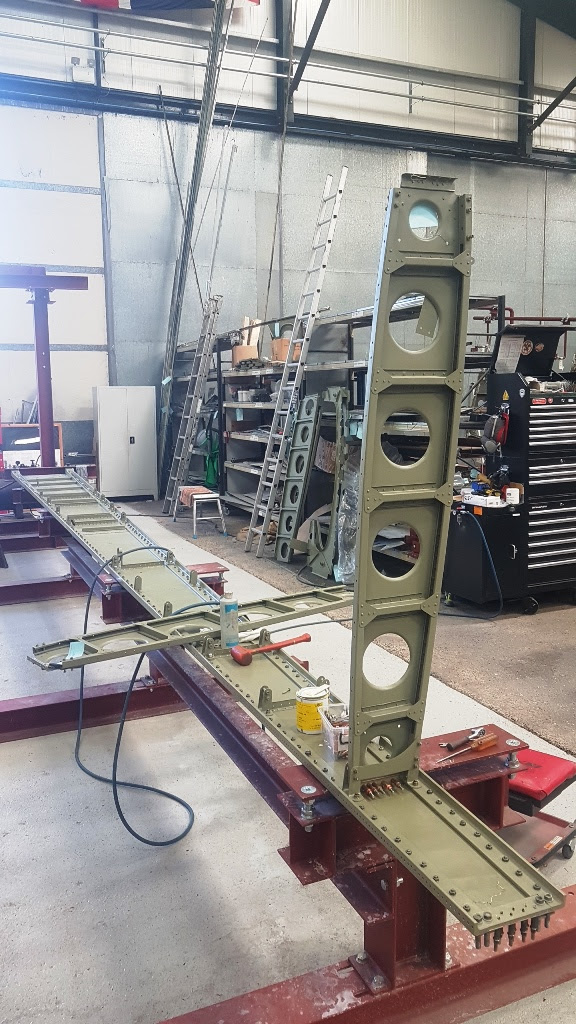
With the spars and webs blasted and now painted, Keith has been able to build the rear spar back up ready for refitting in the jig. Double-ended studs bolt the spar booms and webs bolt together along their length, but there are also a number of blind rivets employed too, however, we’re still not sure of their purpose! The spar webs are riveted together with joining plates, and of course there are stiffeners riveted to the web plates as well. It’s so good to see the wing going back together now! All of the bolts and studs for the spars/webs have been blasted and cleaned up so they are ready for refitting. We have been able to save the majority of this structure, which is of huge benefit to the project.

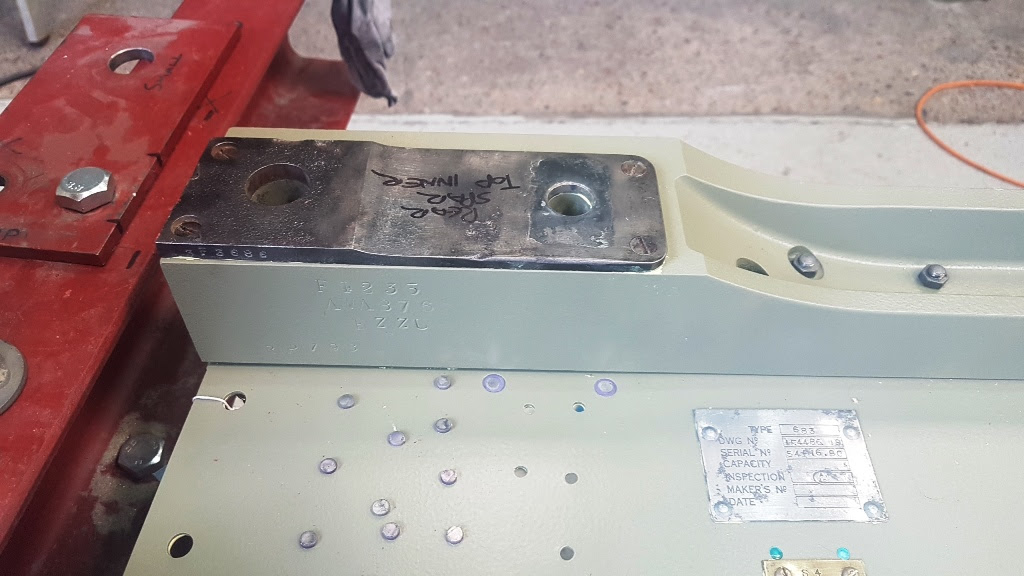
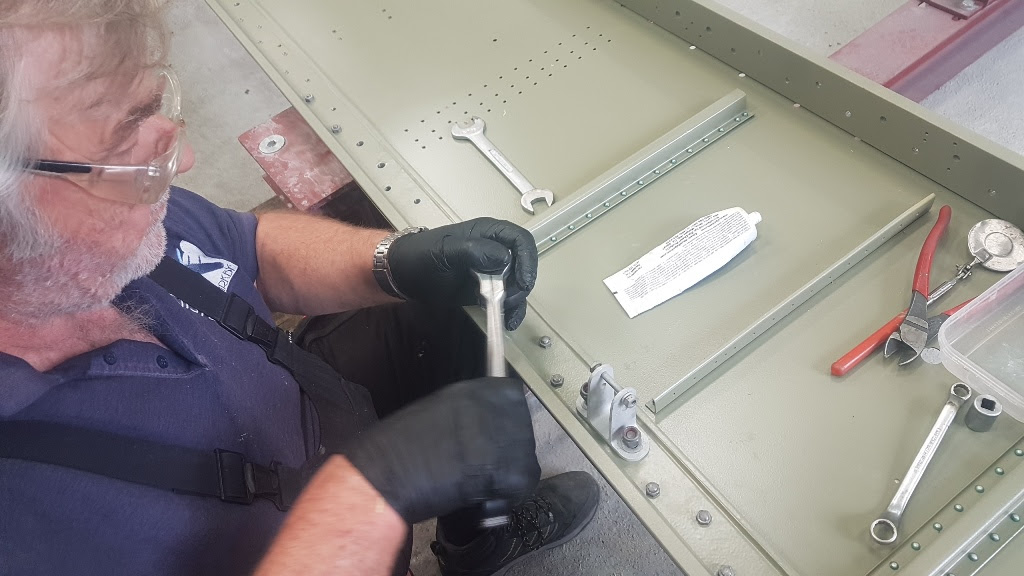
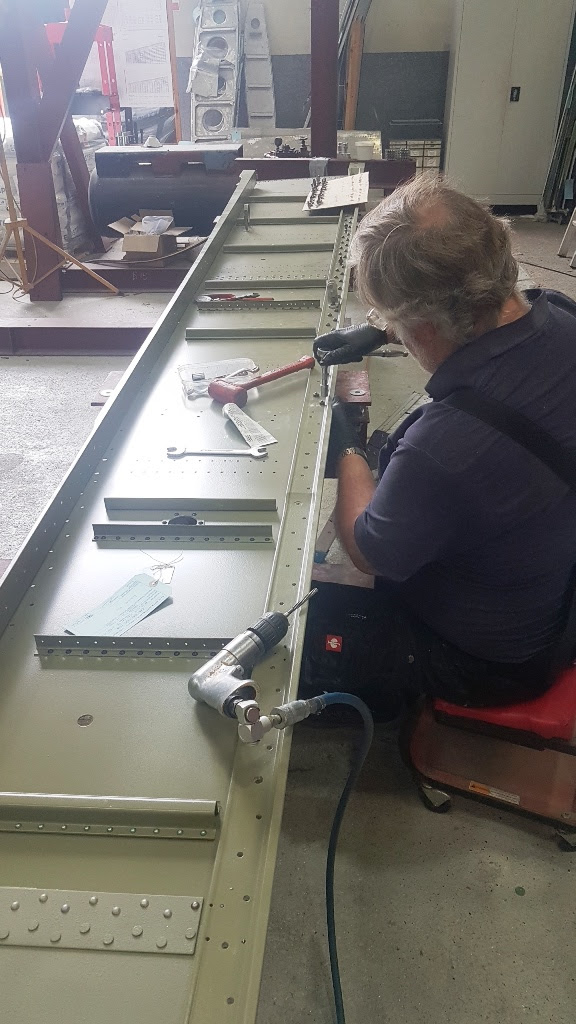

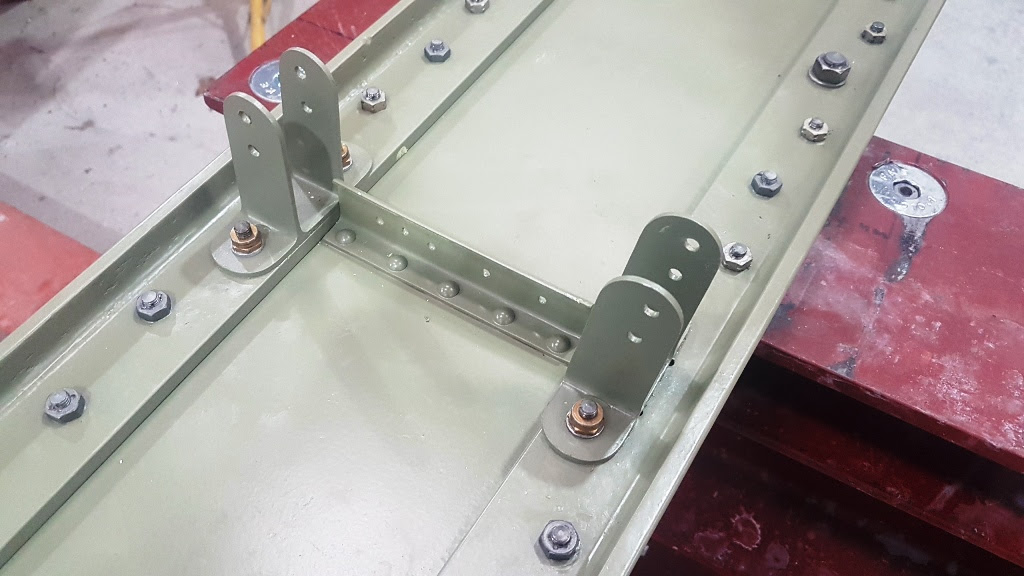
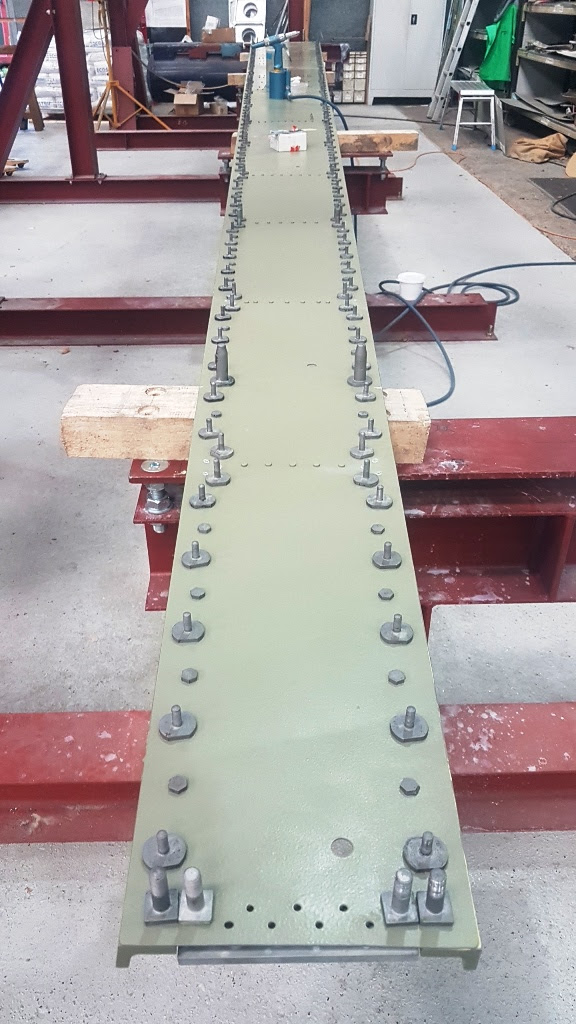

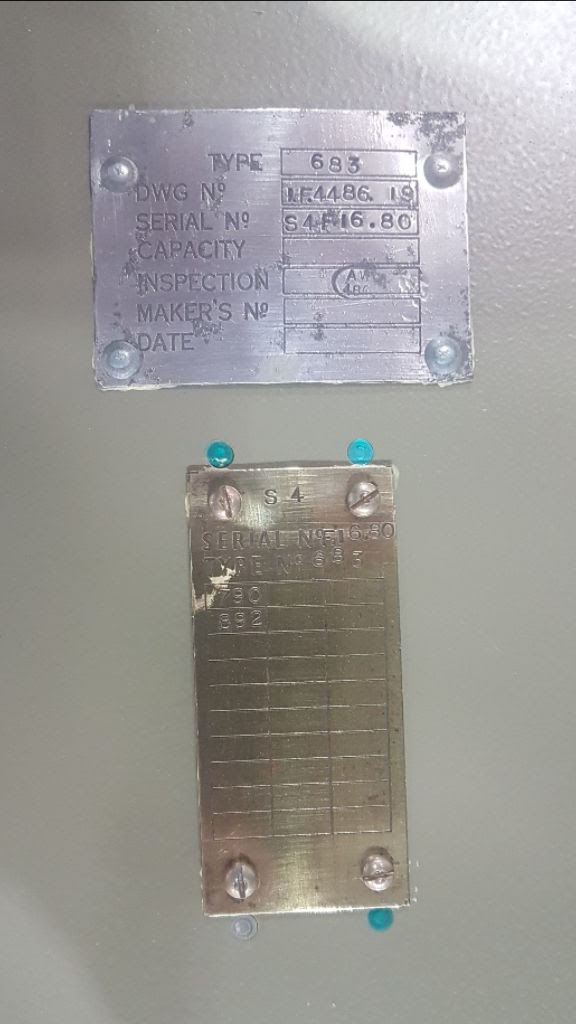
With the wing spars and webs bolted up, Keith has moved on to refitting ribs to the assembly. These components have passed through inspection, blasting and painting prior to this point. The ribs simply bolt to finger brackets which are in turn bolted to the wing spar booms and then riveted to an angle bracket which is riveted to the spar web.
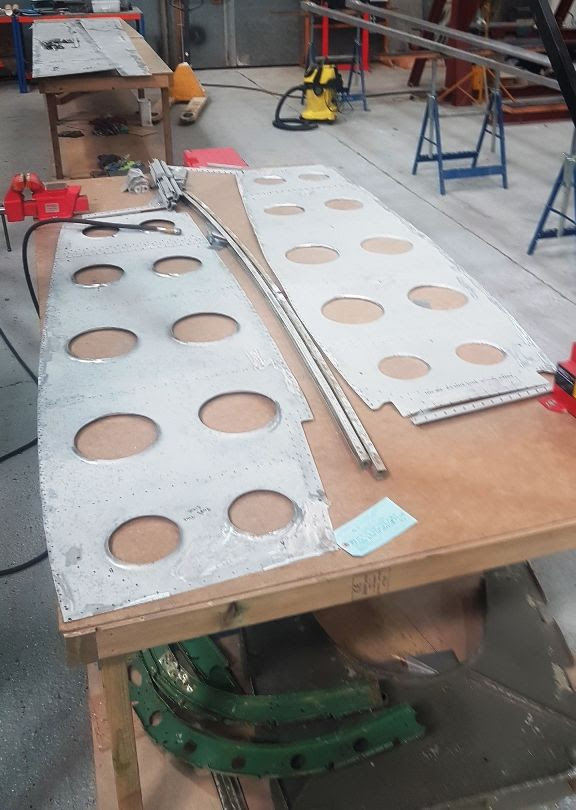




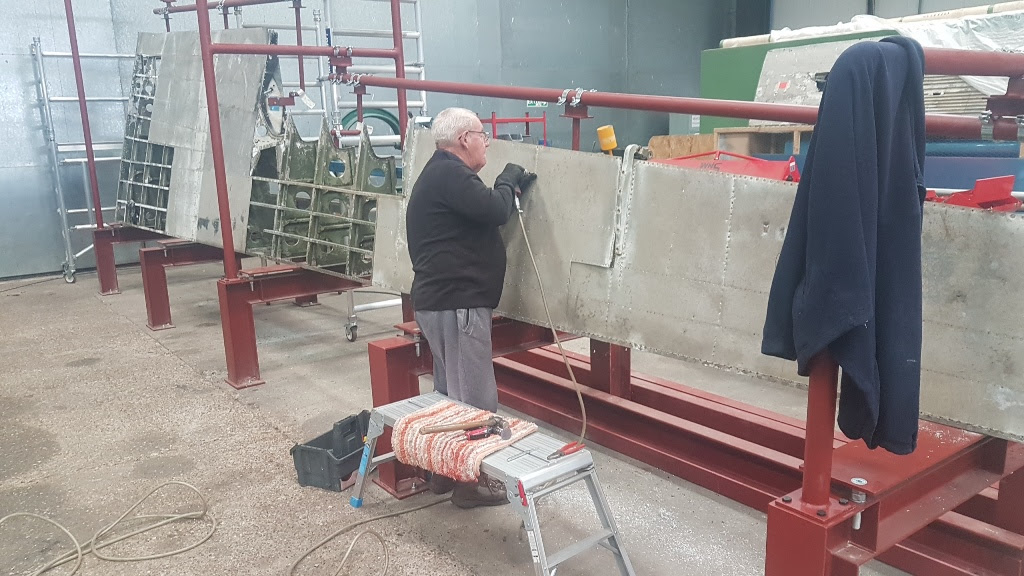
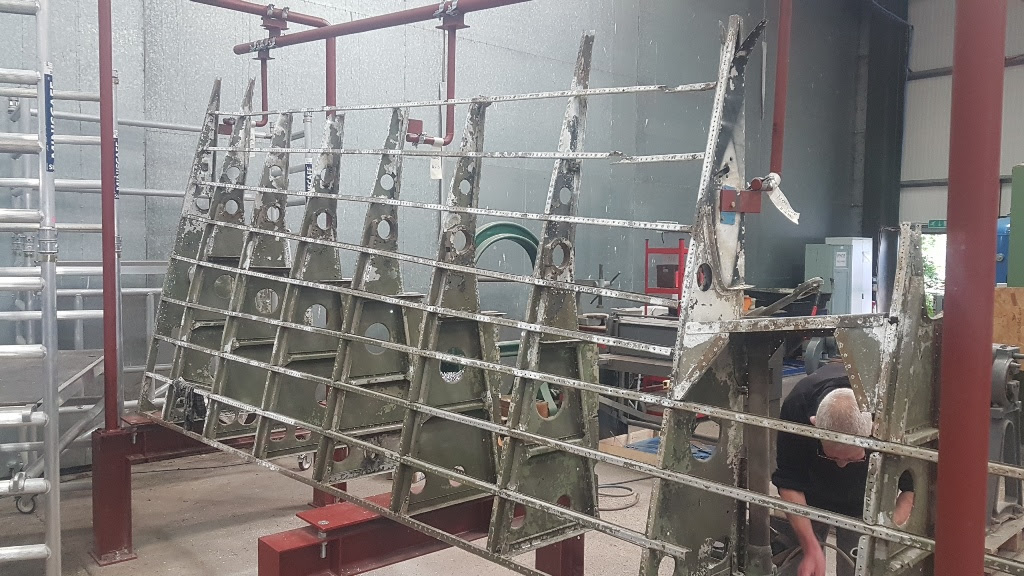
With the trailing edge jig ready for use, Dennis has been able to start stripping the structure apart into its component parts. The remaining skins and stringers have all been removed, as well as some of the ribs. One set of parts which proved difficult to disassemble included the aileron hinge arms, which are bolted through the ribs; these bolts had corroded into the aluminium arms. The normal method for detachinging the aileron is to remove the hinge arms with the aileron as an assembly however, corrosion has rendered this method impossible. When we refit them, we will hopefully be able to use the method outlined in the manual. Corrosion has unfortunately left the trailing edge is in a very sorry state!

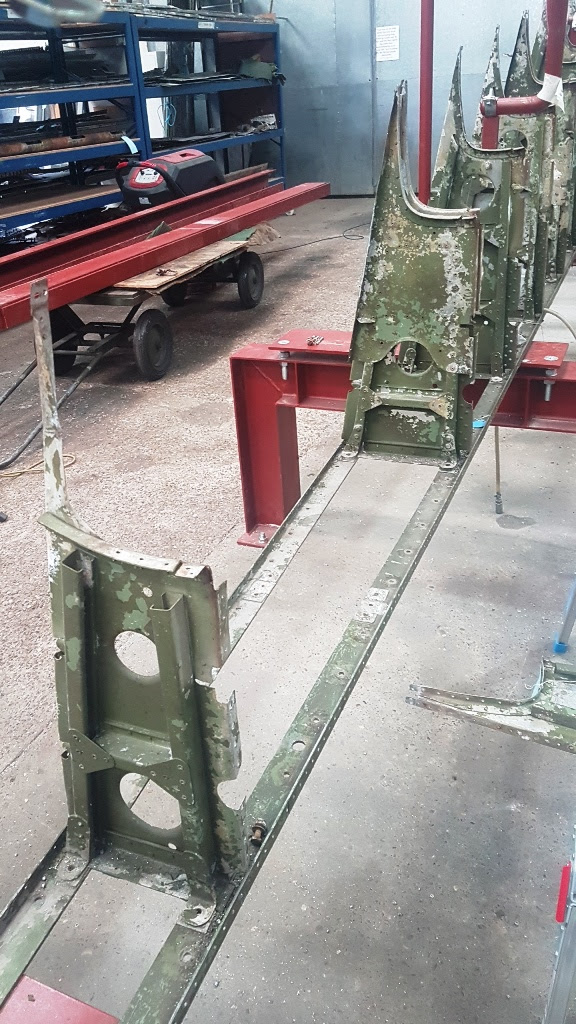
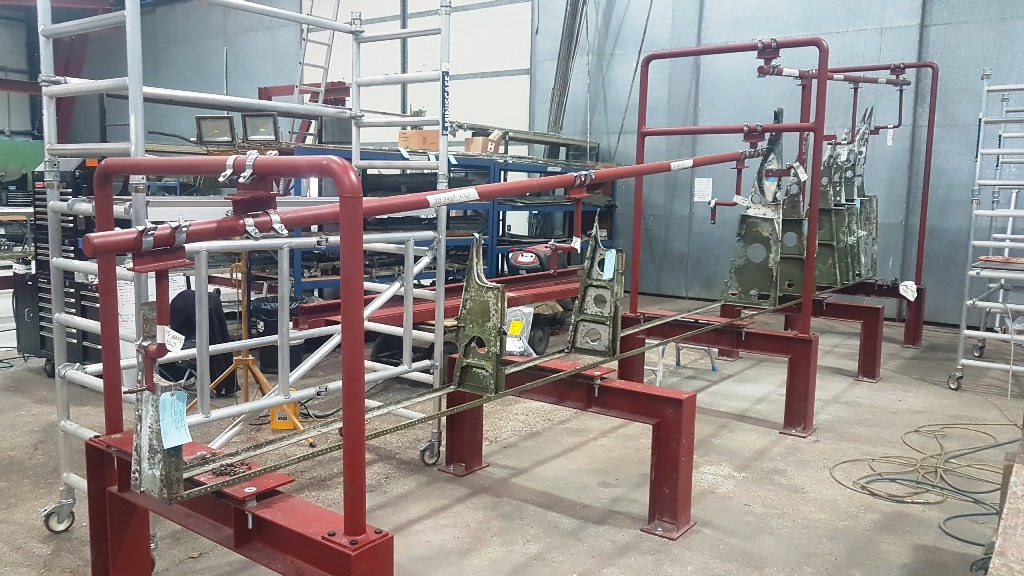

Our Gofundme Wings Campaign has now reached £34,000 of the 500,000 required! Thank you to everyone who has contributed, as you have helped us to pay for the trailing edge jig. The next goal will be to take the Gofundme campaign to a level that will cover the aluminium sheet metal required for the wings project at a further £6,000. If you would like to contribute to the Wings Fund and receive your special Wings Fund badge, then please click HERE (badges are sent for donations above the £50)
Stay safe and thanks for your support.
Andrew Panton
Which aircraft is which?
I have been getting emails double-checking which airframes are which in our hangar, so I have made this list for everyone’s benefit.
Avro Lancaster B.VII NX611: This is ‘Just Jane’ based here at East Kirkby and undergoing restoration to airworthy condition.
Avro Lancaster B.X KB976: This is the rear fuselage section under restoration to taxying condition to fit to NX611 for a year while we restore NX611’s own rear fuselage to airworthy condition. The two components will be swapped once both are complete.
Avro Lancaster B.VII NX664: This is a Lancaster under restoration to static condition in France. We are restoring its wings to taxying condition to swap out with NX611’s, thus enabling us to restore NX611’s to airworthy condition in the interim for eventual swapping back into the airframe.
That’s all for this particular update. We hope that you have enjoyed reading it. As can be seen, a lot of work remains to be done, but the aircraft is well on the way back to flying condition. It is being done in a methodical and careful manner in order to keep the aircraft available for ground-running operations during the summer months. For those interested in helping support this important project, please click HERE
Be sure to check out their store HERE as well… There are many cool items to buy which will help get Just Jane back in the air!
Related Articles
Lancaster NX611 ‘Just Jane’ – Restoration Update 164
Lancaster NX611 ‘Just Jane’ – Restoration Update 161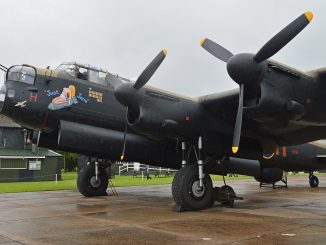
Lancaster NX611 ‘Just Jane’ – Restoration Update 158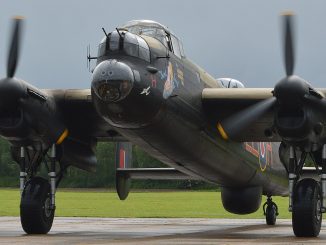
Lancaster NX611 ‘Just Jane’ – Restoration Update 156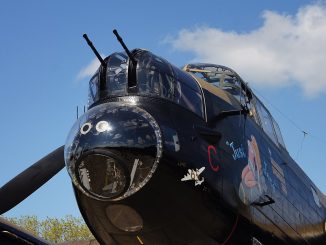
Lancaster NX611 ‘Just Jane’ – Restoration Update 154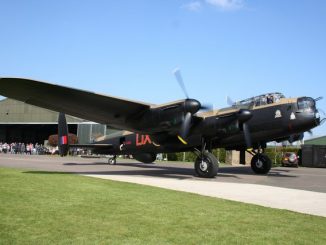
Lancaster NX611 ‘Just Jane’ – Restoration Update 151
Richard Mallory Allnutt's aviation passion ignited at the 1974 Farnborough Airshow. Raised in 1970s Britain, he was immersed in WWII aviation lore. Moving to Washington DC, he frequented the Smithsonian’s National Air & Space Museum, meeting aviation legends.
After grad school, Richard worked for Lockheed-Martin but stayed devoted to aviation, volunteering at museums and honing his photography skills. In 2013, he became the founding editor of Warbirds News, now Vintage Aviation News. With around 800 articles written, he focuses on supporting grassroots aviation groups.
Richard values the connections made in the aviation community and is proud to help grow Vintage Aviation News.


I take my hat off to you gentlemen, after watching the lanc deteriorate behind our hanger at Blackpool and seeing it being dismantled for transport I am delighted that it is on the way to being airworthy. I hope to visit one day and in the meantime congratulations on what you have done so far and thank you for the excellent video material which no doubt will greatly assist later projects.
Best Regards. Sam…
So good to see the progress being made on these components.Keep up the good work.
I am in awe of your progress with this project,your commitment and dedication is beyond remarkable and to have this third Lancaster flying will be an amazing achievement by you all
Brilliant stuff!
I have a question: the “Telegraph” did an article on Just Jane, including a picture [https://www.telegraph.co.uk/content/dam/events/longread/jj.jpg] of an instrument panel.
At the top right is a shrouded push-button.
Can you tell me what that button does?
Why my interest? A half-century ago, I & some friends rebuilt a Land Rover, & drove it from England to Pakistan. We used a button of that type as the starter switch. Hence my interest.