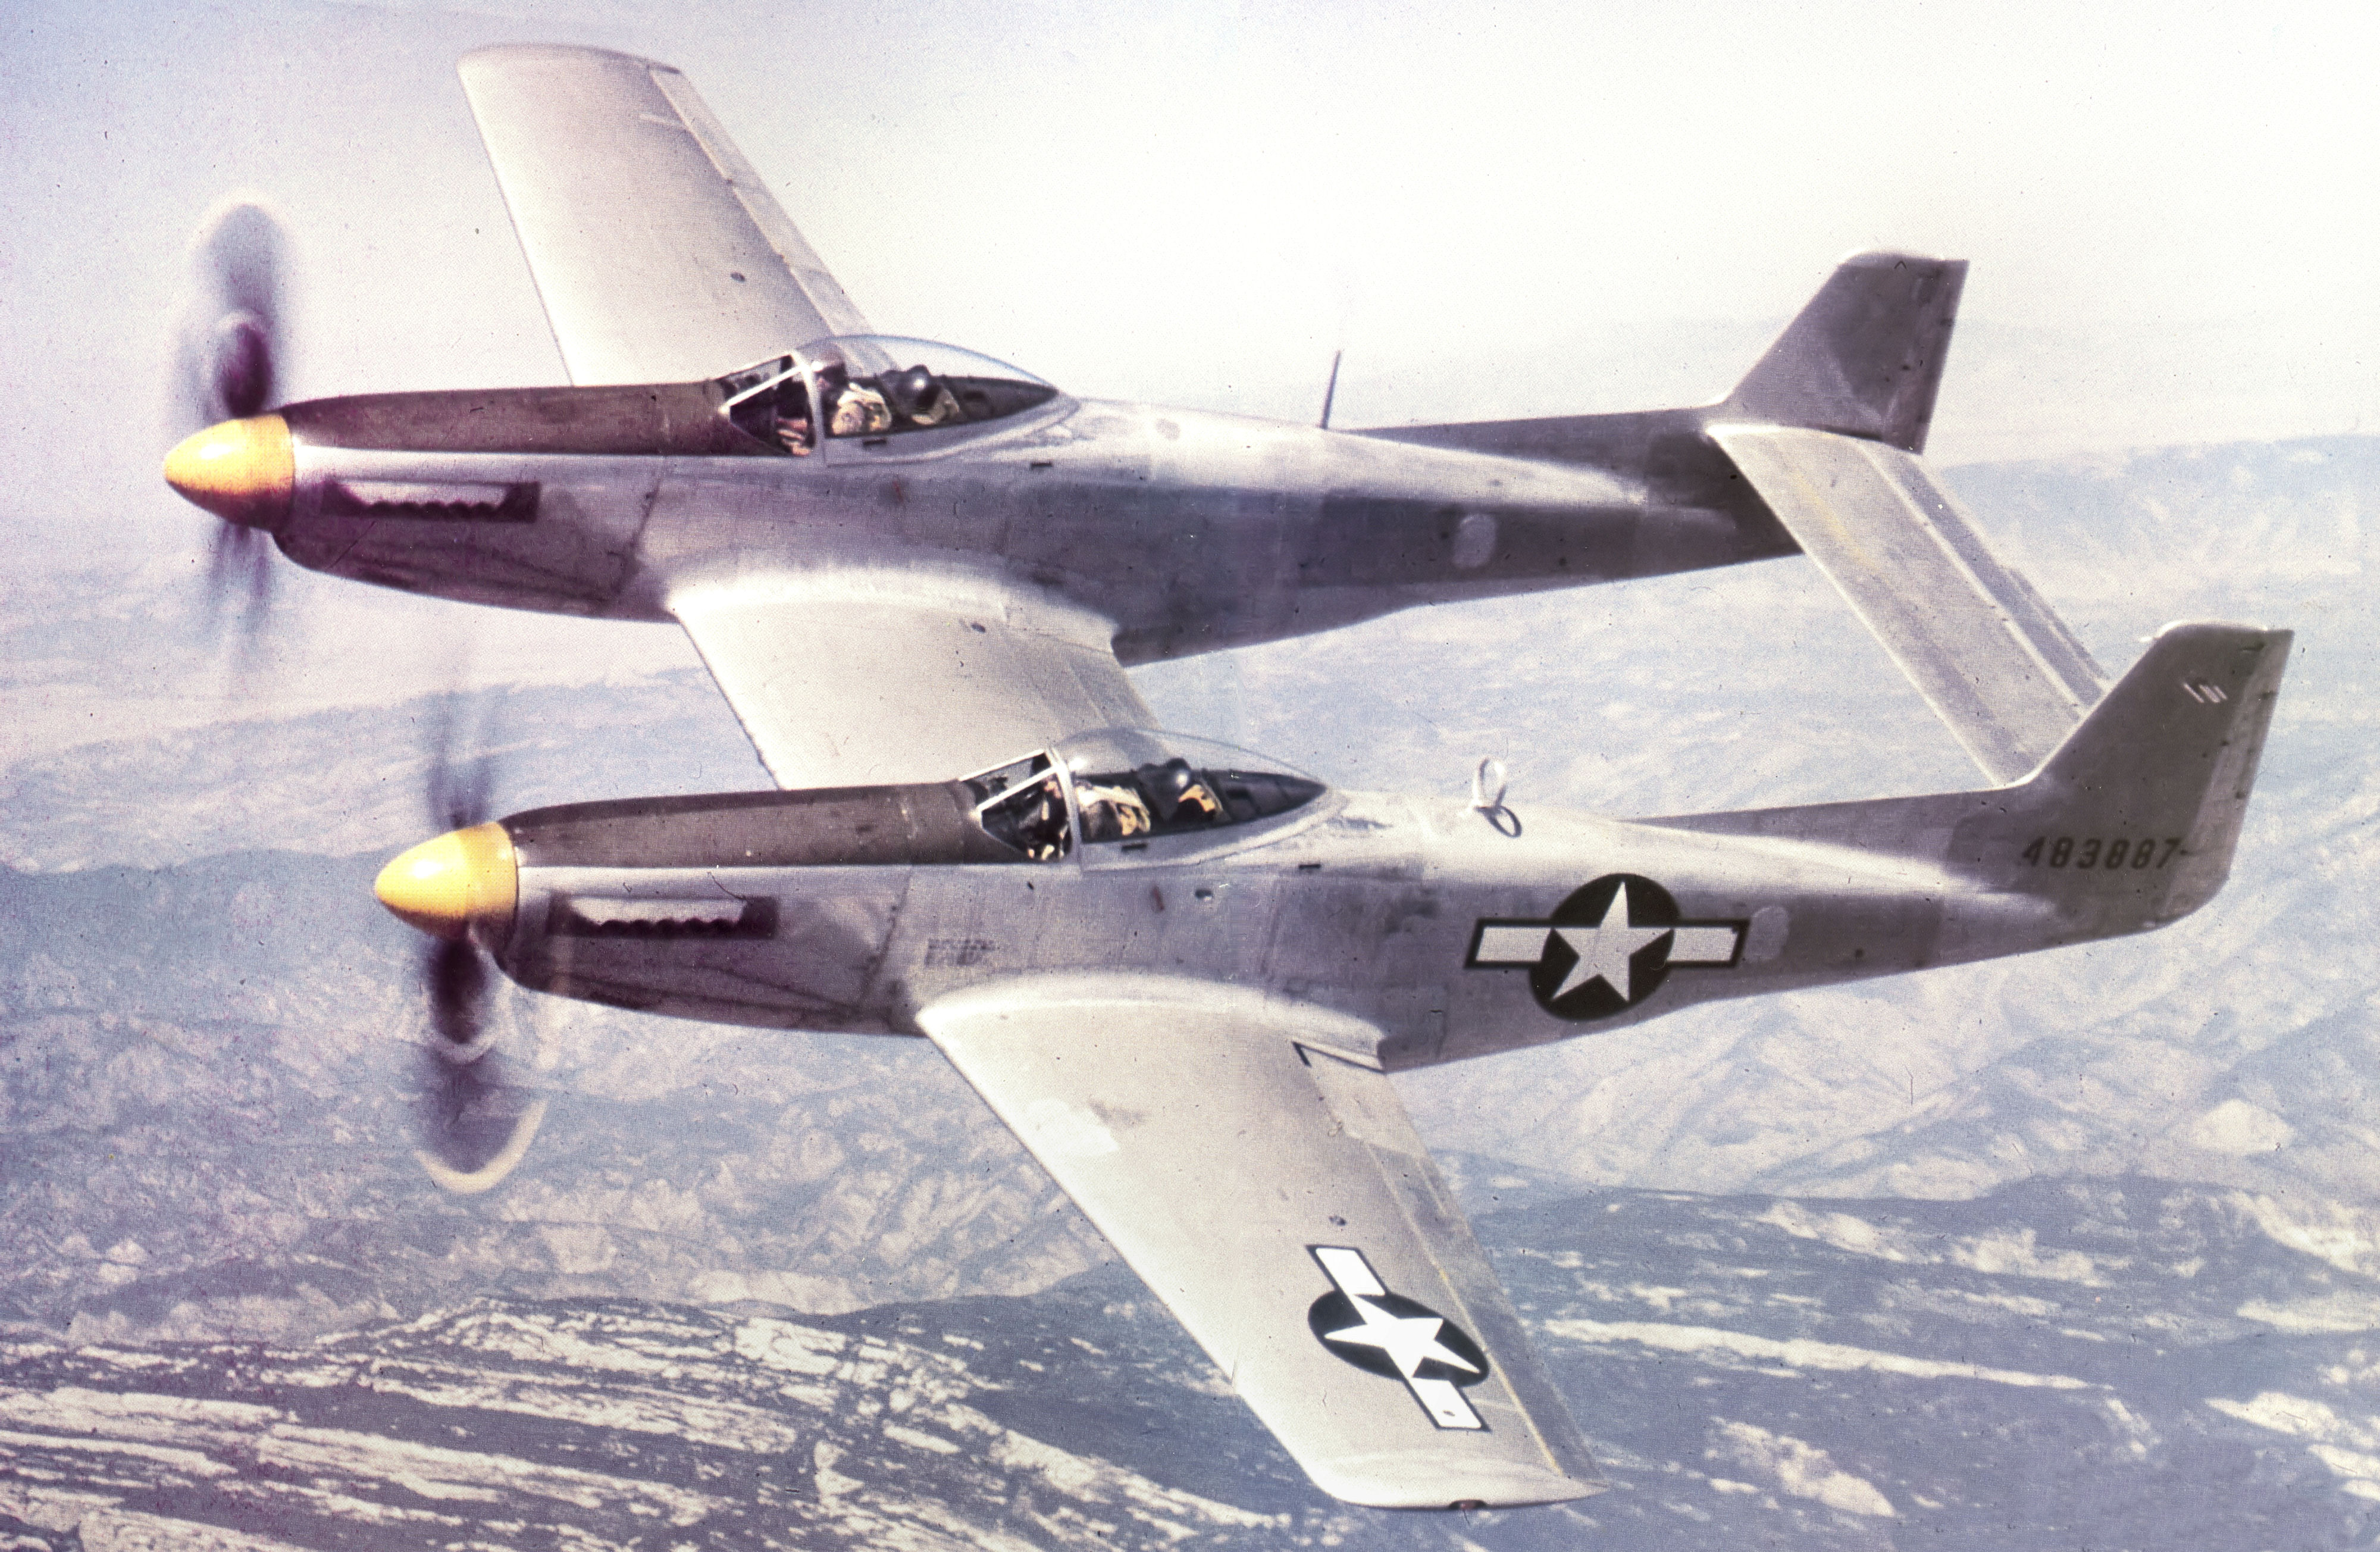
WarbirdsNews has received the latest XP-82 Twin Mustang restoration update from Tom Reilly at his workshop in Douglas, Georgia. Here’s what they’ve been up to this month!
Center Section
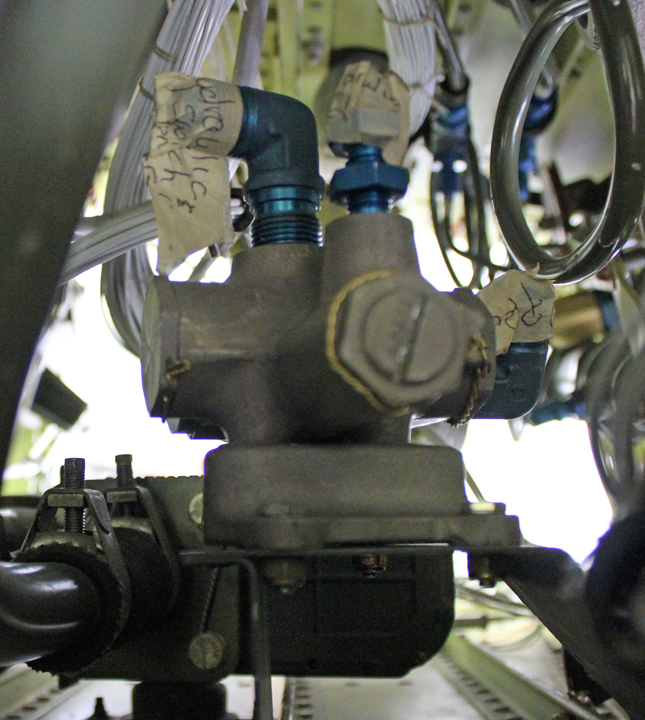
Two team members completed the last of the hydraulic and instrument line hookups, i.e., final brake, pitot, static, vacuum, and electrical conduit lines. They also completed the installation of the last missing hydraulic component, a relief unloader valve. This component signals the engine driven hydraulic pump to go into neutral when there is no hydraulic demand on the system, i.e., gear or flaps requiring hydraulic pressure.
Reilly was able to find a number of the hydraulic valves online. Two were listed as “used – as removed” for $50 each, with new ones in the range of $1500 each. He bought two used ones and when they arrived, they were obviously new units that had never been installed. The sellers listed them “as removed” to avoid any liability issues. We still had to take one apart and re-“O”-ring and reseal it just for a safety factor.
Center Section Flap/Gap Seal
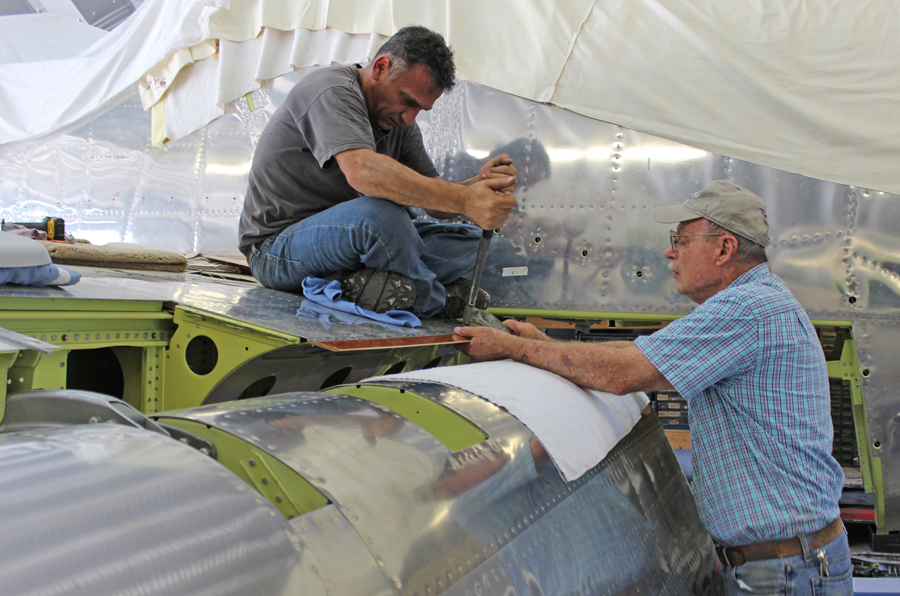
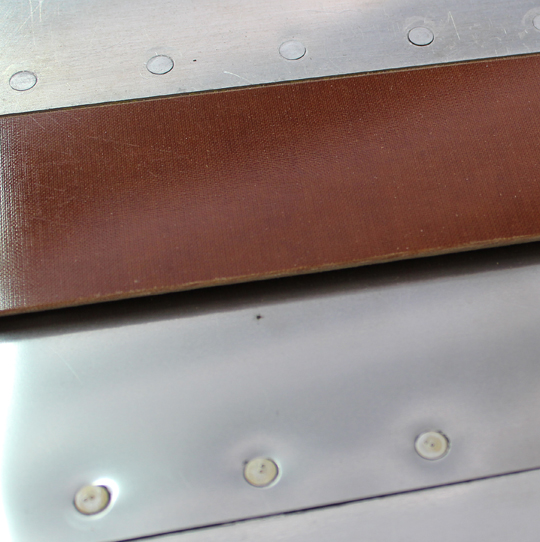
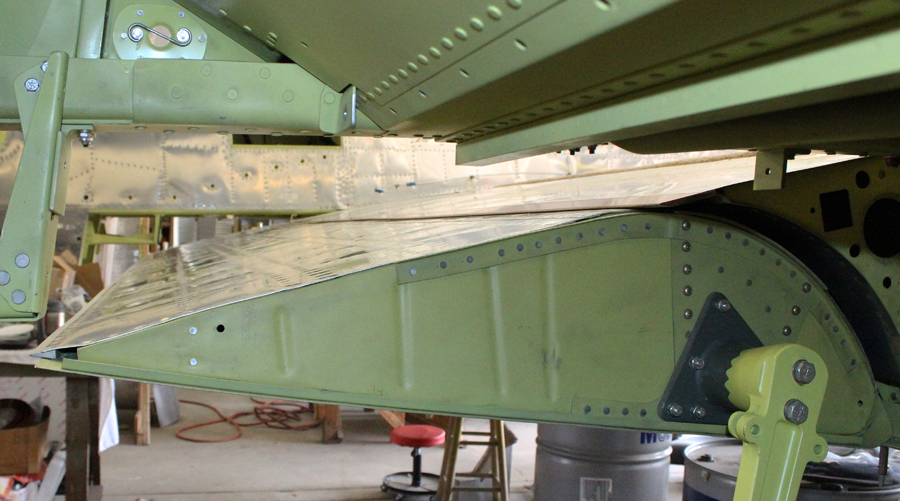
The final fitting of the phenolic upper gap seal rub strip is now completed. The installed flap in the retracted position is designed to rub its upper stainless steel rub-skin against this phenolic strip to stop any inflight air flow from the lower center section to transition through the leading edge to the top of the flap skin, creating an undesirable aerodynamic condition.
Elevator
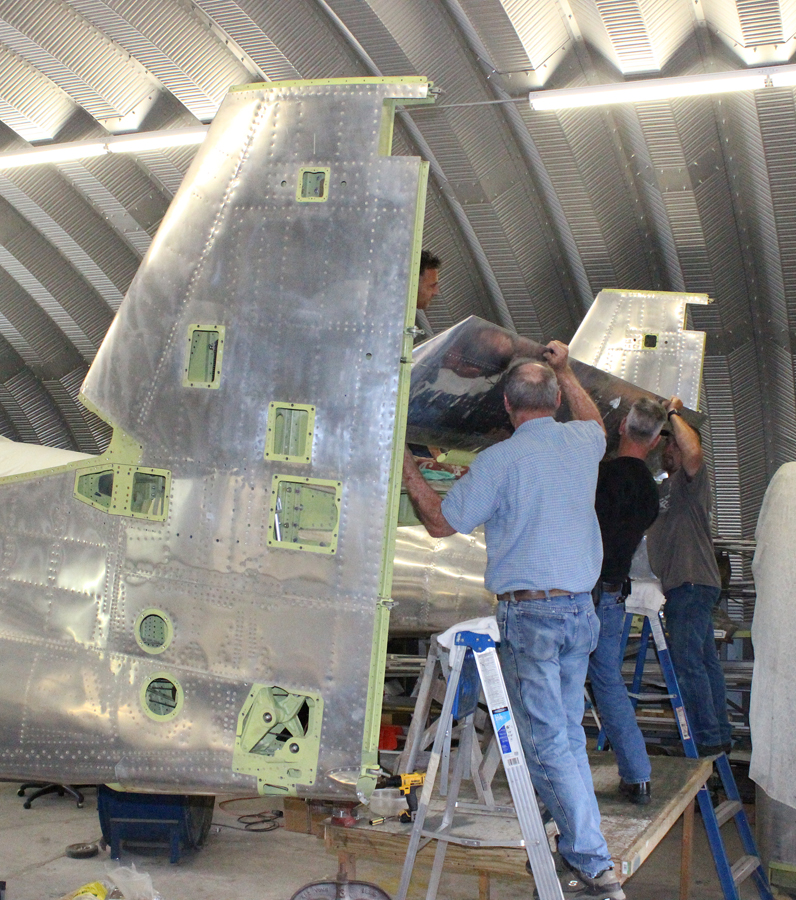
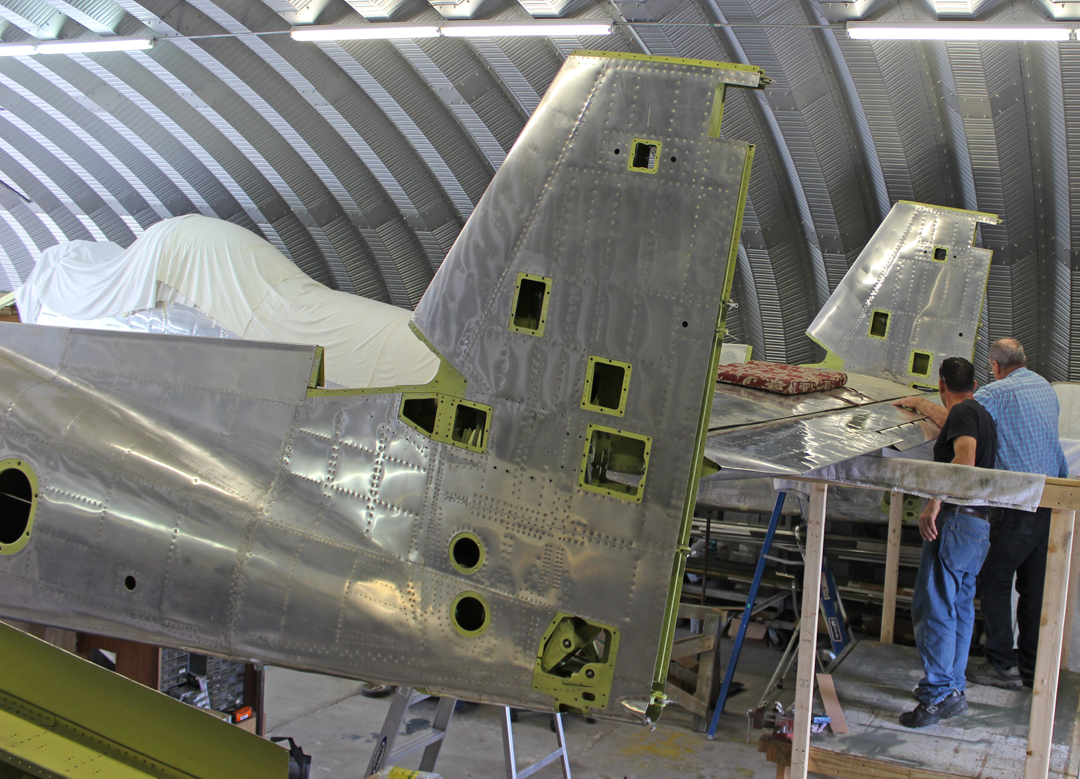
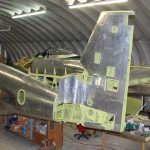
The final fitting of the elevator mounted on the back of the horizontal stabilizer has now been completed. We are in the middle of adding the extra lead balance weights to the elevator arms to counter balance the additional weight of the aluminum trim tab hinge fittings. We replaced the original magnesium fittings with ones made from 7075 T-6 aluminum for an additional strength safety margin. The original magnesium fittings have been known to fail, creating fatal accidents.
Fuel Tanks
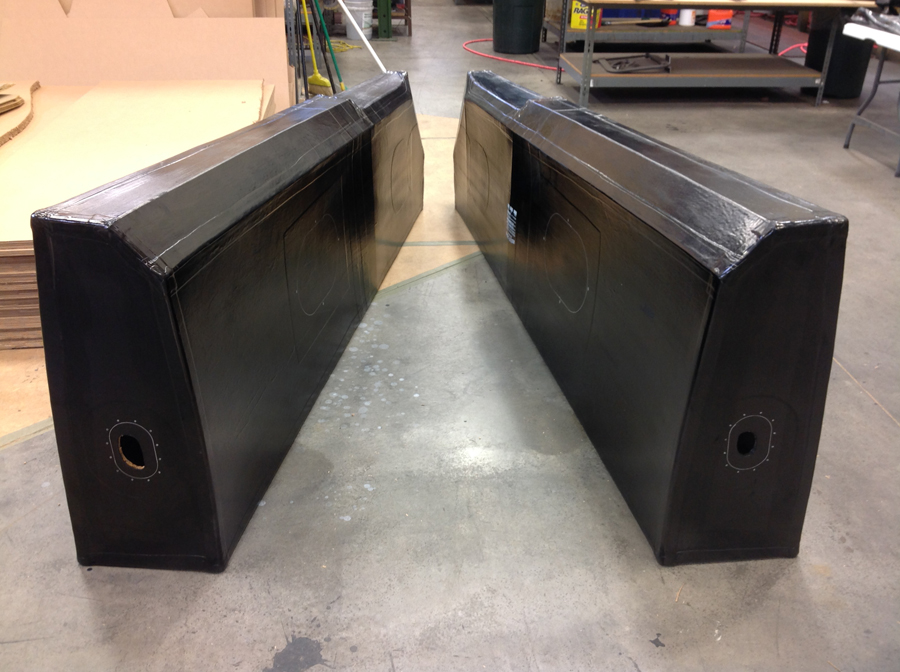
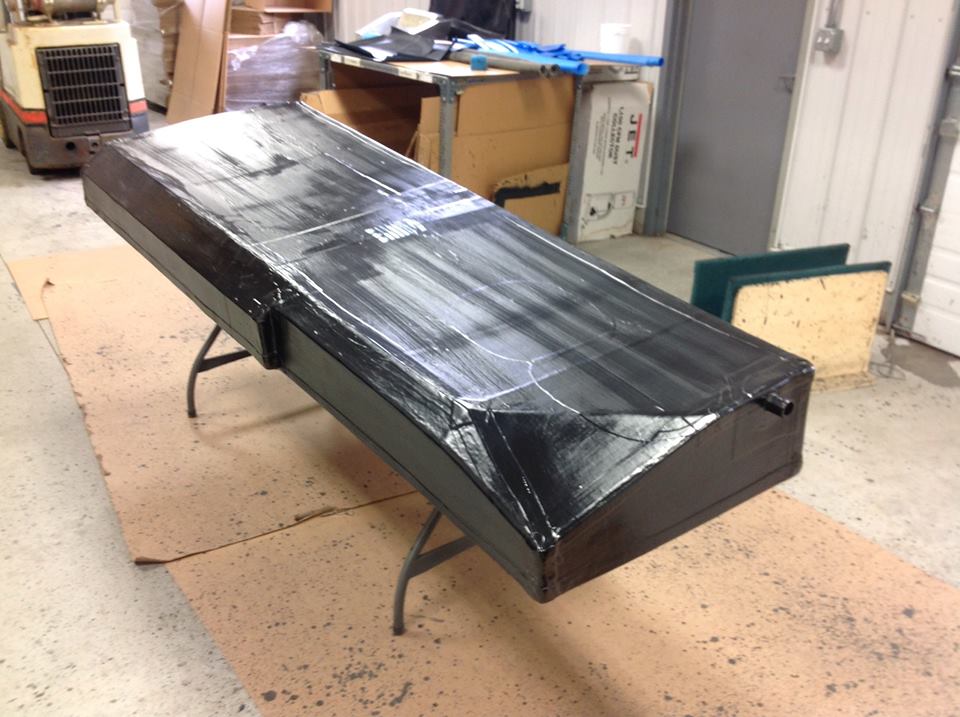
The six newly-built fuel tanks, holding 600 gallons total, are now complete and will be delivered in June from their manufacturer, Eagle Manufacturing Corporation/The Custom Shop in Eagle River, Wisconsin. Reilly was very impressed by the quality of these tanks, which were custom-built for the project.
Aileron Hinges / Bell Cranks / Wing Trailing Edges
All of the aileron hinges and associated bell cranks/arms/mounting points are now complete and have finished being installed. Now that the ailerons and all of their mounts are completed, two team members have started on the wing trailing edges in the aileron and flap bay areas. These upper and lower wing trailing edge skins must be precisely fitted so that the ailerons and flaps slightly rub against them to create a gap seal (similarly to the center section flap).
Subcontract Machine Work
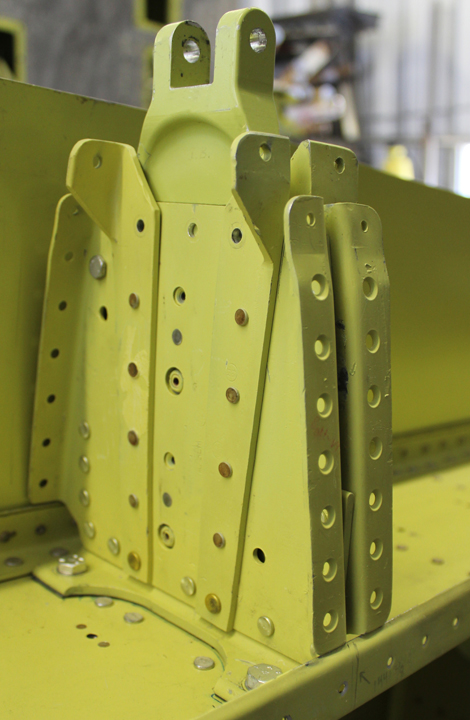
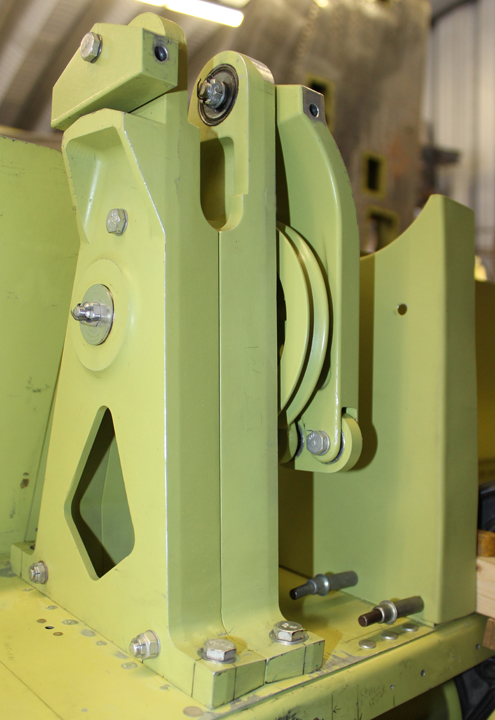
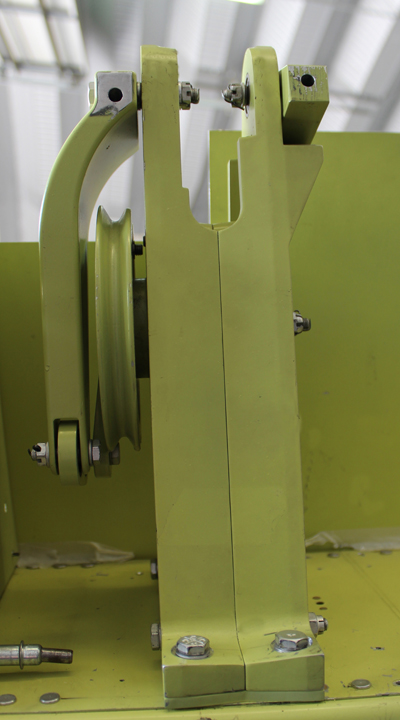
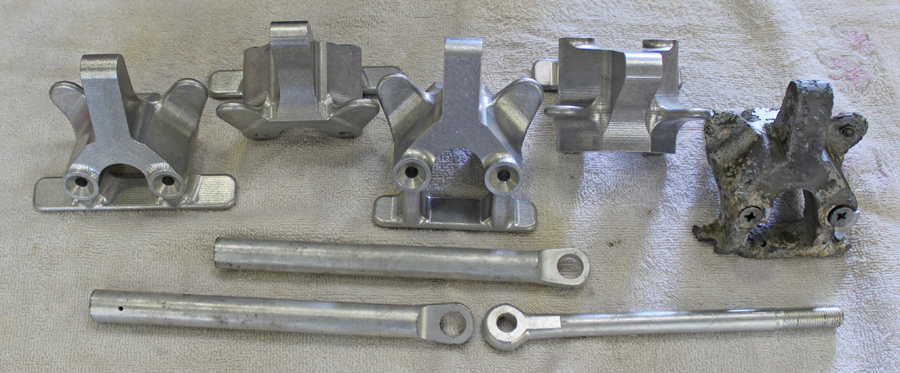
One of the machine shops working for the XP-82 project has delivered the four gear door up-lock forgings. Reilly was able to recover only one original, though severely corroded example, but it was good enough to create a pattern from. These were extremely complicated pieces to machine, but came out perfectly.
Coolant Exit Doors
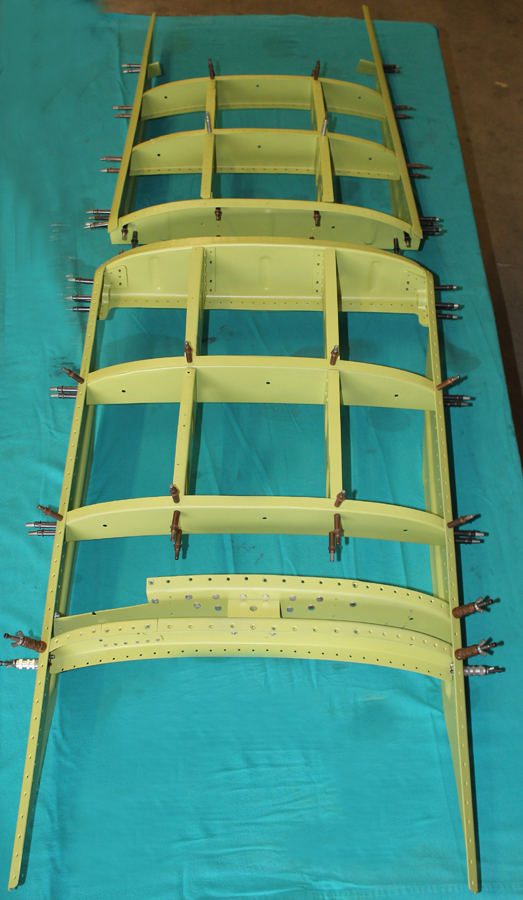
Something as simple as fitting some newly-pressed, internal skins to the original frame work sure became an issue which took a substantial amount of time to resolve. The fit of the new parts was oh-so-close, but not close enough, and it took two team members the majority of May to get these two doors correctly assembled.
Fuel Vent Lines
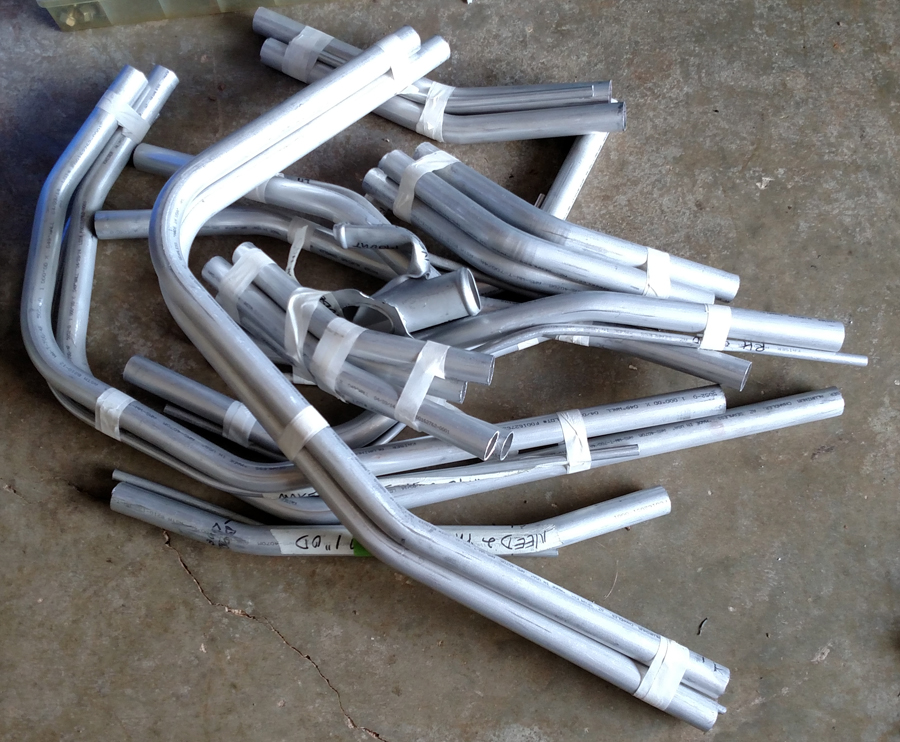
Reilly’s team is heavily into the installation of all the fuel feed and vent lines in each wing and center section. They expect to have all of these lines fitted by mid-June. The six new fuel tanks can then start to be installed.
Many thanks again to Tom Reilly for the update! You can learn more about the project on their blog HERE. Please be sure to check back with WarbirdsNews in July for the next installation following the XP-82′s road to recovery!
Please click HERE for some of our previous updates.



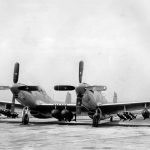
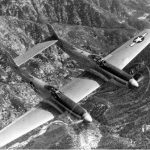
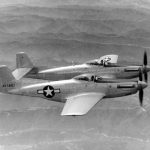
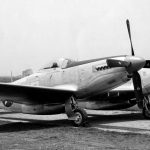


Having been an aircraft electrician in the 523rd fighter escort squadron, SAC I spent many hours in blistering hot Texas sun working on F- 82E’s. What beasts they were. Had a great ride in the left side during a local air show. The “airboss” radioed my pilot to pull up a bit. The prop wash was kicking ground dust into our air scoops. All this as the air speed indicator was showing 505 mph and we only about 5′ off the ground. As I said, Great Ride!